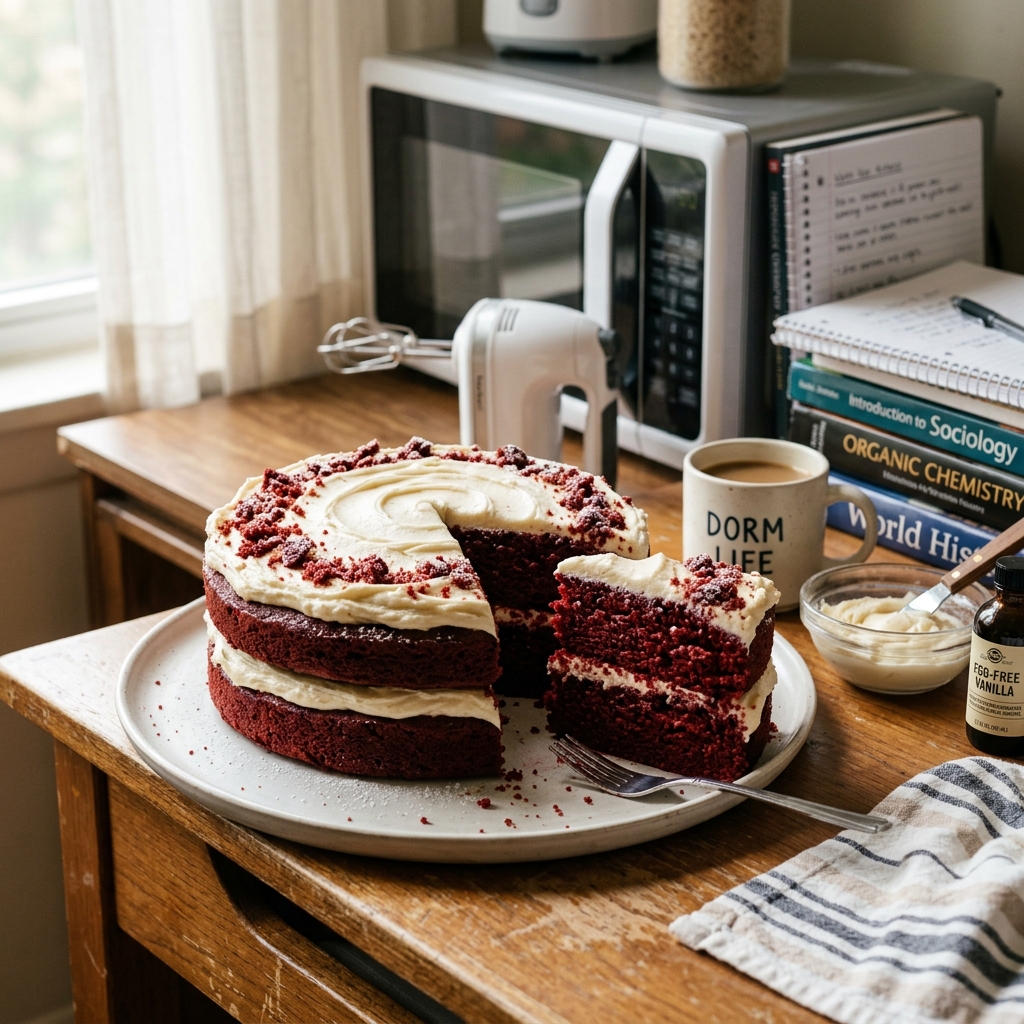
Living in a college dorm often means working with limited space, a tiny countertop, and a handful of basic kitchen tools. Many students assume that baking a beautiful homemade cake is impossible without a full-sized oven or a fully equipped kitchen. The truth is, you do not need a professional bakery setup to create something truly special. With the right recipe and a little creativity, you can enjoy a rich, soft, and incredibly delicious eggless red velvet cake right from your dorm kitchen.
This recipe was designed especially for students who want to celebrate birthdays, surprise friends, satisfy late-night dessert cravings, or simply experience the joy of homemade baking without spending a fortune. Since it is completely eggless, it is also a fantastic option for people with egg allergies or those who simply prefer baking without eggs. The ingredients are affordable, easy to find, and can often be picked up from a nearby grocery store or campus market.
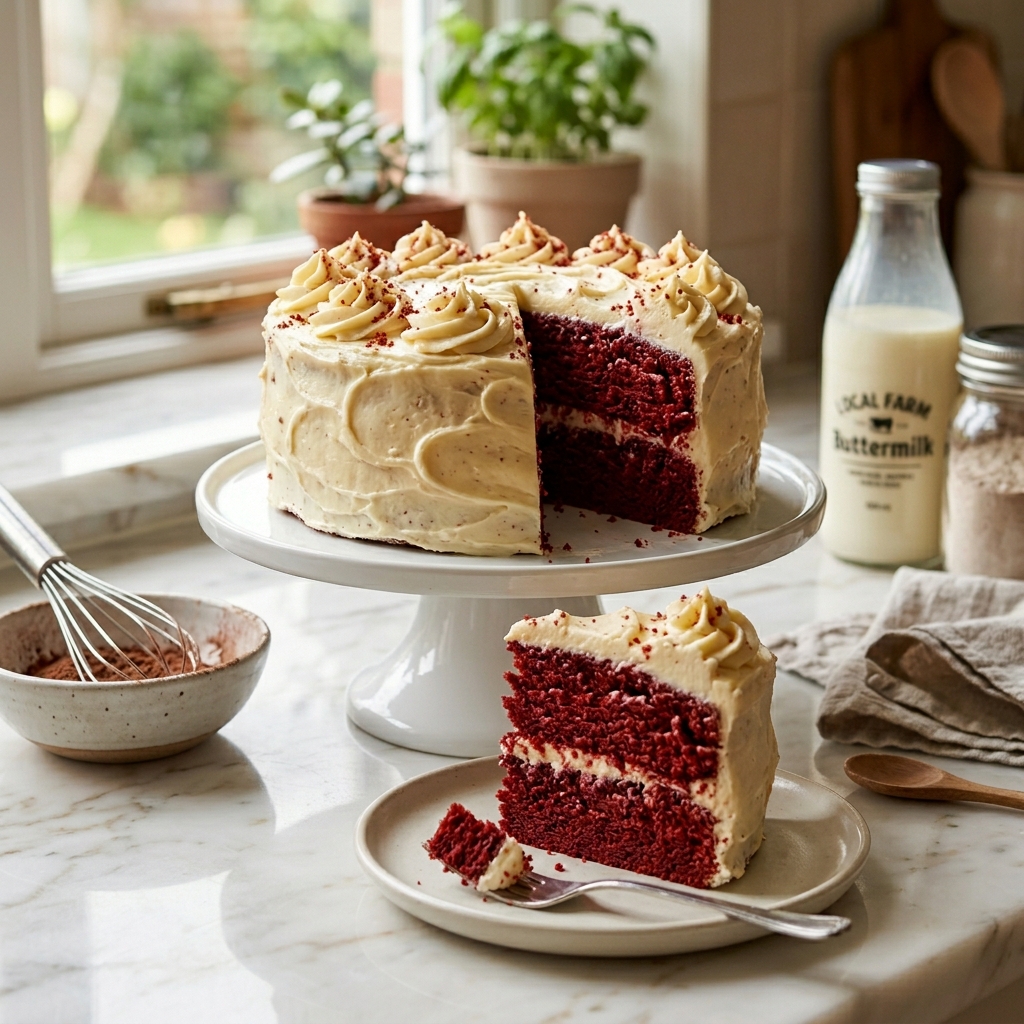
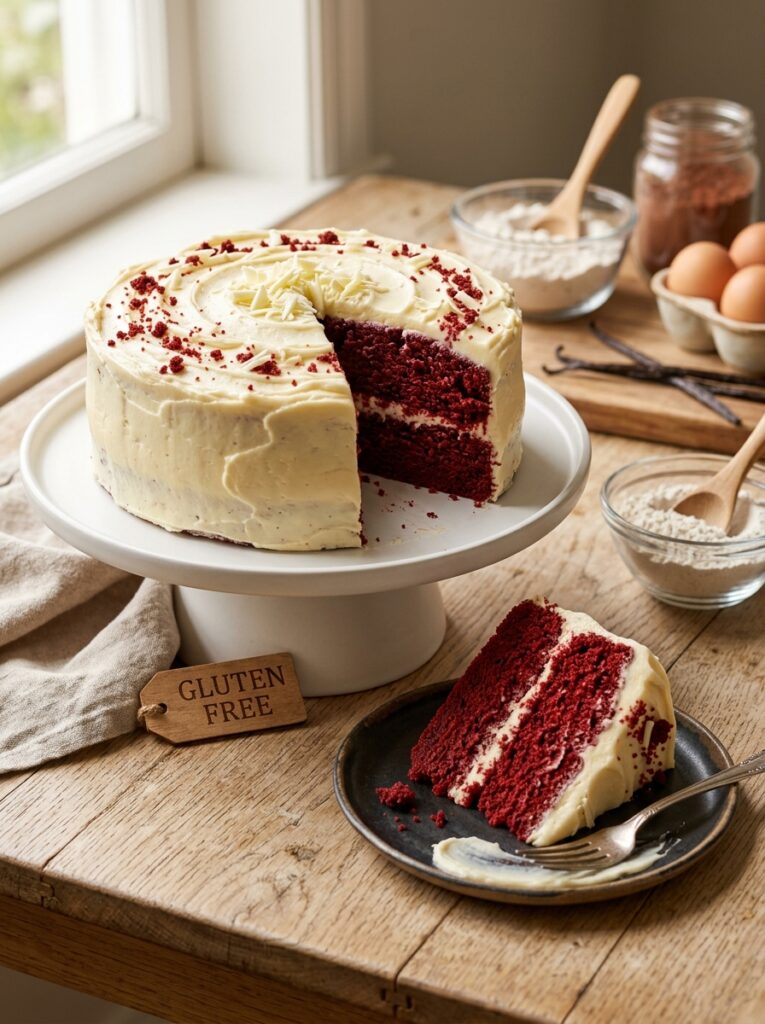
Red velvet cake has always been one of those desserts that instantly catches your attention. Its deep red color, velvety crumb, and creamy frosting create a dessert that looks luxurious while remaining surprisingly simple to make. Unlike many complicated bakery recipes, this version focuses on practicality without sacrificing flavor or appearance.
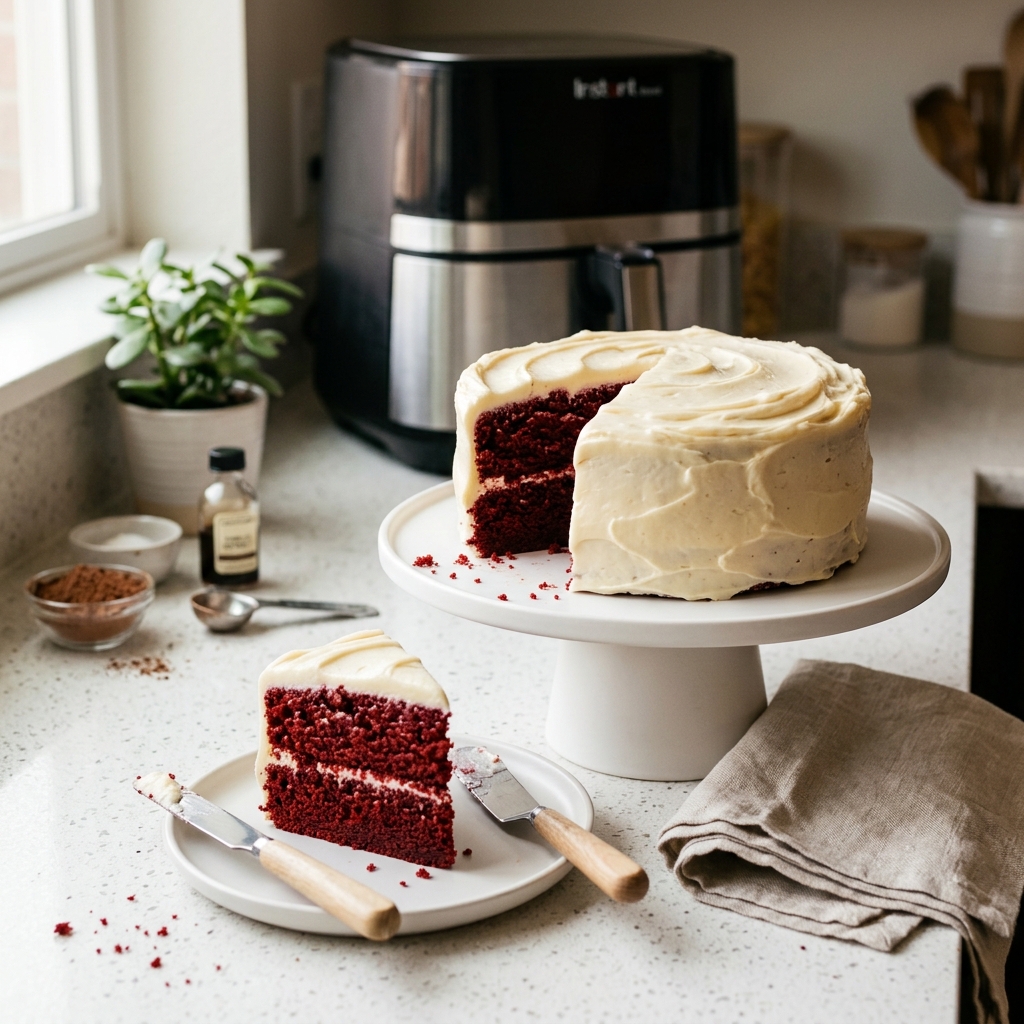
Whether you have access to a small countertop oven, an air fryer with a baking function, or even a microwave with convection settings, this guide will show you that incredible baking is possible almost anywhere. By the time you finish reading, you will understand not only how to make this cake but also why every ingredient and technique works together to create bakery-style results.
Why This Dorm-Friendly Recipe Will Surprise You
College life is often associated with instant noodles, frozen meals, and quick snacks grabbed between lectures. Baking rarely makes the list because students believe it requires expensive equipment, advanced skills, and hours of free time. This recipe changes that idea completely.
One of the biggest advantages of an eggless red velvet cake is its simplicity. Traditional cakes rely heavily on eggs for structure and moisture, but clever ingredient combinations like vinegar and baking soda create a soft, airy texture without needing them at all. This means fewer ingredients to buy and less worry if you do not usually keep eggs in your dorm refrigerator.
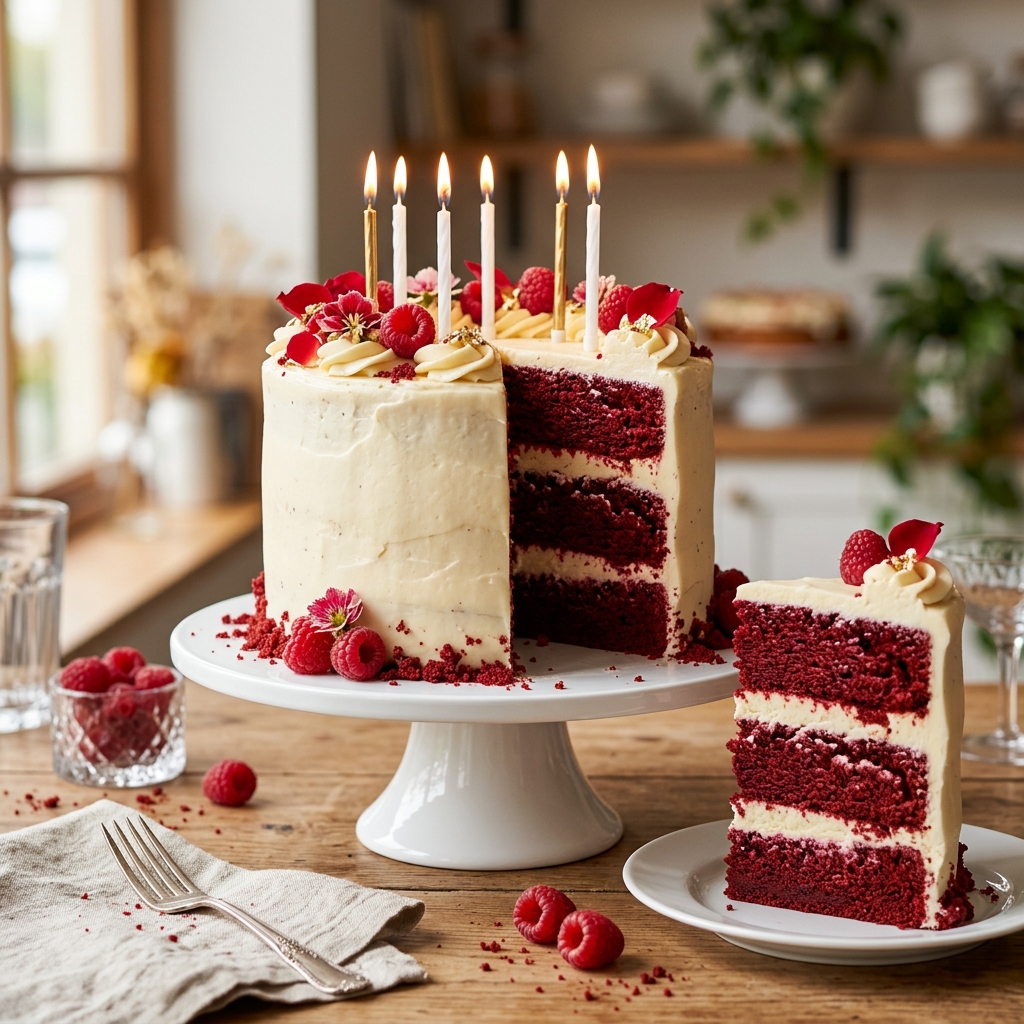
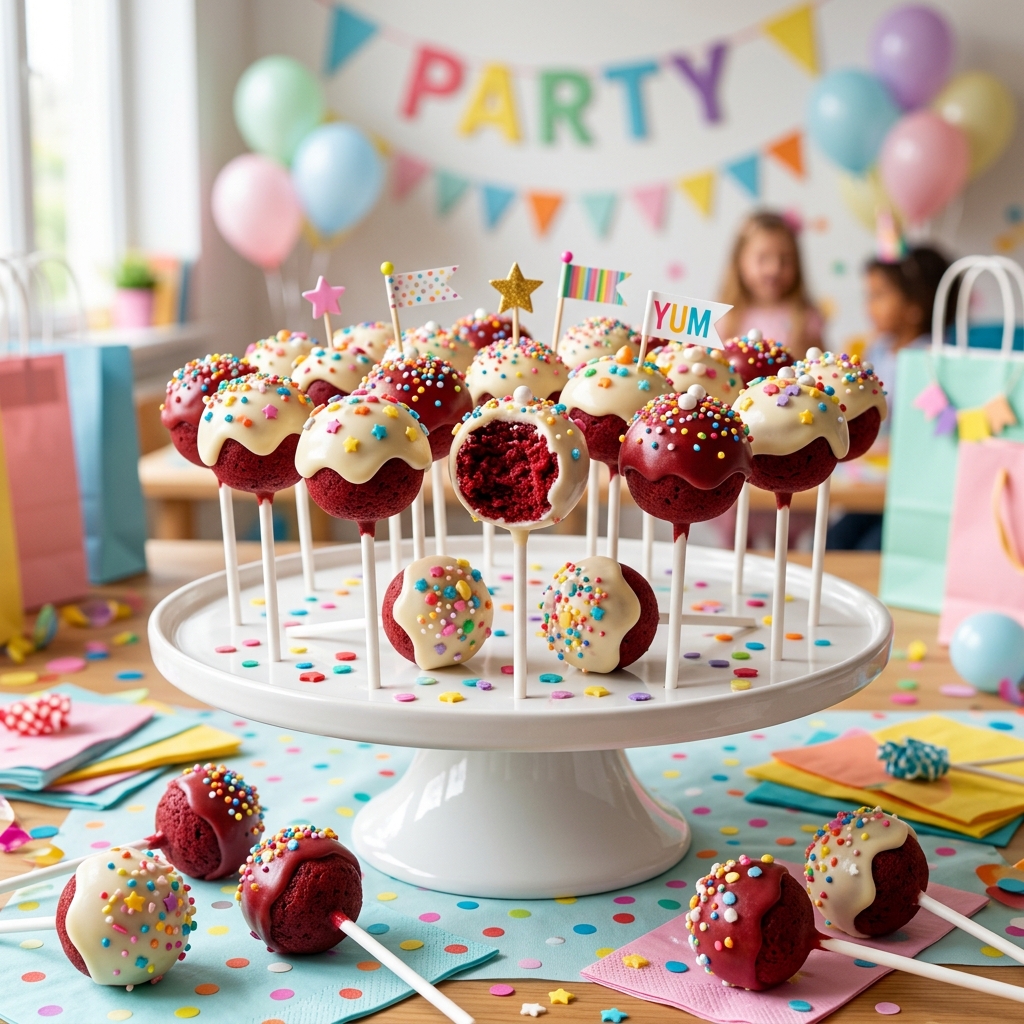
Another reason this recipe stands out is its versatility. It can be made for birthdays, study group gatherings, Valentine’s Day surprises, holiday celebrations, or even as a comforting weekend baking project after a stressful week of classes. A homemade cake has a way of bringing people together, and sharing slices with roommates and friends often turns an ordinary evening into a memorable one.
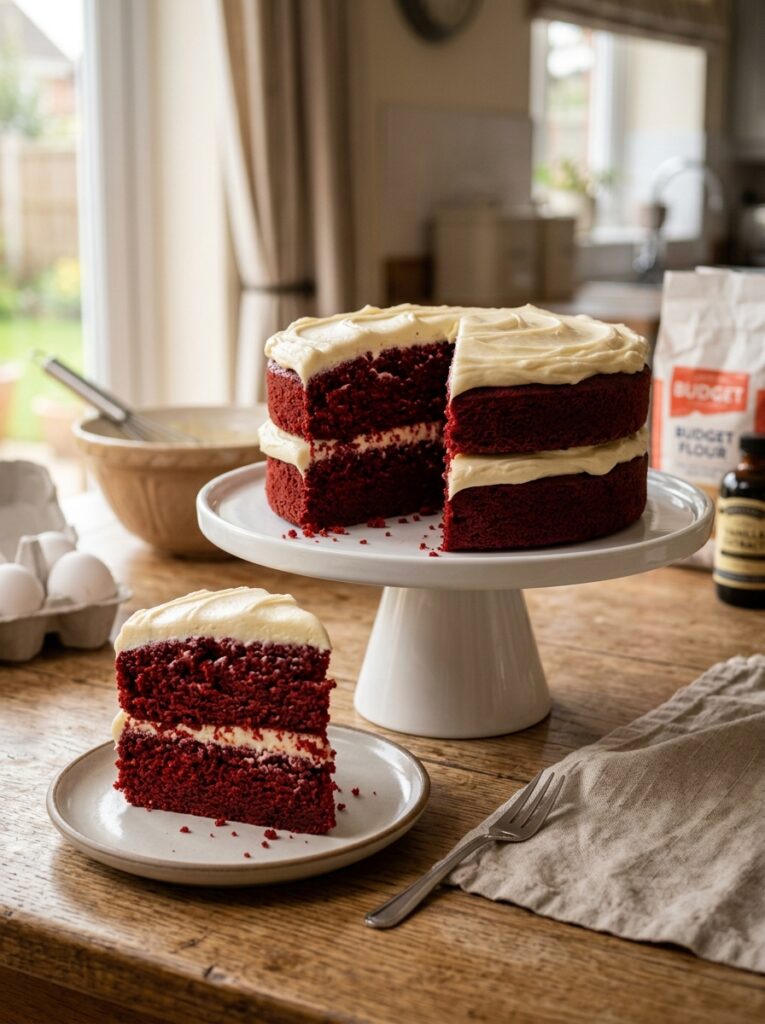
Perhaps the best part is that making your own cake costs much less than ordering one from a bakery. For many students living on a budget, that matters. Instead of spending a large amount on a professionally decorated dessert, you can create something equally beautiful with simple ingredients and a little patience.
The Secret Behind a Perfect Eggless Red Velvet Cake
Many people think the bright red color is what makes red velvet cake unique, but experienced bakers know there is much more happening beneath the surface. A true red velvet cake is known for its delicate balance of flavors.
The cocoa powder adds a mild chocolate note without making the cake taste like a chocolate cake. The vinegar reacts with the baking soda, creating tiny air pockets that produce a wonderfully soft texture. Meanwhile, vanilla enhances the overall flavor profile, making every bite richer and more satisfying.
The buttermilk element, which is recreated here using milk and vinegar, contributes both tenderness and a subtle tanginess. This slight acidity works beautifully with the creamy frosting, creating the signature taste that has made red velvet cake famous around the world.
Because this recipe is designed for beginners and dorm kitchens, every ingredient serves multiple purposes. Nothing is unnecessary, and each component helps create a dessert that looks elegant while remaining easy to prepare.
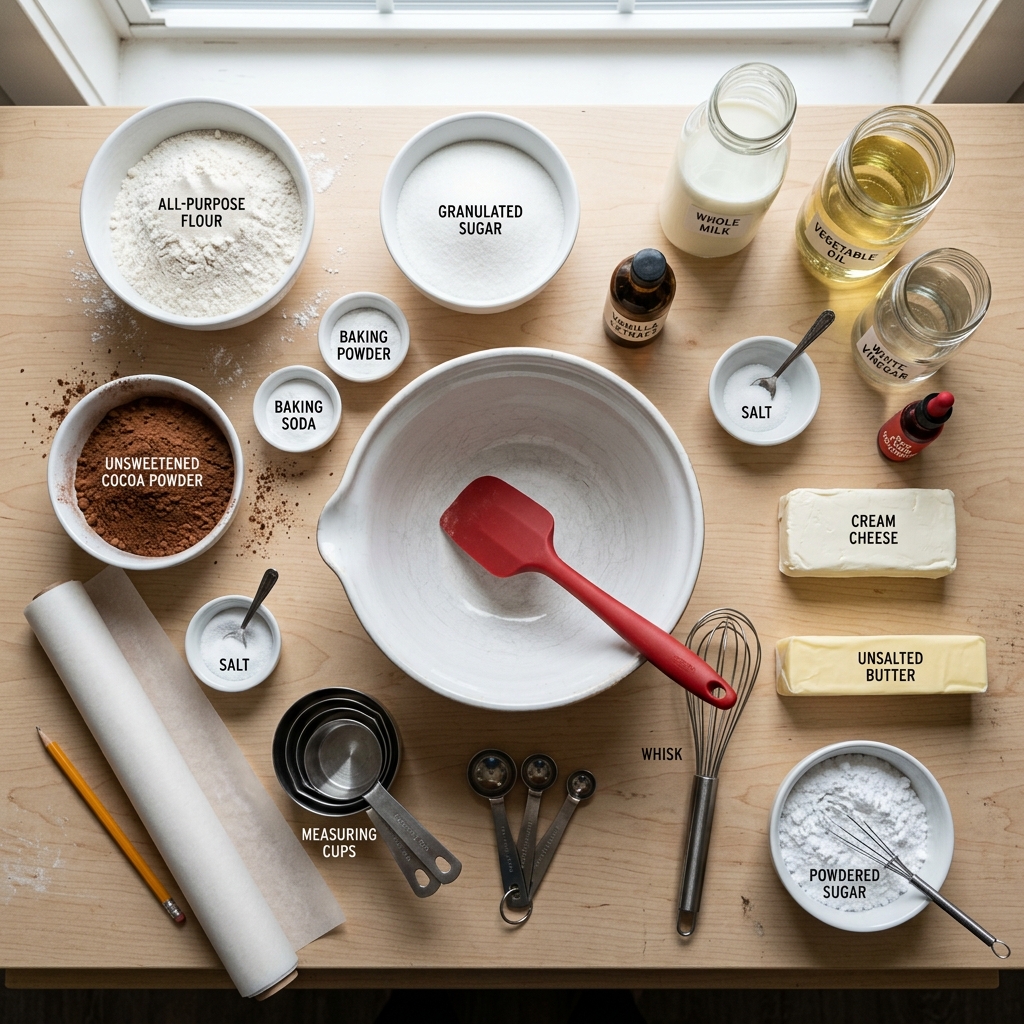
Ingredients for the Recipe
For the Cake Batter
- 2 cups all-purpose flour
- 1 cup granulated sugar
- 2 tablespoons unsweetened cocoa powder
- 1 teaspoon baking soda
- ½ teaspoon baking powder
- ¼ teaspoon salt
- 1 cup whole milk (or any preferred plant-based milk)
- 1 tablespoon white vinegar
- ½ cup vegetable oil
- 1 teaspoon pure vanilla extract
- 1 tablespoon red food coloring (gel or liquid)
- ¼ cup plain yogurt
For the Creamy Frosting
- 225g cream cheese, softened
- ½ cup unsalted butter, softened
- 3 cups powdered sugar
- 1 teaspoon vanilla extract
- 1 to 2 tablespoons milk if needed for consistency
Optional Decorations
- Red velvet cake crumbs
- White chocolate shavings
- Fresh strawberries
- Mini chocolate chips
- A light dusting of powdered sugar
Understanding the Role of Each Ingredient
All-Purpose Flour
Flour provides the basic structure for the cake. All-purpose flour works perfectly because it creates a soft yet stable crumb that holds up well under frosting.
Cocoa Powder
Unlike regular chocolate cakes, red velvet uses only a small amount of cocoa. This creates a subtle chocolate flavor that complements rather than dominates the dessert.
Vinegar and Baking Soda
These two ingredients are the true heroes of an eggless red velvet cake. When combined, they create a natural chemical reaction that helps the cake rise beautifully while keeping the texture incredibly soft.
Yogurt
Yogurt replaces some of the moisture and richness normally provided by eggs. It also contributes a slight tang that enhances the classic red velvet flavor.
Vegetable Oil
Oil keeps the cake moist for longer than butter alone. This is especially helpful for students who may want to enjoy leftovers over the next few days.
Red Food Coloring
The iconic color makes this dessert instantly recognizable. Gel coloring usually produces a deeper, richer shade while requiring a smaller quantity than liquid versions.
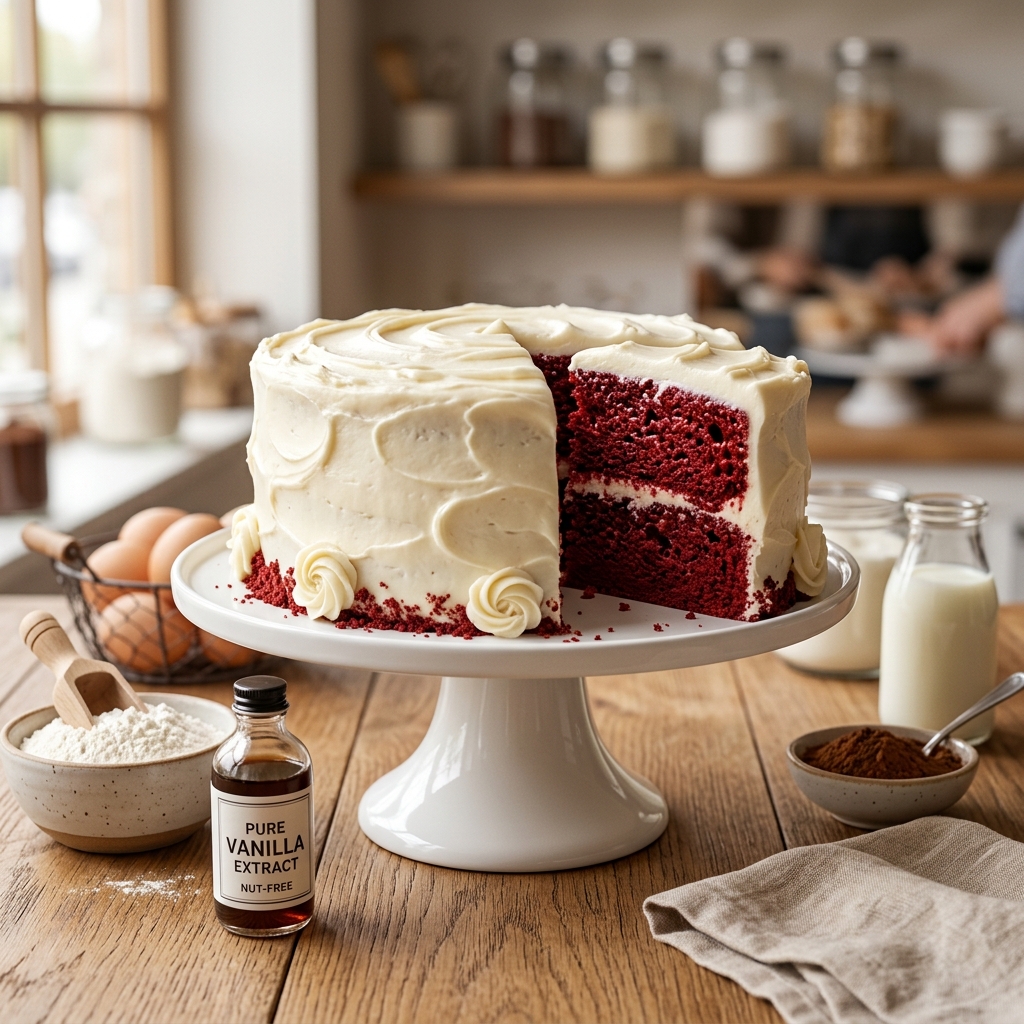
Cream Cheese Frosting
A smooth cream cheese frosting is considered the traditional pairing for red velvet cake. Its slightly tangy flavor balances the sweetness of the sponge and creates the classic bakery-style experience.
Equipment You’ll Need in a Dorm Kitchen
One of the best things about this recipe is that it does not require expensive baking equipment. Most students can prepare it using simple tools.
Basic Equipment List
- One large mixing bowl
- One medium mixing bowl
- Measuring cups and spoons
- A whisk or hand mixer
- Silicone spatula
- Round cake pan or microwave-safe baking dish
- Small offset spatula or butter knife for frosting
- Cooling rack or large plate
- Parchment paper (optional but recommended)
If you have a countertop oven or air fryer with baking mode, that is perfect. A convection microwave also works very well for this recipe.
Step-by-Step Preparation Guide
Step 1: Prepare Your Workspace
Clear your countertop and gather all the ingredients before starting. Measure everything in advance to make the process easier and avoid mistakes.
If using a baking pan, lightly grease it with oil and line the bottom with parchment paper. This helps the cake release easily after baking.
Step 2: Make the Homemade Buttermilk
Pour the milk into a bowl and add the white vinegar. Stir gently and let the mixture sit for about 5 to 10 minutes.
Do not worry if it looks slightly curdled. This is exactly what you want, as it creates a homemade buttermilk substitute that gives the cake its signature tenderness.
Step 3: Mix the Dry Ingredients
In a large mixing bowl, combine:
- All-purpose flour
- Cocoa powder
- Baking soda
- Baking powder
- Salt
Whisk everything together thoroughly to distribute the leavening agents evenly throughout the flour.
Step 4: Combine the Wet Ingredients
In a separate bowl, add:
- Sugar
- Vegetable oil
- Yogurt
- Vanilla extract
- Red food coloring
- Homemade buttermilk
Whisk until the mixture becomes smooth and evenly colored.
Step 5: Create the Cake Batter
Gradually add the dry ingredients into the wet ingredients. Fold everything together gently using a spatula or whisk until no dry streaks remain.
Be careful not to overmix. A few tiny lumps are perfectly fine and will disappear during baking. Overmixing can make the cake dense instead of soft and fluffy.
At this stage, your batter should have a rich crimson color and a silky consistency that slowly flows from the spoon without being too thick or too runny.
Step 6: Bake the Cake
Pour the prepared batter into your greased cake pan or baking dish. Gently tap the pan on the counter two or three times to remove any large air bubbles trapped inside the batter.
If Using a Countertop Oven
Preheat the oven to 350°F (175°C). Bake for approximately 28 to 35 minutes, depending on the size and depth of your pan.
If Using a Convection Microwave
Use the convection baking setting and preheat if your appliance allows it. Bake at 350°F (175°C) for about 30 minutes.
If Using an Air Fryer with Baking Function
Place the pan inside the basket and bake at 320°F to 330°F (160°C to 165°C) for around 22 to 28 minutes. Since air fryer models vary, begin checking a few minutes early.
The cake is done when a toothpick inserted into the center comes out clean or with only a few moist crumbs attached. Avoid opening the oven door repeatedly during baking, as sudden temperature changes can cause the cake to sink.
Once baked, allow the cake to cool in the pan for about 10 minutes before transferring it to a cooling rack or large plate. Never frost a warm cake, as the frosting will melt and slide off.
Step 7: Prepare the Cream Cheese Frosting
While the cake cools, prepare the frosting.
In a clean mixing bowl, beat the softened cream cheese and butter until smooth and creamy. There should be no lumps.
Gradually add the powdered sugar, one cup at a time, mixing well after each addition. Finally, add the vanilla extract. If the frosting seems too thick, add one tablespoon of milk at a time until it reaches a smooth, spreadable consistency.
For the best results, place the frosting in the refrigerator for 15 to 20 minutes before decorating. Slightly chilled frosting is easier to spread and creates cleaner layers.
Step 8: Assemble and Decorate
If you baked the cake in a single deep pan, carefully slice it horizontally into two even layers using a serrated knife.
Place the first layer onto your serving plate and spread a generous amount of cream cheese frosting across the top.
Carefully position the second layer on top and cover the entire cake with another layer of frosting. Do not worry about making it absolutely perfect. Slight swirls and rustic textures often make homemade cakes look even more inviting.
Decorate using any of these simple ideas:
- Sprinkle red velvet crumbs around the edges.
- Add white chocolate curls for elegance.
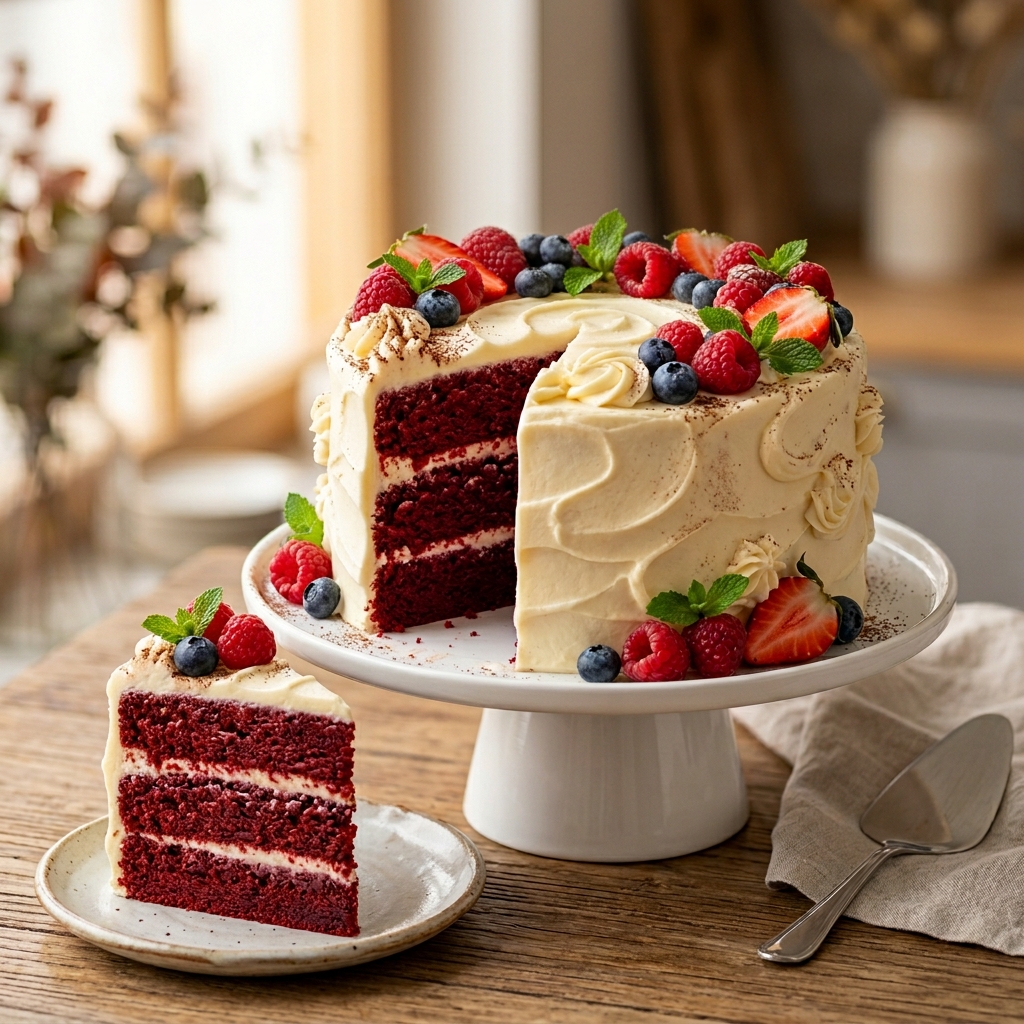
- Arrange fresh strawberries on top.
- Dust lightly with powdered sugar.
- Pipe small frosting swirls around the border.
A beautifully decorated homemade cake does not need complicated techniques. Clean edges, balanced decoration, and vibrant colors are often all you need.
Delicious Variations to Try
One of the reasons this recipe is so popular is that it can easily be adapted to suit different tastes and situations.
Red Velvet Mug Cake
Living in a dorm sometimes means you only want a single serving. Simply divide the batter into microwave-safe mugs and cook for a few minutes until set. Top with a spoonful of frosting for an instant dessert.
Mini Cupcakes
Pour the batter into cupcake liners and reduce the baking time. These are perfect for study groups, birthdays, or sharing with roommates.
Dairy-Free Version
Replace the milk with almond, oat, or soy milk, use dairy-free yogurt, and substitute the cream cheese frosting with a plant-based alternative.
Chocolate Chip Red Velvet Cake
Fold a handful of mini chocolate chips into the batter before baking for extra richness and texture.
Berry Red Velvet Cake
Add fresh raspberries or chopped strawberries between the layers to introduce a refreshing fruity contrast.
Simple Student Version
If cream cheese is difficult to find or too expensive, a basic vanilla buttercream frosting works wonderfully and still creates a delicious cake.
Expert Tips for Bakery-Style Results
Professional bakers know that small details often make the biggest difference.
Measure Ingredients Accurately
Scooping flour directly with the measuring cup can pack it too tightly, leading to a dry cake. Fluff the flour first and level it with a knife.
Do Not Overmix
Mix only until the ingredients are combined. Excessive mixing develops gluten, making the cake tougher.
Use Room Temperature Ingredients
Milk, yogurt, butter, and cream cheese blend more smoothly when they are not cold.
Choose Gel Food Coloring
Gel coloring creates a deeper, richer red while using less product than liquid coloring.
Let the Cake Cool Completely
Patience is important. Frosting a warm cake can ruin all your hard work.
Save the Cake Crumbs
Trimmed edges and leftover crumbs make beautiful natural decorations for the finished cake.
Keep It Simple
Dorm kitchen baking is about making the most of limited resources. Focus on flavor and texture rather than perfect decorations.
Make Ahead Options
This recipe is surprisingly convenient for busy students.
Prepare the Batter Early
The dry ingredients can be mixed together and stored in an airtight container for several weeks. When ready to bake, simply add the wet ingredients.
Bake the Cake One Day Ahead
Wrap the cooled cake layers tightly in plastic wrap and store them at room temperature overnight before frosting.
Make the Frosting in Advance
Cream cheese frosting can be prepared up to three days ahead and refrigerated in a sealed container. Allow it to soften slightly before using.
Freeze for Future Celebrations
The unfrosted cake layers freeze very well. Wrap each layer securely and freeze for up to two months.
What to Serve with Eggless Red Velvet Cake
Although this cake is wonderful on its own, pairing it with the right drink or side can make the experience even better.
Some excellent options include:
- Freshly brewed coffee
- Hot chocolate
- Vanilla latte
- Cold milk
- Strawberry milkshake
- Fresh berries
- Vanilla ice cream
- Chocolate ice cream
- Whipped cream
- Caramel drizzle
For college parties or movie nights, serving slices alongside coffee or milkshakes creates a simple but memorable dessert spread.
How to Store the Cake
Proper storage helps maintain the cake’s moisture and freshness.
At Room Temperature
If your room is cool, the frosted cake can stay covered for about one day.
In the Refrigerator
Store the cake in an airtight container for up to five days. The cream cheese frosting stays fresh and the sponge remains moist.
Before serving, allow refrigerated slices to sit at room temperature for about 15 minutes for the best flavor and texture.
In the Freezer
Wrap individual slices tightly in plastic wrap and place them in a freezer-safe container. They can be frozen for up to two months.
Thaw overnight in the refrigerator before enjoying.
Frequently Asked Questions
1. Can I make this recipe without an oven?
Yes. A convection microwave or an air fryer with a baking setting works very well for this recipe.
2. Why is there vinegar in red velvet cake?
Vinegar reacts with the baking soda to create lift and helps produce the soft, fluffy texture that makes red velvet cake unique.
3. Will the cake taste like vinegar?
Not at all. The vinegar simply supports the baking process and disappears into the final flavor.
4. Can I use natural food coloring?
Yes. Beetroot powder or natural red coloring can be used, although the final color may be softer than traditional bakery-style red velvet.
5. Can I make this cake completely vegan?
Absolutely. Replace the milk, yogurt, cream cheese, and butter with plant-based alternatives.
6. What if I do not have cream cheese?
A simple vanilla buttercream frosting is an excellent substitute and is often more budget-friendly for students.
7. How do I know when the cake is fully baked?
Insert a toothpick into the center. If it comes out clean or with a few moist crumbs, the cake is ready.
8. Why did my cake turn out dense?
The most common causes are overmixing the batter or using too much flour. Gentle mixing and accurate measurements help create a light texture.
9. Can I turn this recipe into cupcakes?
Yes. Divide the batter into cupcake liners and reduce the baking time to approximately 18 to 22 minutes.
10. Is this recipe beginner-friendly?
Definitely. It was specifically designed for college students and first-time bakers who may only have basic equipment and limited kitchen space.
Eggless Red Velvet Cake for College Students in Dorm Kitchens
Ingredients
Equipment
Method
- Lightly grease a 7-inch or 8-inch cake pan and line the bottom with parchment paper if available. Preheat your oven or baking appliance to 350°F (175°C).
- Mix the milk and white vinegar together and let it sit for 5–10 minutes until slightly curdled.
- In a large bowl, whisk together the flour, cocoa powder, baking soda, baking powder, and salt.
- In another bowl, combine the sugar, vegetable oil, yogurt, vanilla extract, red food coloring, and prepared buttermilk. Whisk until smooth.
- Gradually add the dry ingredients into the wet ingredients, mixing gently until just combined. Do not overmix.
- Pour the batter into the prepared pan and bake for 28–35 minutes, or until a toothpick inserted into the center comes out clean.
- Allow the cake to cool in the pan for 10 minutes before transferring to a cooling rack.
- Beat the cream cheese and butter until smooth. Gradually mix in the powdered sugar, then add the vanilla extract. Add a little milk if necessary to reach a spreadable consistency.
- Once the cake has completely cooled, frost the top and sides evenly. Decorate with cake crumbs, white chocolate shavings, or fresh strawberries if desired.
Notes
Do not overmix the batter, as this can make the cake dense.
Always allow the cake to cool completely before frosting.
For a dairy-free version, use plant-based milk, dairy-free yogurt, and vegan cream cheese and butter.
The cake can be baked a day ahead and frosted before serving.
Store leftovers in an airtight container in the refrigerator for up to 5 days.
This recipe can also be converted into 10–12 cupcakes by reducing the baking time to 18–22 minutes.