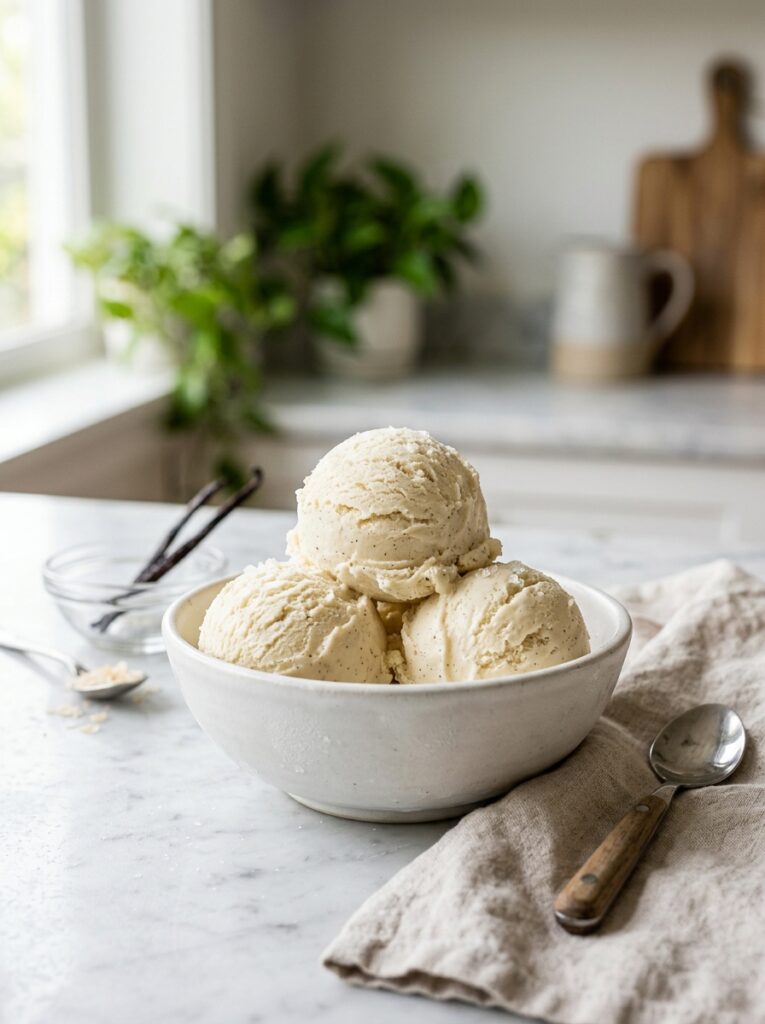
There is something undeniably comforting about a scoop of homemade vanilla ice cream. Its rich, creamy texture and timeless flavor have made it one of the world’s most beloved desserts for generations. Yet many people assume that making ice cream at home requires expensive equipment, specialized knowledge, or a bulky ice cream maker that takes up precious kitchen space. The good news? None of those things are necessary.
This no-churn vanilla ice cream recipe proves that anyone can create a luxurious frozen dessert using simple ingredients and basic kitchen tools. Whether you’re a busy parent looking for an easy summer treat, a college student working with limited kitchen equipment, or simply someone who wants delicious homemade ice cream without the hassle, this recipe delivers incredible results every time.
Unlike traditional ice cream recipes that require cooking custards, monitoring temperatures, and churning for extended periods, this version simplifies the entire process while still producing a smooth, creamy, and flavorful dessert. With just a few ingredients and a little patience while it freezes, you’ll have a frozen treat that rivals many store-bought premium brands.
The best part is that no-churn ice cream is extremely beginner-friendly. Even if you’ve never made homemade ice cream before, you can confidently follow this recipe and enjoy impressive results. Once you discover how easy it is, you may never look at supermarket ice cream the same way again.
Why This No-Churn Ice Cream Works So Well
Many people wonder how ice cream can be creamy without being churned. Traditionally, churning serves an important purpose: it incorporates air into the mixture and prevents large ice crystals from forming. Without churning, homemade ice cream can become icy and hard.
The secret behind this recipe lies in the combination of sweetened condensed milk and whipped cream.
Sweetened condensed milk provides sweetness while also reducing the amount of free water in the mixture. Less water means fewer ice crystals during freezing. This helps create a smoother texture that closely resembles traditional ice cream.
Meanwhile, whipped cream introduces air into the mixture before freezing. Those tiny air pockets help produce the light, fluffy consistency that makes each scoop feel luxurious and creamy. Together, these ingredients create a perfect balance that allows you to skip the ice cream maker entirely.
Another reason this recipe is so popular is its versatility. Once you master the vanilla base, you can create countless flavor variations using fruits, cookies, chocolate, nuts, candies, and sauces. Think of this vanilla version as your foundation for an endless world of homemade frozen desserts.
The Secret to Exceptional Vanilla Flavor
Vanilla may seem simple, but achieving outstanding vanilla flavor requires more than simply pouring in a little extract.
Because vanilla is the star of this recipe, quality matters. Pure vanilla extract offers a depth of flavor that artificial vanilla simply cannot match. Real vanilla contains hundreds of flavor compounds that create its signature warm, aromatic character.
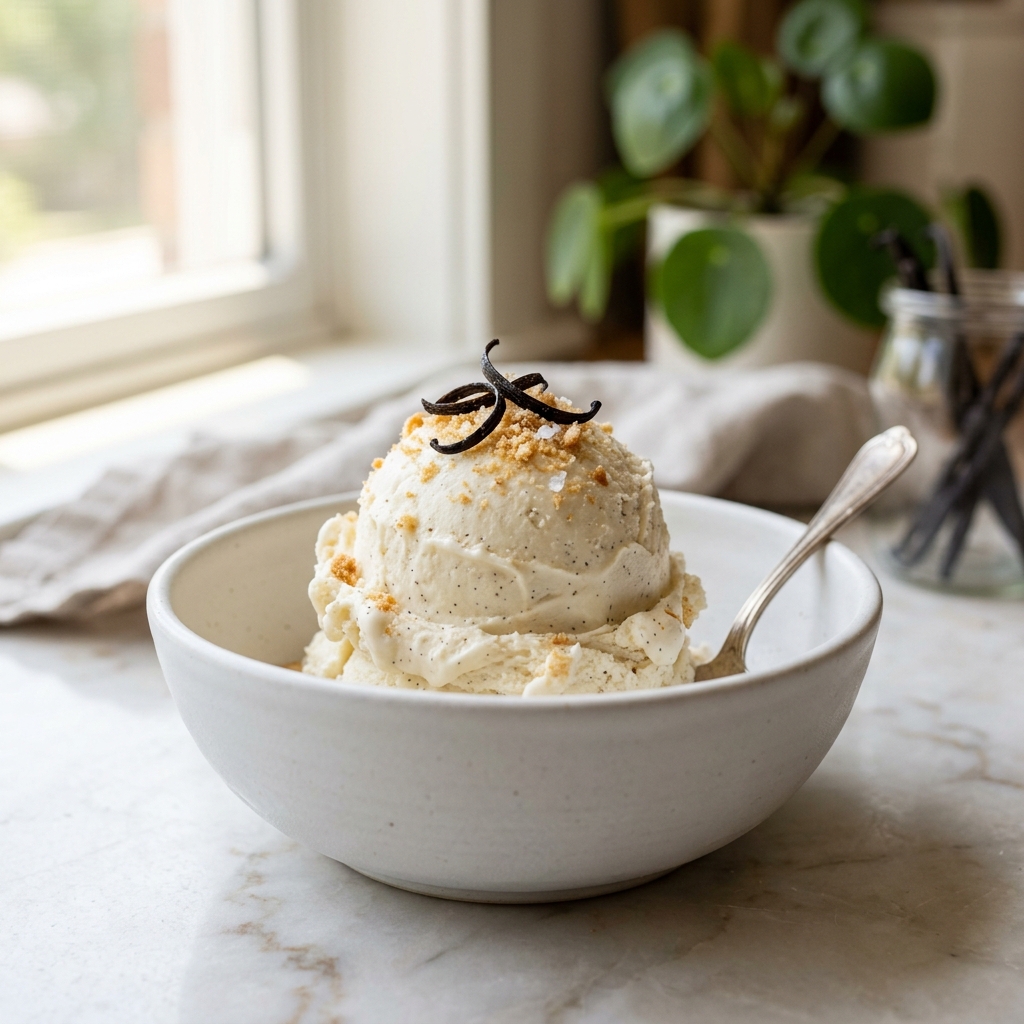
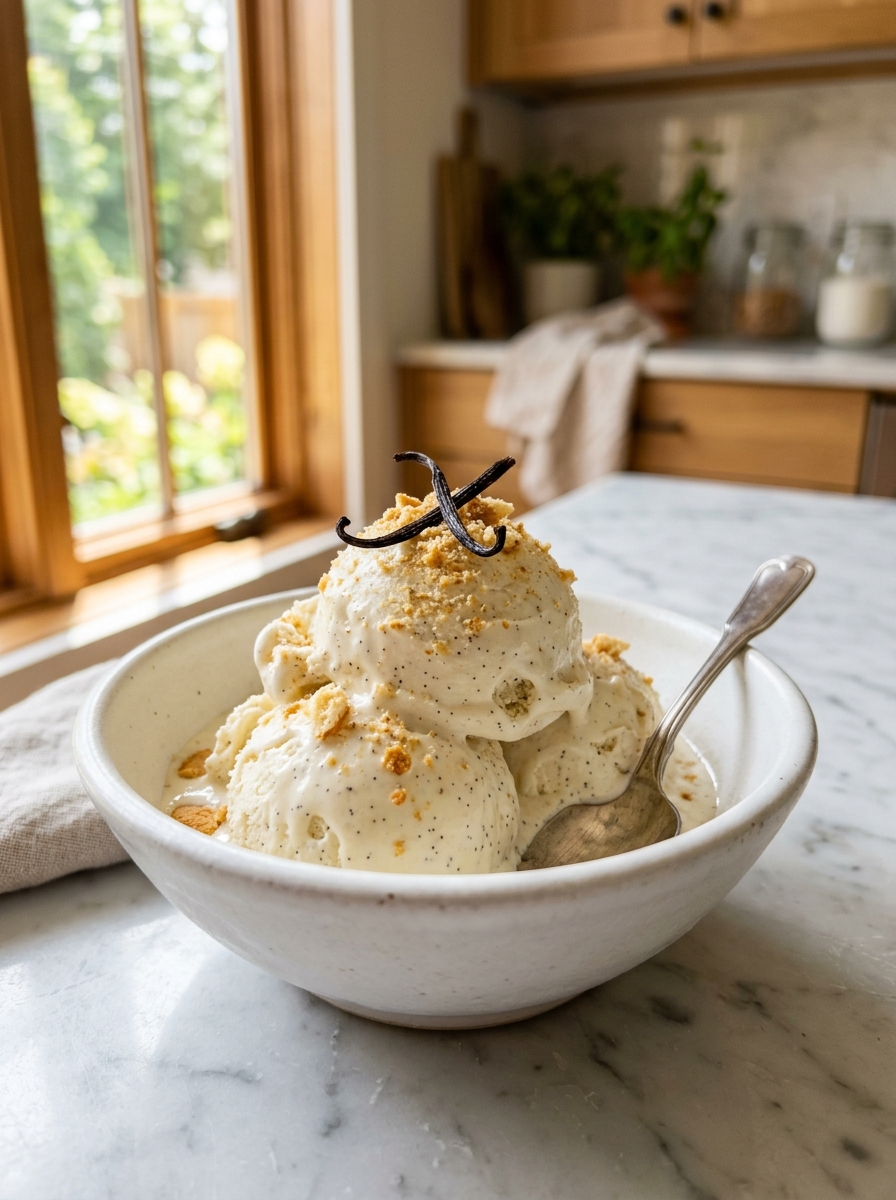
For those who want to elevate their ice cream even further, vanilla bean paste or fresh vanilla beans can transform this dessert into something truly special. The tiny black specks throughout the ice cream not only look beautiful but also provide an intense vanilla aroma that feels luxurious and gourmet.
Many professional pastry chefs consider vanilla one of the most difficult flavors to perfect because there are no other ingredients to hide behind. Every ingredient must work together harmoniously. Fortunately, this recipe is designed to let the vanilla shine while maintaining an incredibly creamy texture.
Ingredients for No-Churn Vanilla Ice Cream
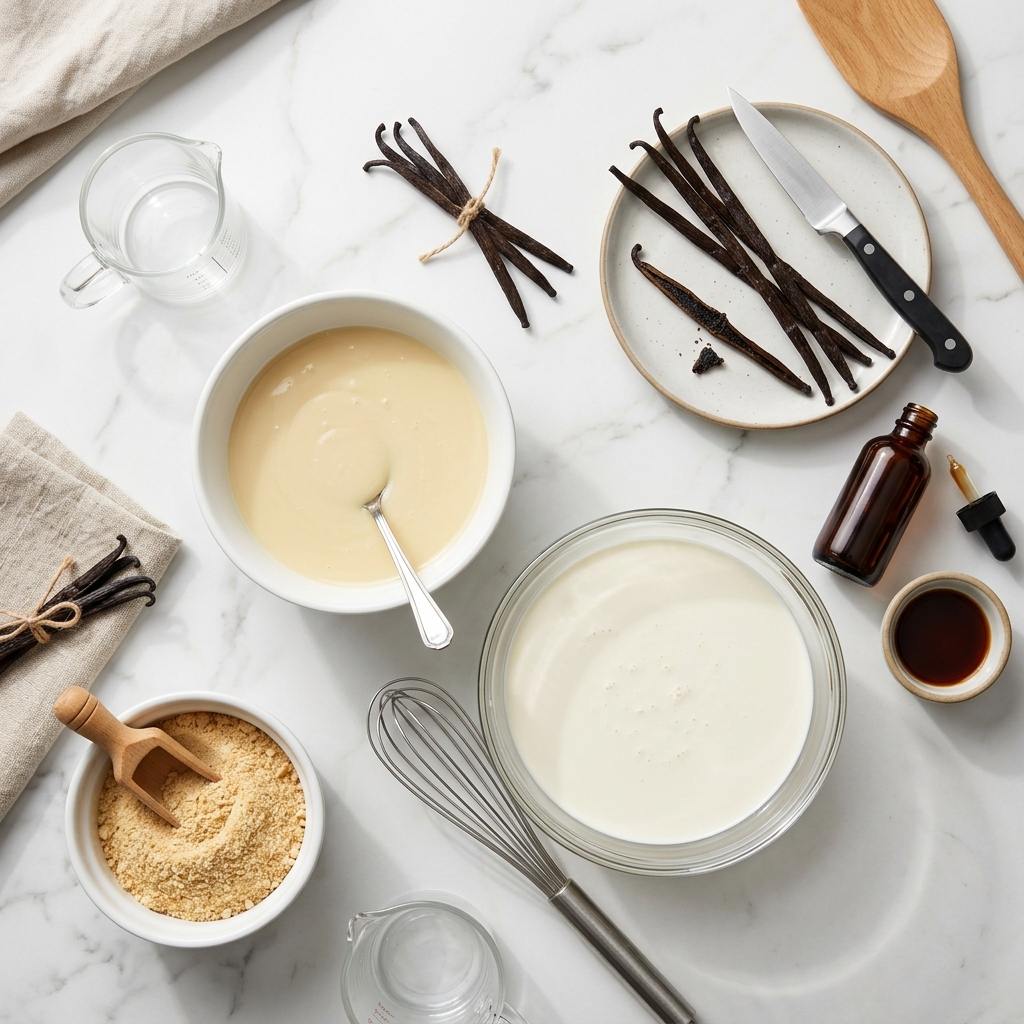
One of the reasons this recipe has become so popular is its short ingredient list. Every ingredient plays an important role in creating the perfect frozen dessert.
Sweetened Condensed Milk
1 can (14 ounces or approximately 397 grams) sweetened condensed milk
This ingredient provides sweetness and contributes significantly to the smooth texture. It also helps prevent the ice cream from becoming overly icy during freezing.
Heavy Whipping Cream
2 cups cold heavy whipping cream
Heavy cream is responsible for the rich, creamy texture. For best results, use cream containing at least 35% milk fat. The higher fat content helps create a more luxurious mouthfeel.
Pure Vanilla Extract
2 teaspoons pure vanilla extract
Pure vanilla extract delivers authentic flavor and aroma. Avoid imitation vanilla if possible for the best results.
Fine Sea Salt
1 pinch fine sea salt
A small amount of salt enhances the sweetness and helps bring out the natural vanilla flavor.
Optional Premium Additions
While not required, these ingredients can elevate the recipe even further:
- 1 teaspoon vanilla bean paste
- Seeds from 1 vanilla bean
- 2 tablespoons crushed vanilla wafers for garnish
- Whipped cream for serving
- Fresh berries for presentation
Ingredient Tips for Success
Before starting, there are a few important details that can significantly improve your final results.
First, ensure your heavy cream is thoroughly chilled. Cold cream whips more efficiently and creates a more stable structure.
Second, chill your mixing bowl for about 15 minutes before whipping the cream. Professional bakers often use this trick to achieve maximum volume.
Third, use high-quality vanilla whenever possible. Since vanilla is the primary flavor, investing in a good extract makes a noticeable difference.
Finally, avoid reducing the sweetened condensed milk. Although it may seem like a way to make the recipe less sweet, doing so can negatively affect the texture and freezing properties.
Step-by-Step Preparation Guide
Step 1: Prepare Your Equipment
Gather all ingredients and equipment before beginning.
You will need:
- Large mixing bowl
- Electric hand mixer or stand mixer
- Rubber spatula
- Measuring spoons
- Freezer-safe container with lid
If possible, place your mixing bowl and mixer beaters in the refrigerator for about 15 minutes before starting.
Step 2: Mix the Flavor Base
In a large bowl, combine the sweetened condensed milk, vanilla extract, and pinch of salt.
Whisk until everything is fully blended and smooth.
If using vanilla bean paste or fresh vanilla bean seeds, add them now and stir thoroughly.
Set the mixture aside while preparing the whipped cream.
Step 3: Whip the Cream
Pour the cold heavy whipping cream into a separate chilled mixing bowl.
Using an electric mixer, begin whipping on medium speed.
Gradually increase to medium-high speed and continue whipping until stiff peaks form.
This process typically takes 3 to 5 minutes depending on your mixer.
When you lift the beaters, the cream should stand upright without collapsing. Be careful not to overwhip, as this can cause the cream to become grainy.
Step 4: Fold the Mixtures Together
Add approximately one-third of the whipped cream to the condensed milk mixture.
Gently stir until combined.
This initial addition lightens the base and makes it easier to incorporate the remaining whipped cream.
Next, add the remaining whipped cream in two additions.
Using a rubber spatula, carefully fold the mixture together.
Work slowly and gently, scraping along the bottom and sides of the bowl while lifting the mixture over itself.
Avoid aggressive stirring, which can deflate the air that gives the ice cream its creamy texture.
Continue folding until no streaks remain and the mixture appears smooth and uniform.
Step 5: Transfer to a Freezer Container
Pour the finished mixture into a freezer-safe container.
Spread it evenly using a spatula.
For a decorative touch, sprinkle a few crushed vanilla wafer crumbs on top or gently swirl in extra vanilla bean paste.
Smooth the surface before covering.
Step 6: Freeze Properly
Cover the container tightly with a lid or plastic wrap.
Place it in the coldest part of your freezer.
Allow the ice cream to freeze for at least 6 hours.
For best results, freeze overnight.
Patience is important here. Proper freezing allows the structure to fully set and creates the creamy consistency that makes this recipe so enjoyable.
Step 7: Scoop and Serve
Remove the ice cream from the freezer approximately 5 to 10 minutes before serving.
Allowing it to soften slightly makes scooping easier and improves the texture.
Use an ice cream scoop dipped in warm water for clean, professional-looking scoops.
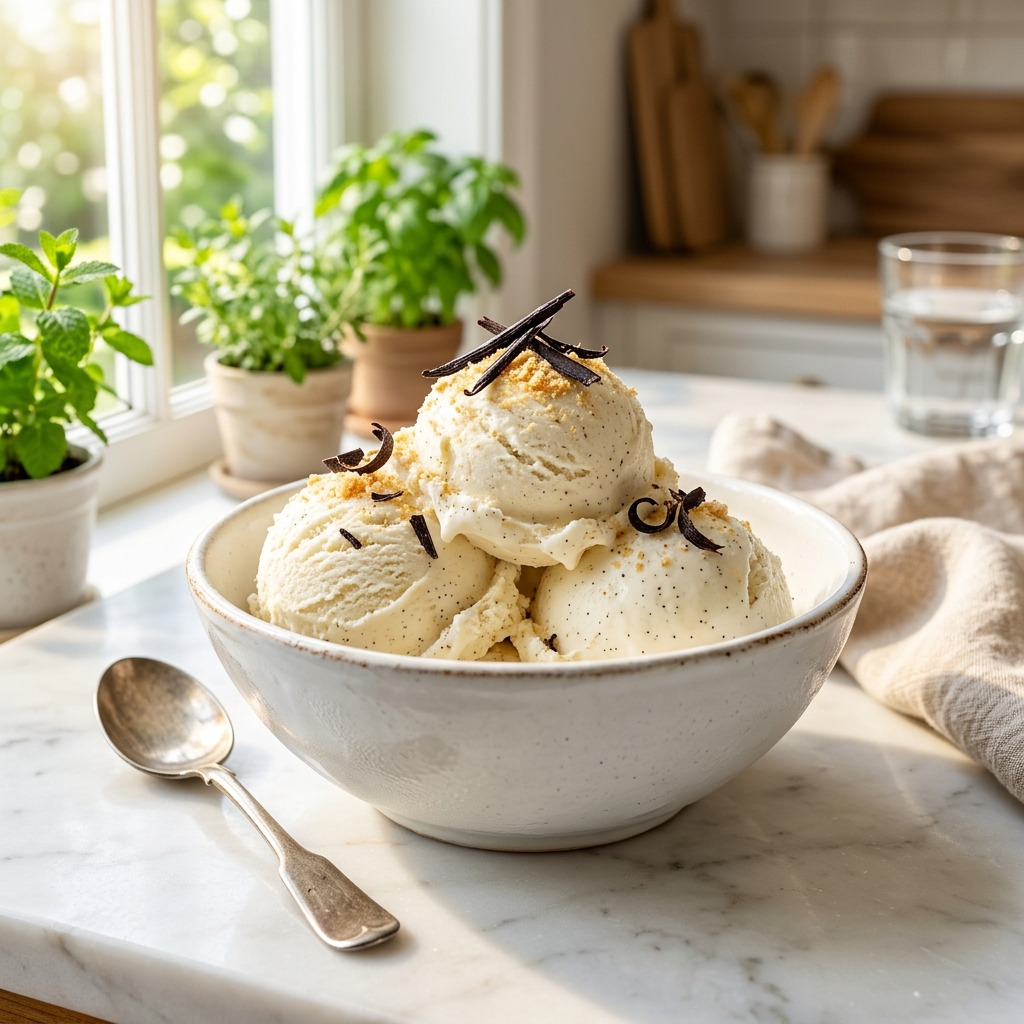
Serve in bowls, cones, waffle cups, or alongside your favorite desserts.
The result is a rich, creamy vanilla ice cream with an incredibly smooth texture and authentic homemade flavor that few people would guess was made without an ice cream maker.
Delicious Variations to Try
One of the greatest advantages of this no-churn vanilla ice cream recipe is its versatility. Once you’ve mastered the basic version, you can customize it in countless ways to create new flavors for every season, celebration, or craving.
Vanilla Bean Luxury Ice Cream
For a premium ice cream shop experience, replace some or all of the vanilla extract with vanilla bean paste or the seeds from a whole vanilla bean. The tiny specks throughout the ice cream add visual appeal while intensifying the vanilla flavor.
Chocolate Chip Vanilla Ice Cream
Fold 1 cup of mini chocolate chips into the mixture just before transferring it to the freezer container. Mini chips distribute more evenly and create a pleasant texture in every bite.
Cookies and Cream
Gently fold in 10 to 12 crushed chocolate sandwich cookies after combining the whipped cream and condensed milk mixture. Leave some larger cookie pieces for added texture.
Strawberry Vanilla Ice Cream
Add 1 cup of finely chopped fresh strawberries that have been patted dry. You can also swirl in a homemade strawberry sauce before freezing.
Caramel Swirl Ice Cream
Drizzle caramel sauce throughout the mixture as you transfer it to the container. Use a knife or skewer to create beautiful swirls without fully mixing the caramel into the base.
Coffee Vanilla Ice Cream
Dissolve 1 tablespoon of instant espresso powder in 1 teaspoon of warm water and add it to the condensed milk mixture. This creates a delicious coffee-vanilla flavor that pairs wonderfully with desserts.
Birthday Cake Ice Cream
Fold in colorful sprinkles and small pieces of vanilla cake for a festive treat that is perfect for celebrations and special occasions.
Nut Lover’s Vanilla Ice Cream
Add chopped toasted almonds, pecans, walnuts, or pistachios for extra crunch and flavor. Toasting the nuts beforehand enhances their natural richness.
Honey Vanilla Ice Cream
Replace a small portion of the vanilla extract with high-quality honey for a subtly floral sweetness that complements the creamy base beautifully.
Expert Tips for Perfect No-Churn Ice Cream Every Time
Even though this recipe is simple, a few professional techniques can make the difference between good ice cream and truly exceptional ice cream.
Use Very Cold Cream
Heavy cream whips best when thoroughly chilled. If your kitchen is warm, consider placing the cream in the coldest section of your refrigerator for several hours before starting.
Don’t Rush the Whipping Process
Whipping cream too quickly can sometimes result in uneven texture. Gradually increasing the mixer speed allows the cream to develop stable volume.
Stop at Stiff Peaks
Overwhipped cream can become grainy and affect the final texture of the ice cream. Watch carefully and stop mixing as soon as stiff peaks form.
Fold Gently
The air trapped in the whipped cream creates the light texture that makes no-churn ice cream successful. Rough mixing can deflate the mixture and produce a denser final product.
Freeze in a Shallow Container
A shallow container freezes more evenly than a deep one. Faster and more uniform freezing often leads to a smoother texture.
Cover Properly
Ice cream absorbs odors easily. Always use an airtight container or cover the surface tightly before freezing.
Let It Rest Before Scooping
Freshly frozen ice cream can be very firm. Allowing it to sit at room temperature for several minutes improves scoopability and texture.
Invest in Quality Vanilla
Since vanilla is the primary flavor, choosing a high-quality extract or vanilla bean paste delivers noticeable improvements in taste.
Make Ahead Options
This recipe is ideal for preparing in advance, making it perfect for parties, family gatherings, holidays, and special occasions.
Prepare Days Ahead
The ice cream can be made up to one week before serving. Simply keep it stored in an airtight freezer container until needed.
Prepare for Entertaining
If you’re hosting guests, make the ice cream several days ahead of time. This reduces stress on the day of the event and ensures dessert is ready whenever needed.
Create an Ice Cream Bar
Prepare the vanilla base ahead of time and set out toppings such as:
- Chocolate sauce
- Caramel sauce
- Fresh berries
- Crushed cookies
- Chopped nuts
- Sprinkles
- Whipped cream
- Mini chocolate chips
Guests can customize their own bowls or cones for a fun and interactive dessert experience.
Portion Before Freezing
For convenience, divide the mixture into individual freezer-safe containers before freezing. This creates ready-to-serve portions that are perfect for busy households.
What to Serve with No-Churn Vanilla Ice Cream
Although this ice cream is wonderful on its own, pairing it with other desserts can create an even more memorable experience.
Fresh Fruit
Fresh strawberries, raspberries, blueberries, peaches, and mangoes provide a refreshing contrast to the rich creaminess of the ice cream.
Warm Brownies
The combination of warm chocolate brownies and cold vanilla ice cream remains one of the most beloved dessert pairings for good reason.
Apple Pie
A scoop of vanilla ice cream melting over warm apple pie creates a classic dessert that never goes out of style.
Chocolate Cake
The rich chocolate flavor of cake pairs beautifully with the smooth vanilla notes of the ice cream.
Waffles and Pancakes
Serve a scoop on warm waffles or pancakes for an indulgent brunch or dessert option.
Chocolate Chip Cookies
Homemade cookies and vanilla ice cream create an irresistible combination, especially when used to make ice cream sandwiches.
Fruit Cobblers
Peach cobbler, berry cobbler, and mixed-fruit crisps all benefit from a generous scoop of vanilla ice cream.
Coffee or Espresso
The creamy sweetness of vanilla ice cream complements the bold flavors of coffee and espresso remarkably well.
How to Store No-Churn Vanilla Ice Cream
Proper storage helps maintain the smooth texture and fresh flavor of homemade ice cream.
Store in an Airtight Container
Always transfer the ice cream to a freezer-safe airtight container. This prevents freezer burn and protects the flavor.
Keep It Covered
For additional protection, place a layer of plastic wrap directly on the surface before sealing the container.
Store in the Coldest Part of the Freezer
Avoid placing the container in the freezer door, where temperatures fluctuate frequently.
Consume Within Two Weeks
While the ice cream remains safe longer, the best flavor and texture are typically enjoyed within two weeks of preparation.
Avoid Frequent Thawing and Refreezing
Repeated temperature changes can encourage ice crystal formation and negatively affect texture.
Frequently Asked Questions
1. Do I really need an ice cream maker for homemade ice cream?
No. This recipe was specifically designed to create creamy, delicious ice cream without any ice cream maker or specialized equipment.
2. Can I use low-fat cream?
Heavy whipping cream is strongly recommended because its fat content creates the rich texture associated with traditional ice cream. Lower-fat alternatives may produce less creamy results.
3. Why is my ice cream icy?
Ice crystals usually develop when the ingredients were not mixed properly, the container was not sealed tightly, or the ice cream experienced temperature fluctuations during storage.
4. Can I use vanilla bean paste instead of vanilla extract?
Absolutely. Vanilla bean paste often provides an even richer flavor and attractive vanilla specks throughout the ice cream.
5. How long does the ice cream need to freeze?
At least 6 hours is recommended, but overnight freezing typically provides the best texture and scoopability.
6. Can I add mix-ins?
Yes. Chocolate chips, cookies, nuts, fruit, candy pieces, and sauces all work beautifully. Add them after folding the whipped cream and condensed milk together.
7. Is homemade no-churn ice cream as creamy as traditional ice cream?
While the texture differs slightly from churned custard-based ice cream, this recipe produces remarkably creamy results that many people find just as satisfying.
8. Can I make this recipe ahead for a party?
Definitely. In fact, preparing it one or two days in advance often improves convenience and allows the ice cream to fully set.
9. What container works best for freezing?
A shallow, airtight freezer-safe container typically produces the best results because it allows more even freezing.
10. Can children help make this recipe?
Yes. Since there is no cooking involved, this recipe is a fun family-friendly project. Children can help measure ingredients, mix the base, and add toppings under supervision.
Conclusion
This No-Churn Vanilla Ice Cream proves that extraordinary desserts don’t require complicated techniques or expensive equipment. With just a handful of ingredients and a simple process, anyone can create a rich, creamy frozen treat that tastes homemade in the very best way.
Whether you’re making it for a summer gathering, a family dessert night, a special celebration, or simply because you’re craving something sweet, this recipe delivers dependable results every time. The smooth texture, authentic vanilla flavor, and endless customization possibilities make it a recipe you’ll return to again and again.
Once you discover how easy homemade no-churn ice cream can be, you’ll realize that creating a freezer full of delicious desserts is far simpler than you ever imagined.
No-Churn Vanilla Ice Cream for People Without an Ice Cream Maker
Ingredients
Equipment
Method
- In a large mixing bowl, combine the sweetened condensed milk, vanilla extract, and sea salt. Whisk until smooth and fully combined.
- In a separate chilled bowl, pour in the cold heavy whipping cream. Using an electric mixer, whip until stiff peaks form, about 3 to 5 minutes.
- Add one-third of the whipped cream to the condensed milk mixture and stir gently to lighten the base.
- Fold in the remaining whipped cream in two additions using a rubber spatula. Continue folding until the mixture is smooth and no streaks remain.
- Pour the mixture into a freezer-safe container and spread evenly.
- If desired, sprinkle crushed vanilla wafers on top or swirl in vanilla bean paste for extra flavor.
- Cover tightly with a lid or plastic wrap.
- Place the container in the freezer for at least 6 hours, preferably overnight, until fully set.
- Remove the ice cream from the freezer 5 to 10 minutes before serving.
- Scoop into bowls or cones and enjoy.
Notes
Pure vanilla extract produces superior flavor compared to imitation vanilla.
For a gourmet version, add vanilla bean paste or fresh vanilla bean seeds.
Avoid overmixing after folding the whipped cream into the base, as this can reduce the airy texture.
Store in an airtight container to prevent freezer burn.
Homemade no-churn ice cream is best enjoyed within 2 weeks.
Let the ice cream sit at room temperature for a few minutes before scooping for the creamiest texture.
This recipe serves as a versatile base for mix-ins such as chocolate chips, cookie pieces, nuts, fruit, or caramel swirls.