Ingredients
Equipment
Method
Step 1: Prepare the Vanilla Base
- In a large mixing bowl, combine the sweetened condensed milk, vanilla extract, and sea salt. Whisk until smooth and fully combined.
Step 2: Whip the Cream
- In a separate chilled bowl, pour in the cold heavy whipping cream. Using an electric mixer, whip until stiff peaks form, about 3 to 5 minutes.
Step 3: Combine the Mixtures
- Add one-third of the whipped cream to the condensed milk mixture and stir gently to lighten the base.
- Fold in the remaining whipped cream in two additions using a rubber spatula. Continue folding until the mixture is smooth and no streaks remain.
Step 4: Transfer and Freeze
- Pour the mixture into a freezer-safe container and spread evenly.
- If desired, sprinkle crushed vanilla wafers on top or swirl in vanilla bean paste for extra flavor.
- Cover tightly with a lid or plastic wrap.
Step 5: Freeze
- Place the container in the freezer for at least 6 hours, preferably overnight, until fully set.
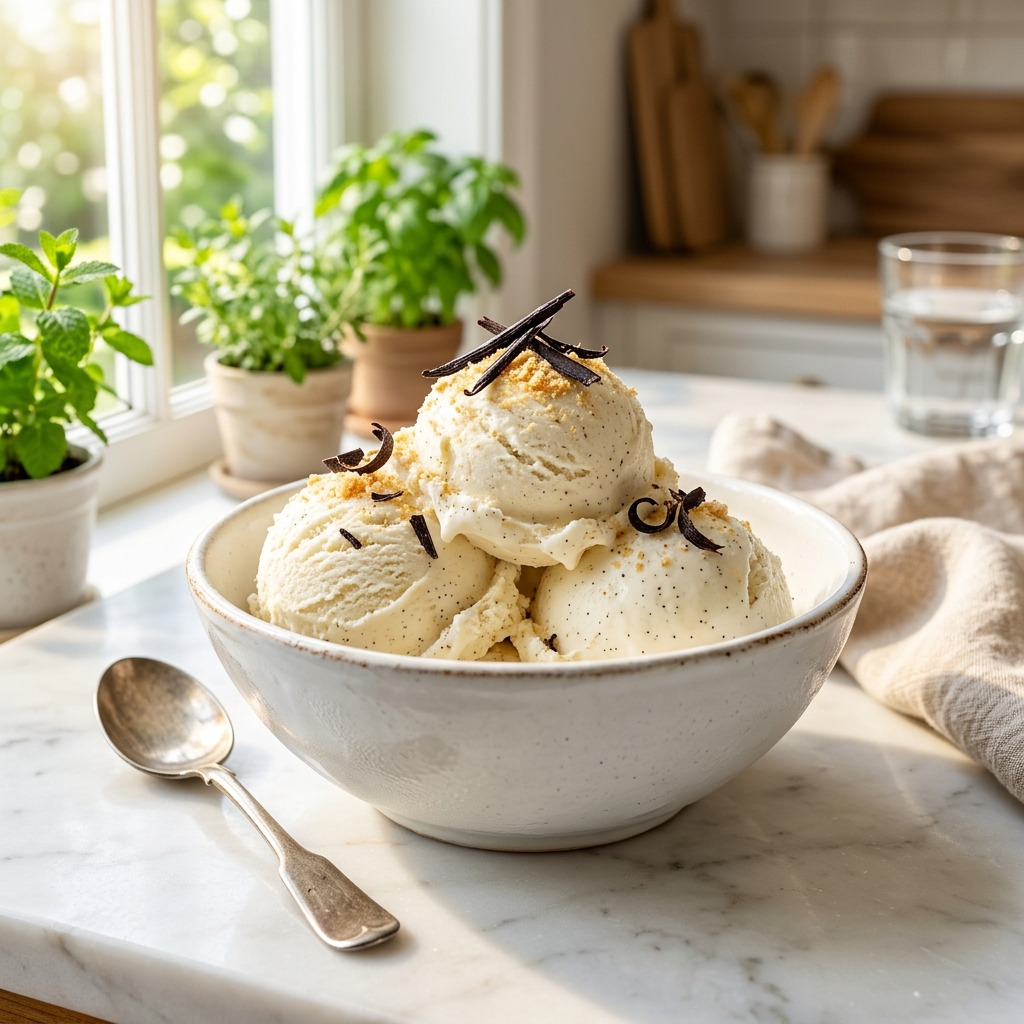
Step 6: Serve
- Remove the ice cream from the freezer 5 to 10 minutes before serving.
- Scoop into bowls or cones and enjoy.
Notes
Use very cold heavy cream for the best volume and texture.
Pure vanilla extract produces superior flavor compared to imitation vanilla.
For a gourmet version, add vanilla bean paste or fresh vanilla bean seeds.
Avoid overmixing after folding the whipped cream into the base, as this can reduce the airy texture.
Store in an airtight container to prevent freezer burn.
Homemade no-churn ice cream is best enjoyed within 2 weeks.
Let the ice cream sit at room temperature for a few minutes before scooping for the creamiest texture.
This recipe serves as a versatile base for mix-ins such as chocolate chips, cookie pieces, nuts, fruit, or caramel swirls.