Ingredients
Equipment
Method
Step 1: Prepare the Pan
- Lightly grease a 7-inch or 8-inch cake pan and line the bottom with parchment paper if available. Preheat your oven or baking appliance to 350°F (175°C).
Step 2: Make the Buttermilk
- Mix the milk and white vinegar together and let it sit for 5–10 minutes until slightly curdled.
Step 3: Combine Dry Ingredients
- In a large bowl, whisk together the flour, cocoa powder, baking soda, baking powder, and salt.
Step 4: Mix Wet Ingredients
- In another bowl, combine the sugar, vegetable oil, yogurt, vanilla extract, red food coloring, and prepared buttermilk. Whisk until smooth.
Step 5: Prepare the Batter
- Gradually add the dry ingredients into the wet ingredients, mixing gently until just combined. Do not overmix.
Step 6: Bake
- Pour the batter into the prepared pan and bake for 28–35 minutes, or until a toothpick inserted into the center comes out clean.
- Allow the cake to cool in the pan for 10 minutes before transferring to a cooling rack.
Step 7: Prepare the Frosting
- Beat the cream cheese and butter until smooth. Gradually mix in the powdered sugar, then add the vanilla extract. Add a little milk if necessary to reach a spreadable consistency.
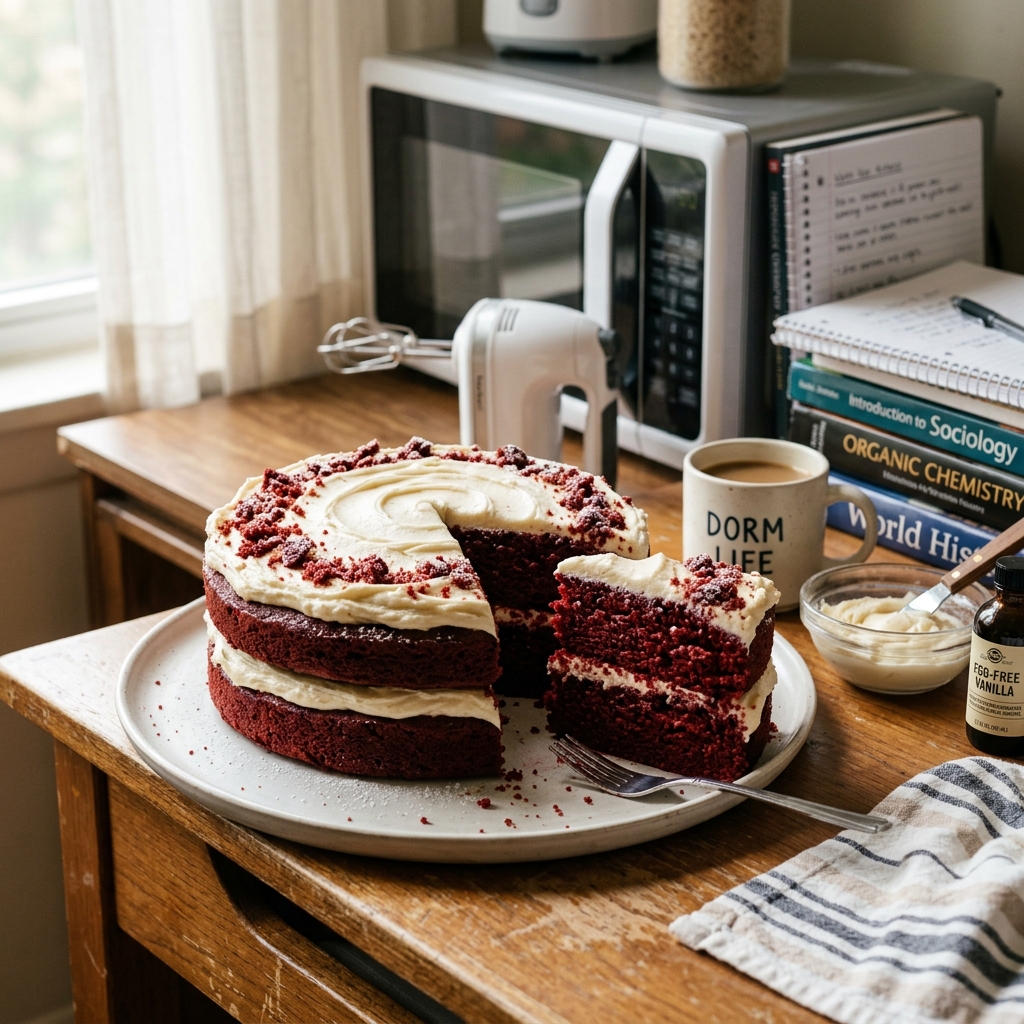
Step 8: Assemble
- Once the cake has completely cooled, frost the top and sides evenly. Decorate with cake crumbs, white chocolate shavings, or fresh strawberries if desired.
Notes
Gel food coloring provides a deeper, richer red color than liquid coloring.
Do not overmix the batter, as this can make the cake dense.
Always allow the cake to cool completely before frosting.
For a dairy-free version, use plant-based milk, dairy-free yogurt, and vegan cream cheese and butter.
The cake can be baked a day ahead and frosted before serving.
Store leftovers in an airtight container in the refrigerator for up to 5 days.
This recipe can also be converted into 10–12 cupcakes by reducing the baking time to 18–22 minutes.