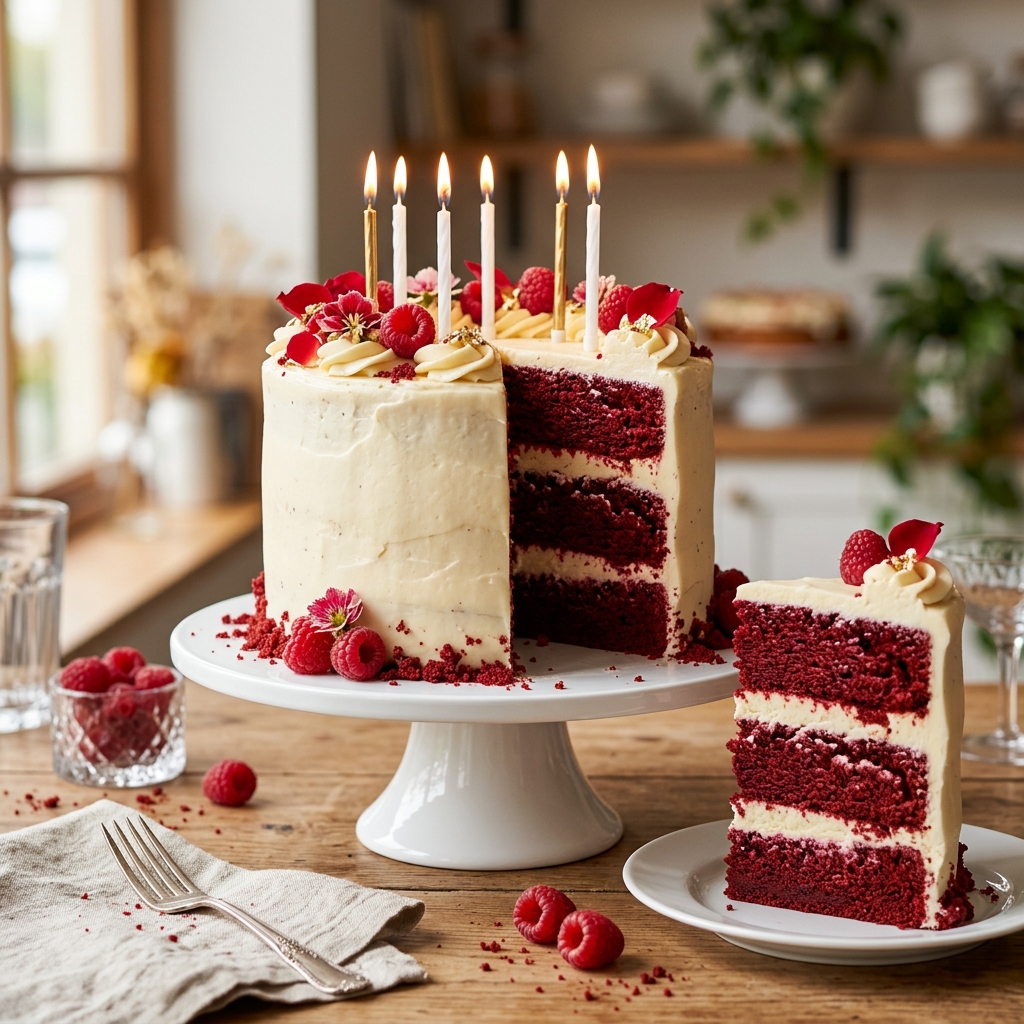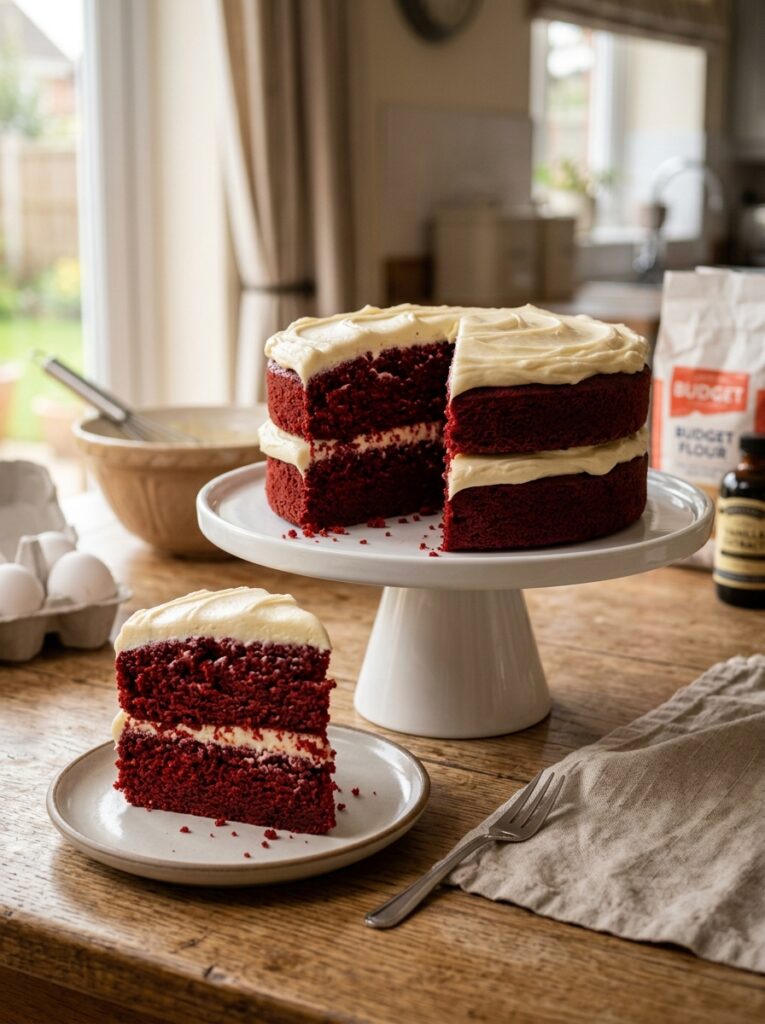
There is something magical about a homemade red velvet cake. The vibrant red layers, the creamy frosting, and the soft, velvety crumb instantly make any occasion feel special. Unfortunately, many people assume that red velvet cake is an expensive dessert reserved for bakeries, upscale celebrations, or households with large grocery budgets. The good news is that this simply isn’t true.
With the right ingredients and a few smart baking techniques, you can create a delicious red velvet cake that looks and tastes amazing without spending a fortune. This budget-friendly red velvet cake recipe was specifically designed for families who want to enjoy homemade desserts while keeping grocery costs under control. Whether you’re celebrating a birthday, hosting a family gathering, or simply craving something sweet, this recipe proves that great baking doesn’t have to come with a high price tag.
One of the best things about this cake is that it relies on affordable pantry staples that many households already have. Instead of expensive specialty ingredients, you’ll use simple, accessible items that come together to create a cake that tastes far more luxurious than its cost suggests. The result is a moist, tender, and flavorful dessert that delivers all the classic red velvet goodness you love while remaining budget-conscious.
Why This Budget Red Velvet Cake Is Worth Making
Many budget recipes sacrifice flavor in exchange for lower costs. This recipe does the exact opposite. Every ingredient has been carefully chosen to maximize taste, texture, and appearance while minimizing expense.
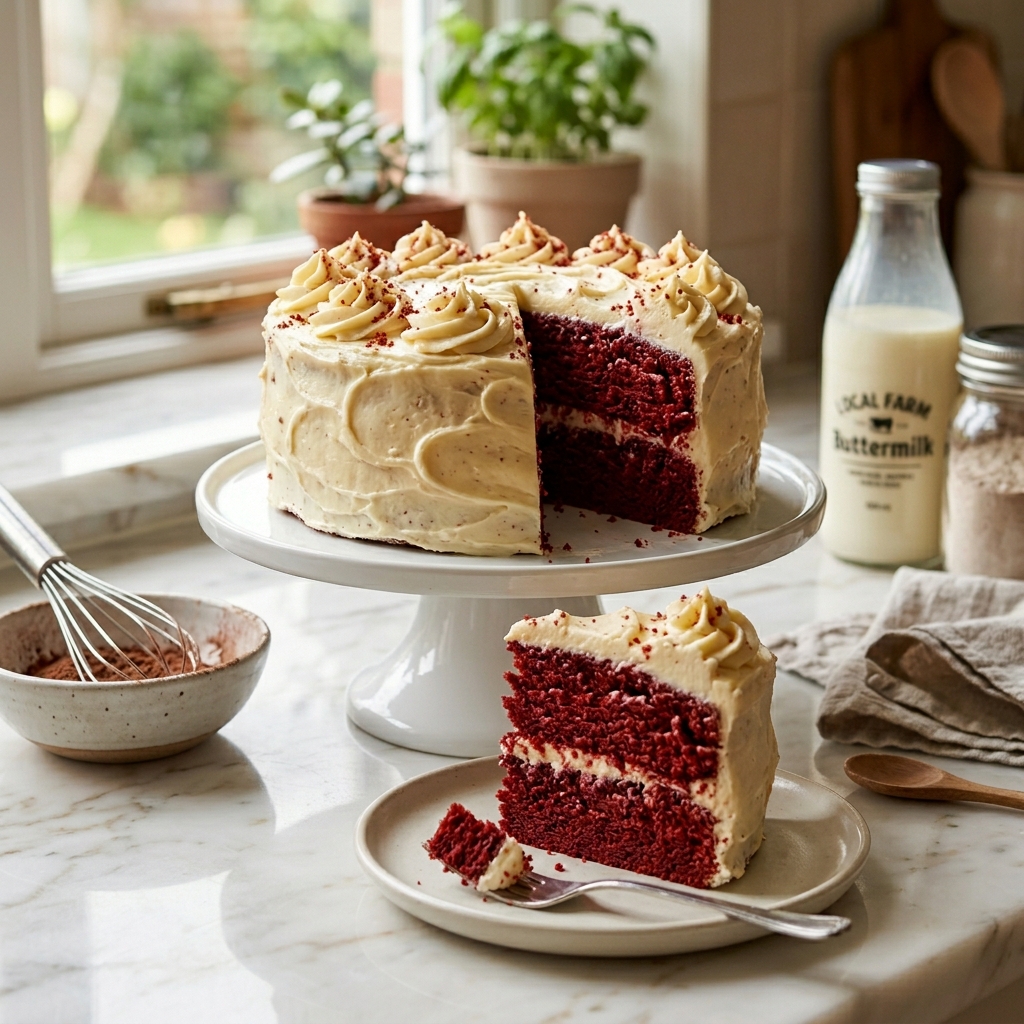
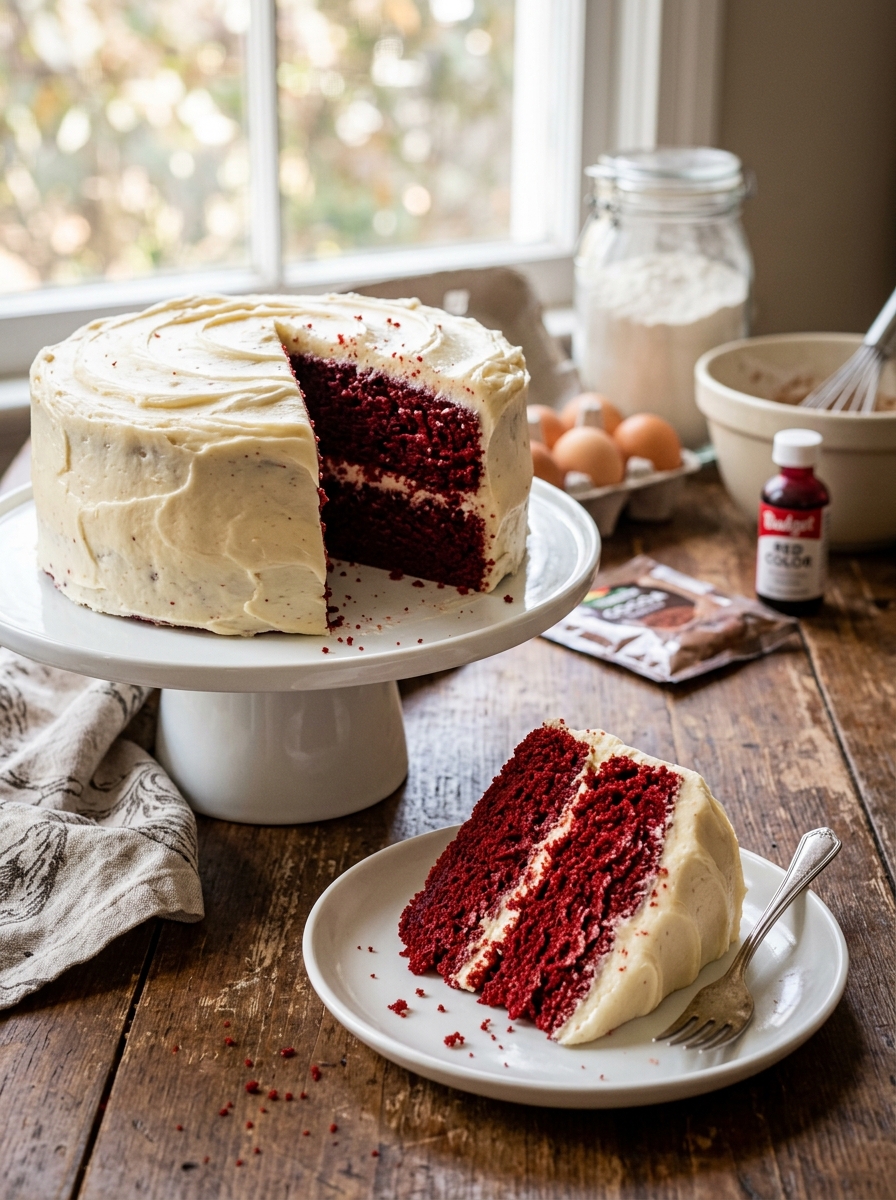
The cake itself is incredibly moist thanks to the combination of oil and buttermilk. The small amount of cocoa powder provides the subtle chocolate flavor that makes red velvet cake unique, while the red coloring creates the beautiful appearance people expect from this beloved dessert.
Another major advantage of this recipe is its versatility. It works equally well for birthdays, church gatherings, school events, family dinners, and holiday celebrations. Because the ingredients are affordable and easy to find, you can prepare this cake whenever the occasion calls for something special.
Perhaps most importantly, this recipe creates memories. Some of the most meaningful family moments happen around homemade food. A beautiful cake on the table can turn an ordinary day into something memorable, regardless of your budget.
The Secret Behind Great Red Velvet Cake
Many people believe that red velvet cake is simply chocolate cake dyed red. While it does contain cocoa powder, the reality is much more interesting.
Traditional red velvet cake gets its signature flavor from the interaction between cocoa powder, buttermilk, vinegar, and vanilla extract. These ingredients work together to create a flavor profile that is slightly tangy, lightly chocolaty, and wonderfully balanced.
The texture is equally important. Unlike dense chocolate cakes, red velvet cake should be soft, light, and tender. This delicate crumb is what gives the dessert its “velvet” name. When made correctly, every bite practically melts in your mouth.
The beauty of this budget version is that it maintains all these characteristics while using economical ingredients that won’t strain your grocery budget.
Ingredients
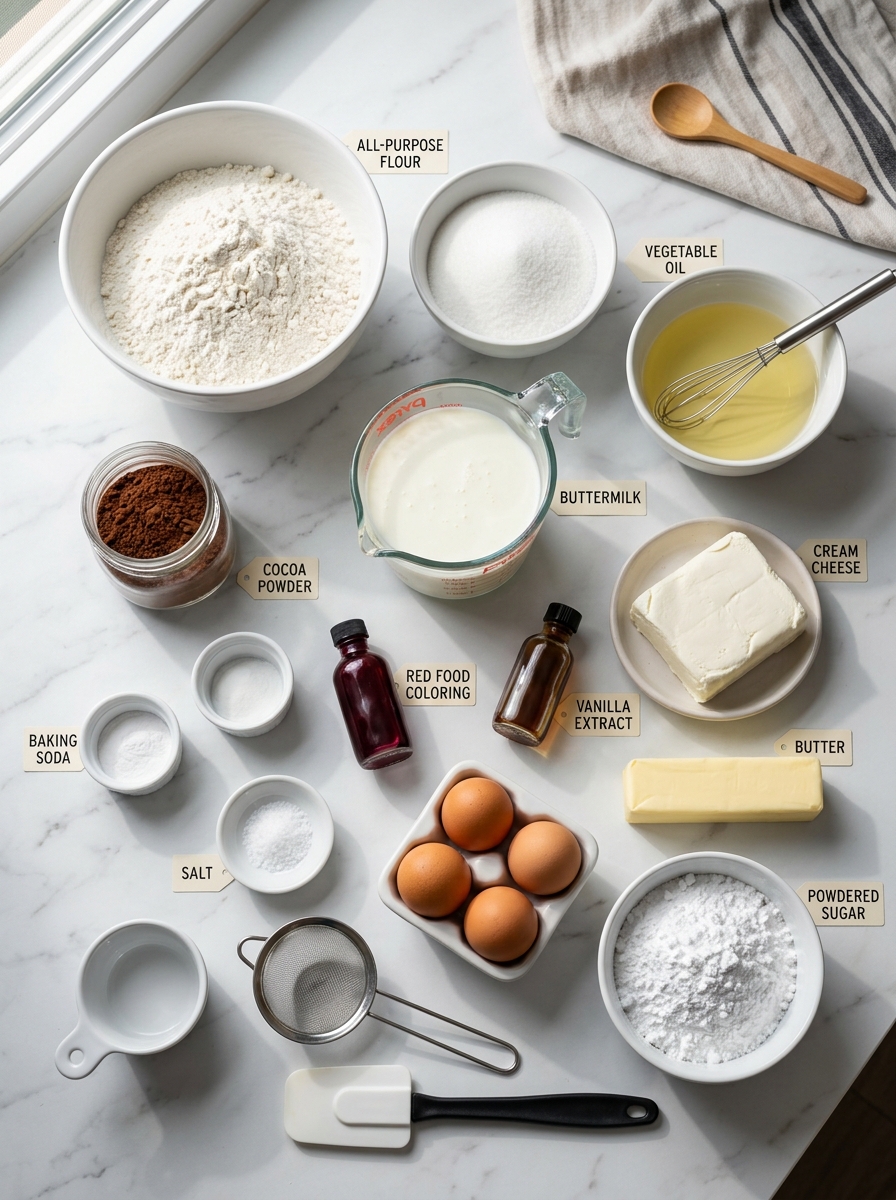
Before you begin baking, gather all ingredients and allow refrigerated items to come close to room temperature. This simple step helps create a smoother batter and a more evenly baked cake.
For the Cake
- 2½ cups all-purpose flour
- 1½ cups granulated sugar
- 1 tablespoon cocoa powder
- 1 teaspoon baking soda
- ½ teaspoon salt
- 1½ cups vegetable oil
- 1 cup buttermilk
- 2 large eggs
- 1 teaspoon vanilla extract
- 1 tablespoon white vinegar
- 1 to 2 tablespoons red food coloring
For the Frosting
- 8 ounces cream cheese, softened
- ½ cup unsalted butter, softened
- 3 to 4 cups powdered sugar
- 1 teaspoon vanilla extract
Understanding the Ingredients
All-Purpose Flour
All-purpose flour provides the structure of the cake. It is affordable, widely available, and produces a tender crumb when measured correctly. Avoid packing flour tightly into measuring cups, as this can lead to a dense cake.
Cocoa Powder
Red velvet cake uses less cocoa powder than traditional chocolate cake. This small amount contributes depth of flavor without overwhelming the cake’s signature taste.
Vegetable Oil
Oil is one of the keys to keeping this cake moist for several days. Compared to butter, vegetable oil is often more affordable and produces a softer texture.
Buttermilk
Buttermilk gives red velvet cake its characteristic tang and tenderness. If buttermilk is unavailable, you can make a budget-friendly substitute by adding one tablespoon of vinegar or lemon juice to one cup of milk and allowing it to sit for five minutes.
Vinegar
While it may seem unusual in cake, vinegar reacts with the baking soda to create a lighter texture. It also enhances the cake’s traditional flavor profile.
Red Food Coloring
This ingredient creates the iconic appearance of red velvet cake. Liquid or gel food coloring both work well. Use the amount needed to achieve your desired shade of red.
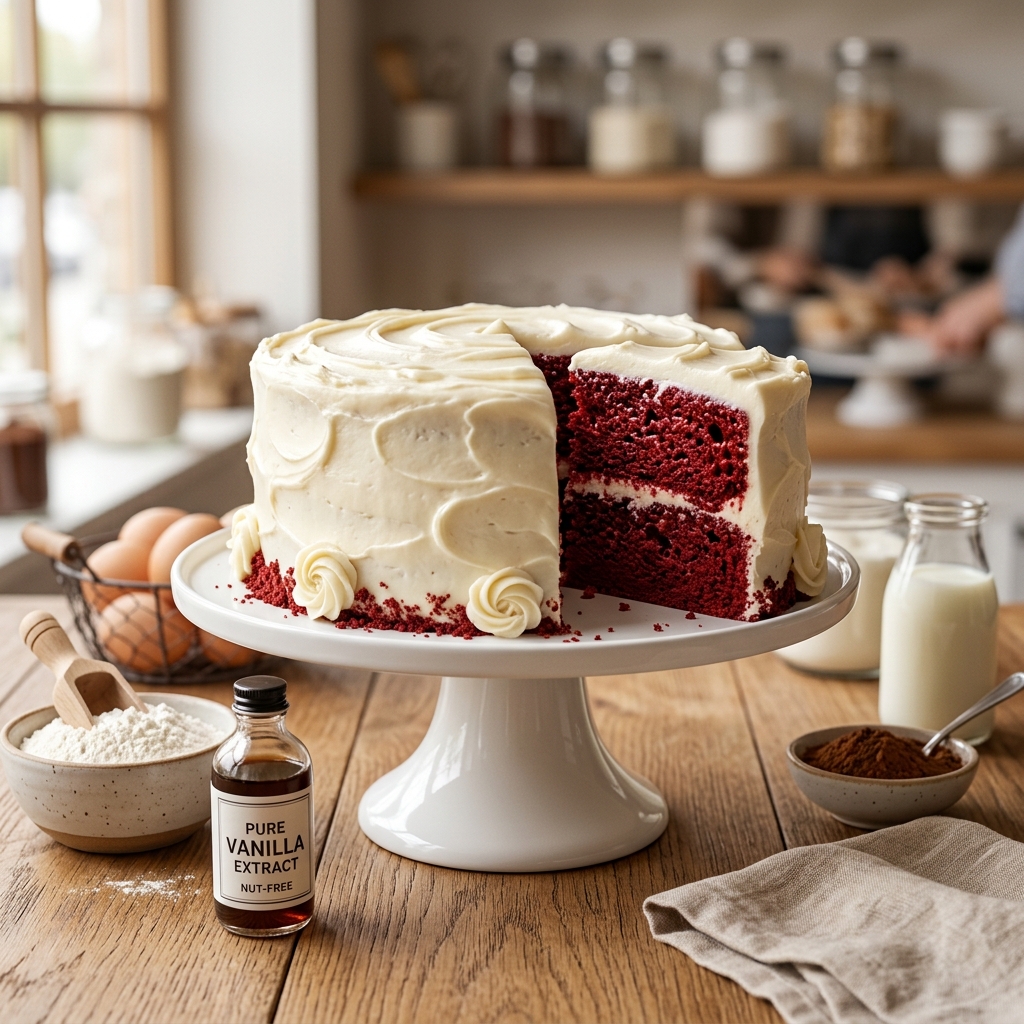
Cream Cheese
Cream cheese frosting is the classic pairing for red velvet cake. Its slight tanginess complements the cake beautifully while adding richness and balance.
Step-by-Step Preparation Guide
Step 1: Prepare the Baking Pans
Preheat your oven to 350°F (175°C).
Grease two 8-inch round cake pans thoroughly. For extra protection against sticking, line the bottoms with parchment paper.
Proper pan preparation ensures that your cake layers release easily after baking and maintain their attractive appearance.
Step 2: Combine the Dry Ingredients
In a large mixing bowl, whisk together:
- Flour
- Sugar
- Cocoa powder
- Baking soda
- Salt
Mix thoroughly to distribute the ingredients evenly throughout the batter.
This step may seem simple, but it helps prevent pockets of baking soda or cocoa powder from appearing in the finished cake.
Step 3: Mix the Wet Ingredients
In a separate bowl, combine:
- Vegetable oil
- Buttermilk
- Eggs
- Vanilla extract
- Vinegar
- Red food coloring
Whisk until the mixture becomes smooth and evenly colored.
The vibrant red color should already begin to develop at this stage, giving you an early glimpse of the finished cake.
Step 4: Create the Batter
Gradually pour the wet ingredients into the dry ingredients.
Mix gently until everything is combined.
Avoid overmixing. Excessive mixing can develop too much gluten, resulting in a tougher cake texture. The batter should be smooth but not heavily beaten.
Step 5: Fill the Cake Pans
Divide the batter evenly between the prepared cake pans.
Use a spatula to smooth the tops so the layers bake evenly.
Tapping the pans gently on the counter can help release trapped air bubbles.
Step 6: Bake the Cake
Place the pans in the preheated oven.
Bake for approximately 25 to 30 minutes, or until a toothpick inserted into the center comes out clean or with only a few moist crumbs attached.
Avoid opening the oven door repeatedly during baking, as sudden temperature changes can affect the cake’s rise.
Step 7: Cool Completely
Allow the cakes to cool in their pans for about 10 minutes.
Carefully remove them from the pans and transfer them to a wire rack.
Let the layers cool completely before frosting. Attempting to frost warm cake can cause the frosting to melt and slide off.
Step 8: Prepare the Cream Cheese Frosting
While the cakes cool, beat the softened cream cheese and butter together until smooth and creamy.
Gradually add powdered sugar, one cup at a time, mixing thoroughly after each addition.
Add the vanilla extract and continue beating until the frosting becomes light, fluffy, and spreadable.
If the frosting seems too soft, refrigerate it for a short period before decorating the cake.
Common Mistakes to Avoid
Even simple recipes can go wrong if a few important details are overlooked.
One common mistake is using cold ingredients directly from the refrigerator. Room-temperature ingredients blend more easily and create a smoother batter.
Another frequent issue is overbaking. Because ovens vary, begin checking for doneness around the 25-minute mark. A few extra minutes can make the difference between a moist cake and a dry one.
Many home bakers also rush the cooling process. Patience is essential. Completely cooled layers are much easier to frost and stack successfully.
Finally, avoid adding too much flour. Measuring flour correctly by spooning it into the measuring cup and leveling it off can significantly improve the final texture.
Variations of This Budget Red Velvet Cake
One of the greatest advantages of this recipe is its flexibility. You can make several delicious variations depending on your budget, preferences, or the ingredients you have available.
Red Velvet Cupcakes
Instead of baking the batter in cake pans, divide it into a lined cupcake tin. Bake for approximately 18 to 22 minutes.
Cupcakes are excellent for parties, school events, and portion control. They are also easier to transport and serve.
Red Velvet Sheet Cake
For larger gatherings, bake the batter in a 9×13-inch baking pan. This option eliminates the need to stack layers and typically requires less frosting, making it even more budget-friendly.
Chocolate Cream Cheese Frosting
Add a few tablespoons of cocoa powder to the frosting for a richer chocolate flavor. This variation is perfect for chocolate lovers who want a stronger cocoa presence.
Vanilla Buttercream Frosting
If cream cheese is too expensive or unavailable, a simple vanilla buttercream can be used instead. While it changes the traditional flavor slightly, it still creates a delicious cake.
Red Velvet Cake Trifle
If your cake layers crack or break, don’t throw them away. Layer the cake pieces with frosting in a glass bowl to create an attractive red velvet trifle. This is a great way to rescue imperfect cakes while creating an entirely new dessert.
Festive Holiday Version
Decorate the cake with red and white sprinkles, crushed cookies, or seasonal decorations to suit holidays and special occasions. Small decorative touches can make a simple budget cake look bakery-worthy.
Expert Tips for the Best Results
Professional bakers often rely on small details that make a significant difference in the final product. These expert tips can help you achieve excellent results every time.
Measure Ingredients Carefully
Baking is more precise than cooking. Small measurement errors can affect texture, moisture, and overall success.
For the most accurate results, level dry ingredients rather than scooping directly from the container.
Don’t Skip the Vinegar
Some bakers are tempted to leave out the vinegar, but it plays an important role in the cake’s texture and flavor. The small amount used is not noticeable in the finished product.
Use Fresh Baking Soda
Old baking soda may lose effectiveness over time. If your baking soda has been sitting in the pantry for many months, consider replacing it before baking.
Frost in Stages
For a cleaner appearance, apply a thin crumb coat first and chill the cake briefly before adding the final layer of frosting.
This technique helps lock in crumbs and creates a smoother finish.
Chill Before Slicing
Allow the frosted cake to chill for about 30 minutes before serving. This helps the frosting set and makes cleaner slices possible.
Enhance the Flavor
A tiny amount of extra vanilla extract can add depth to the cake’s flavor. Some bakers also add a pinch of cinnamon for subtle warmth.
Create Bakery-Style Decoration on a Budget
You don’t need expensive decorating tools. A spoon, spatula, or butter knife can create attractive swirls and patterns in the frosting.
Simple decorations often look elegant and homemade rather than overly complicated.
Make-Ahead Options
This recipe is perfect for busy schedules because several components can be prepared in advance.
Bake the Cake Layers Ahead
The cake layers can be baked up to two days before serving.
Once completely cooled, wrap them tightly in plastic wrap and store them at room temperature.
Freeze the Layers
For longer storage, wrap each layer individually and freeze for up to three months.
When ready to use, thaw overnight in the refrigerator before frosting.
Prepare the Frosting Early
Cream cheese frosting can be made one to two days in advance.
Store it in an airtight container in the refrigerator. Before using, allow it to soften slightly and stir until smooth.
Assemble the Day Before
The entire cake can be assembled the day before serving. Many bakers find that the flavor improves after the cake has had time to rest overnight.
What to Serve with Red Velvet Cake
Although red velvet cake is wonderful on its own, pairing it with complementary foods and beverages can elevate the experience.
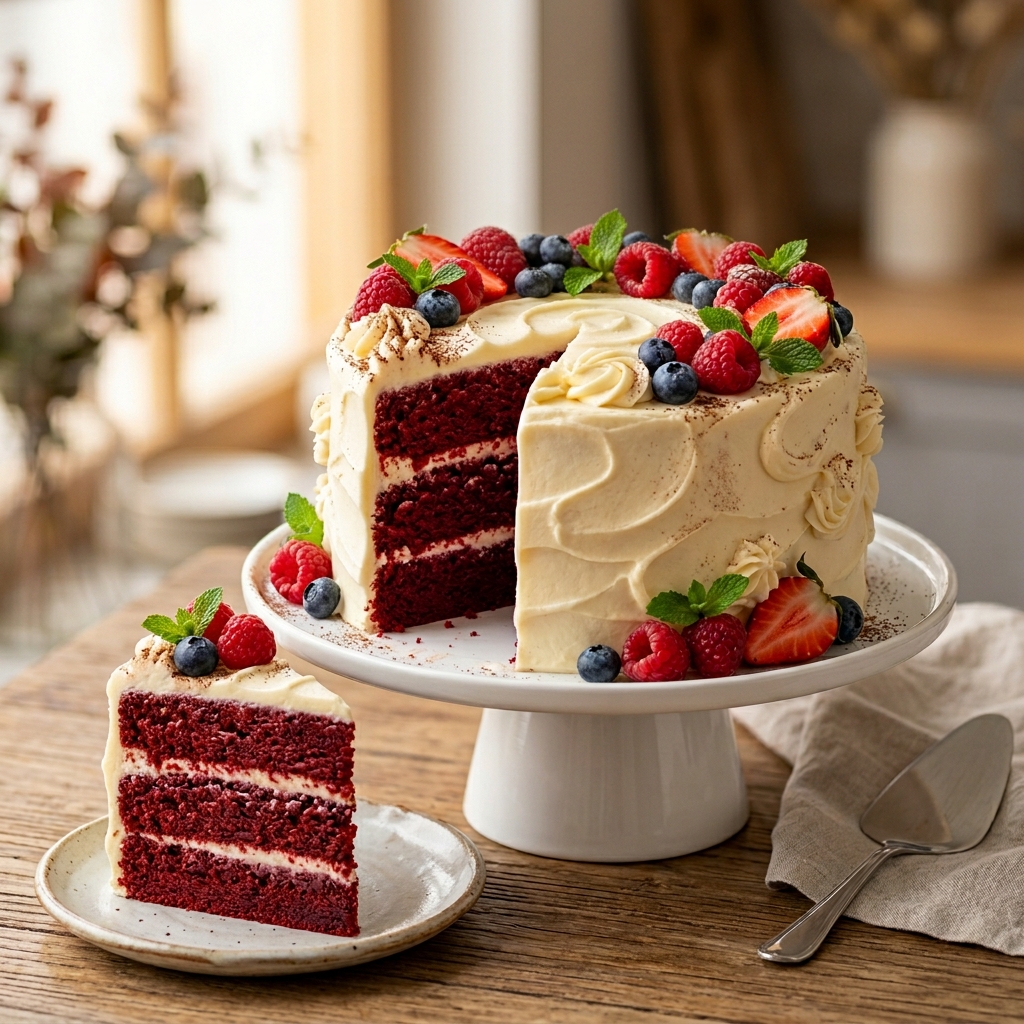
Fresh Berries
- Strawberries
- Raspberries
- Blueberries
- Blackberries
The natural tartness of fresh berries balances the sweetness of the cake.
Ice Cream
- Vanilla ice cream
- Cream cheese ice cream
- Strawberry ice cream
A scoop of ice cream alongside a slice of cake creates an indulgent dessert experience.
Hot Beverages
- Coffee
- Cappuccino
- Latte
- Hot chocolate
- Tea
Warm drinks pair beautifully with the rich texture of red velvet cake.
Cold Beverages
- Milk
- Iced coffee
- Homemade lemonade
- Fruit punch
These refreshing drinks make excellent companions for birthday parties and family gatherings.
Fresh Fruit Salad
A simple fruit salad adds freshness and color while balancing the richness of the dessert.
How to Store Red Velvet Cake
Proper storage helps maintain freshness and texture.
Room Temperature Storage
If your home is cool and the cake is unfrosted, it can remain at room temperature in an airtight container for up to two days.
Refrigerator Storage
Because cream cheese frosting contains dairy, the finished cake should generally be refrigerated.
Store it in an airtight container or cover it carefully.
The cake will stay fresh for approximately 4 to 5 days.
Freezer Storage
Individual slices or whole cake layers can be frozen.
Wrap tightly in plastic wrap and then aluminum foil for maximum protection.
Frozen cake can remain fresh for up to three months.
Serving After Refrigeration
For the best flavor and texture, remove refrigerated cake about 20 to 30 minutes before serving.
This allows the frosting and cake crumb to soften slightly.
Frequently Asked Questions
1. Can I make this recipe without buttermilk?
Yes. Mix one tablespoon of vinegar or lemon juice with one cup of milk and allow it to sit for about five minutes. This homemade substitute works very well.
2. Why is my red velvet cake dry?
Dry cake is usually caused by overbaking, adding too much flour, or measuring ingredients incorrectly.
Check for doneness early and measure carefully.
3. Can I reduce the amount of food coloring?
Absolutely. The cake will still taste delicious with less coloring, although the red shade will be lighter.
4. Can I make this cake without cream cheese frosting?
Yes. Vanilla buttercream, whipped frosting, or even chocolate frosting can be used as alternatives.
5. How do I know when the cake is fully baked?
Insert a toothpick into the center. If it comes out clean or with a few moist crumbs, the cake is done.
6. Can I use natural food coloring?
Yes. Beet powder and other natural coloring options can provide a reddish tint, though the color may not be as vibrant.
7. Is red velvet cake actually chocolate cake?
Not exactly. It contains a small amount of cocoa powder, but its flavor profile is distinct due to the combination of cocoa, buttermilk, vinegar, and vanilla.
8. Can I freeze the frosted cake?
Yes. The frosted cake freezes surprisingly well. Wrap it carefully and thaw in the refrigerator before serving.
9. Can I make this recipe as a single-layer cake?
Certainly. Simply use a larger baking pan and adjust the baking time as needed.
10. What makes red velvet cake different from regular cake?
Its unique combination of ingredients creates a signature flavor, texture, and appearance that sets it apart from standard vanilla or chocolate cakes.
11. How can I make the frosting thicker?
Add additional powdered sugar a little at a time until the desired consistency is reached.
12. Is this recipe suitable for birthdays?
Absolutely. Its beautiful color, soft texture, and crowd-pleasing flavor make it one of the best cakes for birthday celebrations.
Conclusion
A beautiful homemade dessert does not have to be expensive. This budget red velvet cake recipe proves that affordable ingredients can create a dessert that looks impressive, tastes incredible, and brings people together around the table.
Whether you’re baking for a special celebration, a family gathering, a church event, or simply to satisfy a sweet craving, this recipe delivers reliable results without putting pressure on your grocery budget. The moist crumb, creamy frosting, and classic red velvet flavor create a dessert that feels luxurious while remaining practical and economical.
Most importantly, this cake reminds us that some of life’s sweetest moments come from simple homemade treats shared with the people we care about. A slice of red velvet cake may not solve every problem, but it can certainly make an ordinary day feel a little more special.

Budget Red Velvet Cake Recipe for Low-Income Families
Ingredients
Equipment
Method
- Preheat the oven to 350°F (175°C).
- Grease two 8-inch round cake pans and line the bottoms with parchment paper if desired.
- In a large mixing bowl, whisk together:
- Flour
- Sugar
- Cocoa powder
- Baking soda
- Salt
- Mix until evenly combined.
- In a separate bowl, whisk together:
- Vegetable oil
- Buttermilk
- Eggs
- Vanilla extract
- Vinegar
- Red food coloring
- Mix until smooth and evenly colored.
- Gradually pour the wet mixture into the dry ingredients.
- Mix gently until a smooth batter forms. Do not overmix.
- Divide the batter evenly between the prepared cake pans.
- Bake for 25–30 minutes or until a toothpick inserted into the center comes out clean.
- Allow the cakes to cool in the pans for 10 minutes.
- Transfer to a cooling rack and cool completely before frosting.
- Beat cream cheese and butter until smooth and creamy.
- Gradually add powdered sugar and continue mixing until fluffy.
- Add vanilla extract and beat until fully incorporated.
- Place one cake layer on a serving plate.
- Spread a layer of frosting on top.
- Add the second cake layer.
- Frost the top and sides of the cake evenly.
- Refrigerate the frosted cake for approximately 30 minutes before slicing.
- Serve and enjoy.
Notes
For a brighter red color, use gel food coloring.
Allow all refrigerated ingredients to come to room temperature before mixing for a smoother batter.
Do not overbake, as this can dry out the cake.
The cake layers can be frozen for up to 3 months before frosting.
If cream cheese frosting is too costly, vanilla buttercream can be substituted as a budget-friendly alternative.
Store leftovers in the refrigerator for up to 5 days in an airtight container.