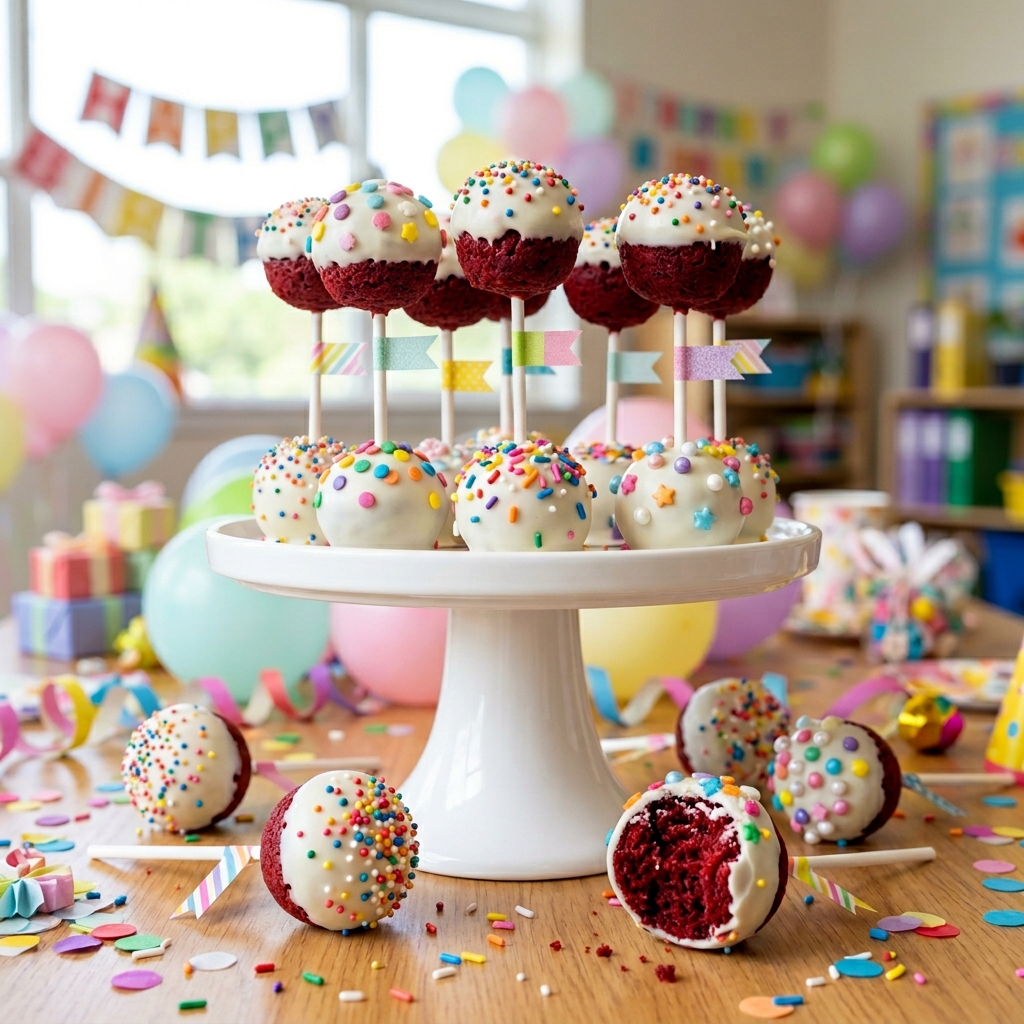
When it comes to classroom celebrations, few treats create excitement quite like cake pops. They are colorful, fun to hold, easy to serve, and perfectly portioned for young children. Among all cake pop flavors, red velvet cake pops stand out as a true crowd favorite. Their vibrant color, rich flavor, and festive appearance make them ideal for birthday celebrations, holiday classroom events, Valentine’s Day parties, end-of-school gatherings, and countless other special occasions.
For moms planning classroom parties, finding a dessert that is both visually impressive and practical can feel like a challenge. Large cakes often require slicing and serving, cupcakes can become messy, and cookies sometimes lack the wow factor children love. Red velvet cake pops solve all of these problems beautifully. They are portable, easy for little hands to hold, and can be customized with endless decorations to match any party theme.
The best part is that these cake pops look like they came from a professional bakery while being surprisingly achievable in a home kitchen. Whether you’re an experienced baker or someone preparing treats for a school event for the first time, this recipe will guide you through creating delicious, eye-catching cake pops that children and teachers alike will remember long after the party ends.
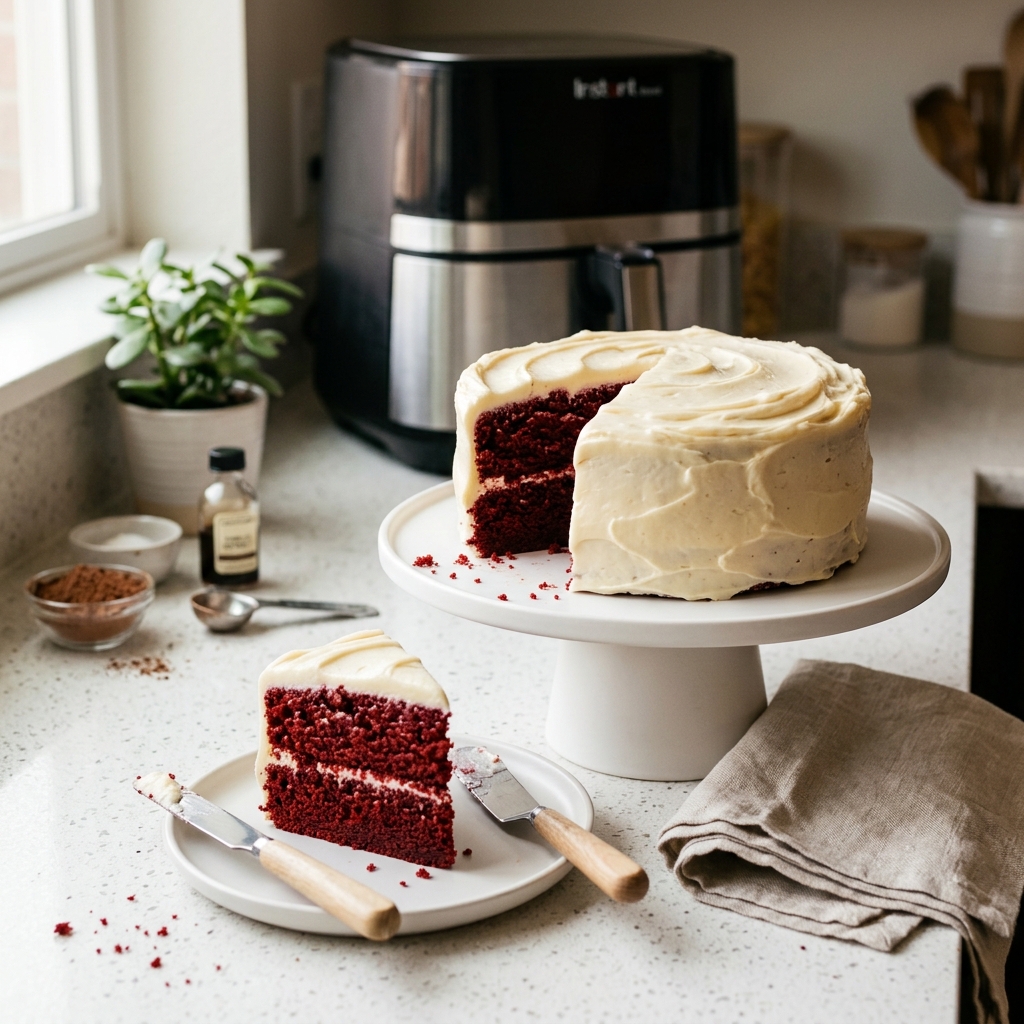
The combination of moist red velvet cake and creamy frosting creates a rich, melt-in-your-mouth texture. Once coated in smooth chocolate and decorated with colorful sprinkles, they become irresistible little treats that instantly brighten any dessert table. If you’re looking for a recipe that delivers both visual appeal and delicious flavor, you’ve found it.
Why These Red Velvet Cake Pops Are Perfect for Classroom Parties
Classroom celebrations often come with unique challenges. Treats need to be easy to transport, simple to distribute, and convenient for children to enjoy without creating a major cleanup afterward.
Cake pops check every one of those boxes.
Unlike traditional cakes, they require no plates, forks, or serving utensils. Each child receives their own individual treat, making distribution quick and hassle-free. This can be especially valuable when teachers have limited time to organize party activities.
Another advantage is portion control. Many parents appreciate desserts that offer a sweet treat without an oversized serving. Cake pops provide just the right amount of indulgence while still feeling festive and special.
Their visual appeal also makes a significant difference. Children naturally gravitate toward bright colors and fun presentations. The striking red velvet interior combined with colorful decorations creates an exciting dessert that immediately captures attention.
Perhaps most importantly, cake pops can be prepared in advance. Busy moms often juggle work, household responsibilities, school commitments, and extracurricular activities. Having a dessert that can be made ahead of time helps reduce stress while ensuring party day runs smoothly.
The Secret Behind Great Red Velvet Cake Pops
Many people assume that cake pops are simply crumbled cake mixed with frosting. While that is technically true, the secret lies in achieving the perfect balance between the two.
Too much frosting creates overly soft cake pops that may fall apart or become difficult to shape. Too little frosting results in dry, crumbly centers that lack the signature cake pop texture.
The goal is to create a mixture that is moist enough to hold together while still maintaining the delicate crumb structure of the cake itself.
The coating is equally important. A smooth chocolate shell provides structure, protects the cake center, and creates the beautiful bakery-style finish everyone loves. Learning a few simple techniques can dramatically improve the appearance and durability of your cake pops.
Fortunately, once you understand these fundamentals, making professional-looking cake pops becomes much easier than most people expect.
Ingredients
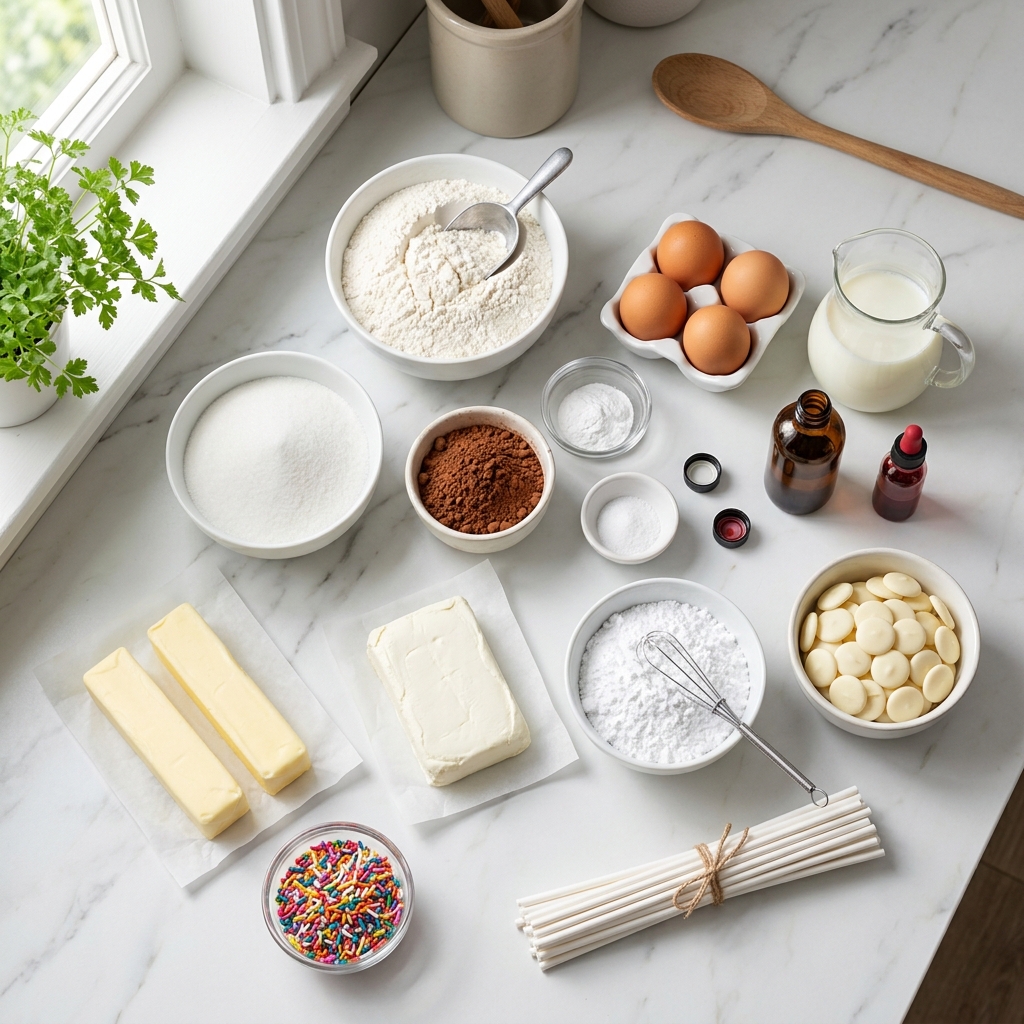
For the Red Velvet Cake
- 2 cups all-purpose flour
- 1½ cups granulated sugar
- 1 teaspoon baking soda
- 1 teaspoon salt
- 1 tablespoon unsweetened cocoa powder
- 1 cup buttermilk, room temperature
- 2 large eggs, room temperature
- 1 cup vegetable oil
- 2 teaspoons pure vanilla extract
- 1 tablespoon red food coloring
- 1 teaspoon white vinegar
For the Frosting
- 4 ounces cream cheese, softened
- 2 tablespoons unsalted butter, softened
- 1 cup powdered sugar
- ½ teaspoon vanilla extract
For the Coating and Decoration
- 16 ounces white chocolate melting wafers or candy melts
- Cake pop sticks
- Rainbow sprinkles
- Colored sugar crystals
- Mini sugar pearls
- Confetti sprinkles
- Any party-themed decorations of choice
Ingredient Notes
Use Quality Food Coloring
A vibrant red color is one of the defining characteristics of red velvet desserts. Gel food coloring often produces a deeper, more vibrant color than liquid food coloring while requiring less product.
Don’t Skip the Buttermilk
Buttermilk contributes both flavor and texture. It helps create the tender crumb that makes red velvet cake unique. If buttermilk isn’t available, you can make a substitute by adding one tablespoon of lemon juice or vinegar to one cup of milk and allowing it to sit for five minutes.
Choose Good Melting Chocolate
Candy melts are beginner-friendly because they melt smoothly and set firmly. High-quality melting wafers can also produce excellent results and a more refined flavor.
Step-by-Step Preparation Guide
Step 1: Prepare the Cake Batter
Preheat your oven to 350°F (175°C). Grease and line a 9×13-inch baking pan.
In a large mixing bowl, whisk together the flour, sugar, baking soda, salt, and cocoa powder until evenly combined.
In a separate bowl, combine the buttermilk, eggs, vegetable oil, vanilla extract, red food coloring, and vinegar.
Gradually add the wet ingredients to the dry ingredients while mixing gently. Continue mixing until a smooth batter forms. Avoid overmixing, as this can create a dense cake.
Step 2: Bake the Cake
Pour the batter into the prepared baking pan and spread evenly.
Bake for approximately 30 to 35 minutes or until a toothpick inserted into the center comes out clean.
Allow the cake to cool completely in the pan. This step is essential because warm cake can create a sticky mixture that is difficult to work with later.
Step 3: Make the Cream Cheese Frosting
While the cake cools, prepare the frosting.
In a medium bowl, beat the softened cream cheese and butter until smooth and creamy.
Add the powdered sugar gradually, mixing until fully incorporated.
Stir in the vanilla extract and continue beating until light and fluffy.
Set aside until needed.
Step 4: Crumble the Cake
Once the cake has completely cooled, transfer it to a large mixing bowl.
Using clean hands or a fork, crumble the cake into fine crumbs. Continue breaking apart larger pieces until the entire cake has a uniform texture.
The finer the crumbs, the smoother your finished cake pops will be.
Step 5: Combine Cake and Frosting
Add the cream cheese frosting gradually to the cake crumbs.
Mix thoroughly until the mixture resembles a soft dough that holds together when pressed.
Be careful not to add excessive frosting. The mixture should be moist but not sticky or greasy.
A useful test is to squeeze a small portion in your hand. If it holds its shape without crumbling, it is ready.
Step 6: Shape the Cake Balls
Using a small cookie scoop or measuring spoon, portion the mixture into equal-sized pieces.
Roll each portion between your palms until smooth and round.
Place the cake balls on a parchment-lined baking sheet.
Consistency is important because evenly sized cake pops look more professional and help ensure uniform coating.
Step 7: Chill the Cake Balls
Transfer the baking sheet to the refrigerator for at least one hour.
Chilling helps the cake balls firm up and reduces the likelihood of cracking or falling off the sticks during dipping.
Do not freeze them solid, as extreme temperature differences can sometimes cause the coating to crack later.
Step 8: Prepare the Cake Pop Sticks
Melt a small amount of white chocolate or candy melts according to package directions.
Dip the tip of each cake pop stick about half an inch into the melted coating.
Insert the coated end into the center of each cake ball.
The melted chocolate acts like edible glue and helps secure the stick firmly in place.
Return the cake pops to the refrigerator for another 15 to 20 minutes.
Step 9: Melt the Coating
Place the remaining candy melts or white chocolate in a microwave-safe bowl.
Heat in short intervals, stirring frequently until smooth and fully melted.
The coating should have a fluid consistency that allows easy dipping. If it appears too thick, a small amount of vegetable shortening can help thin it.
Step 10: Dip the Cake Pops
Remove a few cake pops from the refrigerator at a time.
Hold each pop by the stick and dip it completely into the melted coating.
Gently tap the stick against the side of the bowl to remove excess coating.
Rotate slowly to achieve a smooth, even finish.
Immediately add sprinkles or decorations before the coating begins to set.
Place the finished cake pops upright in a cake pop stand or a foam block to dry completely.
Delicious Variations of Red Velvet Cake Pops
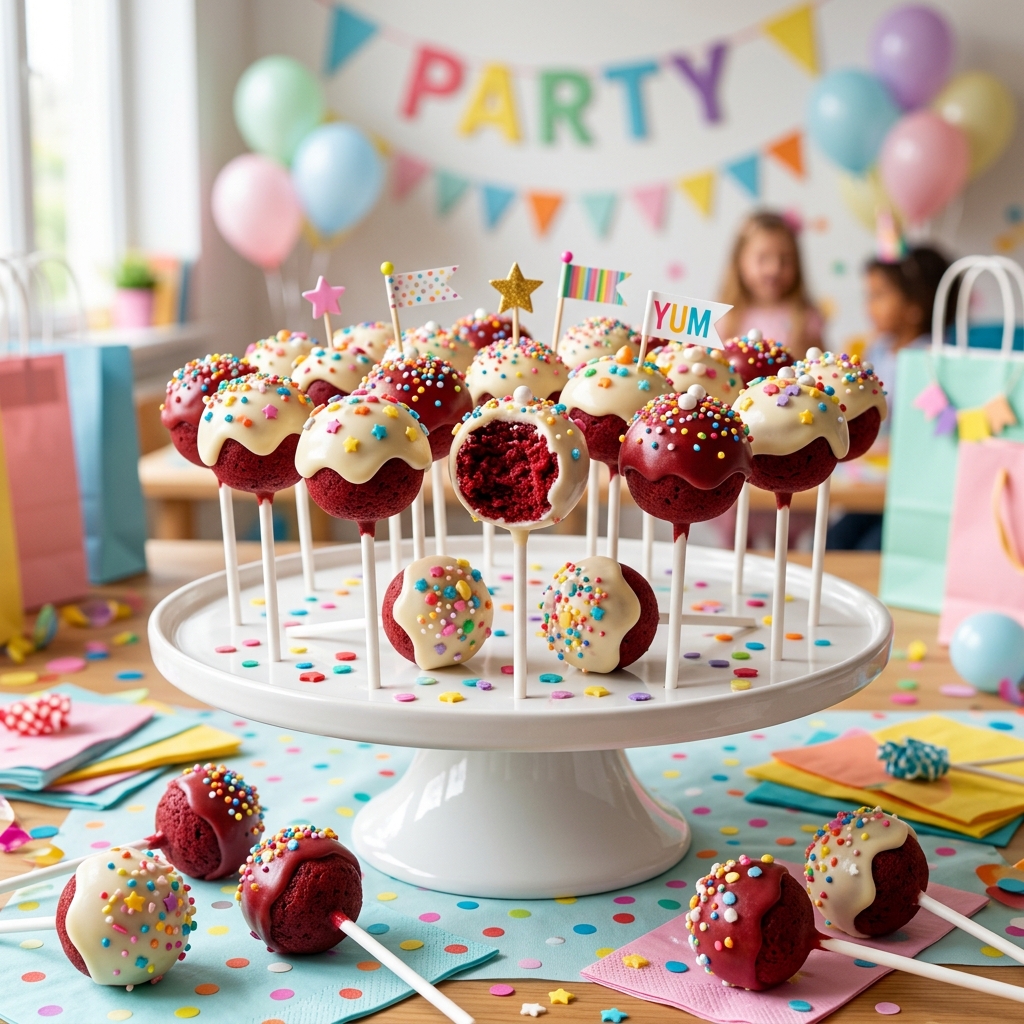
One of the greatest advantages of cake pops is their versatility. Once you’ve mastered the basic red velvet cake pop recipe, you can easily customize it to fit different classroom themes, holidays, and special occasions.
Birthday Party Cake Pops
Transform your cake pops into birthday-themed treats by using colorful rainbow sprinkles, edible glitter, and bright candy decorations. You can match the colors to the birthday child’s favorite theme or school party colors.
Valentine’s Day Red Velvet Cake Pops
Red velvet is naturally perfect for Valentine’s Day. Decorate the cake pops with pink, red, and white sprinkles, heart-shaped sugar decorations, or white chocolate drizzle for a festive appearance.
Holiday-Themed Cake Pops
For Christmas parties, use red and green sprinkles. For Easter celebrations, pastel-colored candy melts and spring-themed decorations work beautifully. Halloween versions can feature orange, black, and purple decorations.
Chocolate Lover’s Version
Instead of white chocolate coating, dip the cake pops in milk chocolate or dark chocolate. The rich chocolate exterior pairs wonderfully with the red velvet center.
Cream Cheese Drizzle Style
After the coating has hardened, drizzle melted cream cheese-flavored candy melts over the top for a bakery-style finish that highlights the classic red velvet and cream cheese flavor combination.
Mini Cake Pops
For younger children or larger classroom gatherings, make smaller cake pops. This allows you to serve more students while maintaining the same festive presentation.
Expert Tips for Perfect Red Velvet Cake Pops Every Time
Let the Cake Cool Completely
One of the most common mistakes is attempting to crumble warm cake. Warm cake creates excess moisture, resulting in a sticky mixture that can be difficult to shape and coat properly.
Use Frosting Sparingly
Many first-time cake pop makers add too much frosting. Start with a small amount and gradually add more only if necessary. The mixture should hold together without becoming overly soft.
Keep Sizes Consistent
Using a cookie scoop helps create uniform cake pops. Consistent sizing not only improves presentation but also ensures even coating and easier serving.
Chill Before Dipping
Proper chilling is crucial. Firm cake balls are much easier to dip and less likely to break apart during the coating process.
Avoid Overheating the Chocolate
Chocolate and candy melts can become thick or grainy if overheated. Melt slowly and stir frequently for the smoothest results.
Decorate Immediately
Sprinkles and decorations should be added while the coating is still wet. Once the coating sets, decorations may no longer adhere properly.
Work in Small Batches
Keep most of the cake pops chilled while working on a few at a time. This helps maintain their shape and prevents softening during the dipping process.
Use a Foam Block for Drying
A foam block provides an easy way to keep cake pops upright while the coating hardens. This creates a clean, professional appearance.
Make Ahead Options
For busy moms planning classroom parties, make-ahead preparation can be a lifesaver.
Prepare the Cake in Advance
The red velvet cake can be baked up to two days before making the cake pops. Once cooled, wrap it tightly and store it at room temperature.
Shape the Cake Balls Early
Cake balls can be rolled and refrigerated up to two days before dipping. Keep them covered to prevent drying out.
Freeze for Longer Storage
Undipped cake balls freeze exceptionally well. Place them in an airtight container and freeze for up to six weeks.
When ready to use, thaw overnight in the refrigerator before dipping.
Fully Finished Cake Pops
Completed cake pops can be made one to three days before the classroom event. This allows plenty of time for decorating without last-minute stress.
What to Serve with Red Velvet Cake Pops
Although cake pops can certainly stand on their own, pairing them with complementary treats can create a more exciting classroom party spread.
Fresh Fruit
- Strawberries
- Grapes
- Apple slices
- Blueberries
- Mandarin oranges
Fresh fruit adds color and balances the sweetness of the dessert table.
Mini Sandwiches
- Turkey and cheese sandwiches
- Ham sliders
- Pinwheel sandwiches
- Mini wraps
These savory options help create a more complete party menu.
Kid-Friendly Beverages
- Milk
- Chocolate milk
- Fruit juice boxes
- Lemonade
- Fruit punch
Simple beverages pair perfectly with the rich flavor of red velvet cake pops.
Other Classroom-Friendly Treats
- Pretzel sticks
- Popcorn
- Rice cereal treats
- Mini cookies
- Cheese cubes
A mix of sweet and savory options keeps children happy and satisfied throughout the celebration.
How to Store Red Velvet Cake Pops
Proper storage helps maintain both flavor and appearance.
Room Temperature Storage
Cake pops coated with candy melts can often be stored at room temperature for up to three days in a cool environment.
Store them in an airtight container away from direct sunlight and heat.
Refrigerator Storage
For longer freshness, refrigerate cake pops for up to one week.
Place them in an airtight container to prevent them from absorbing odors from other foods.
Before serving, allow them to sit at room temperature for approximately 20 minutes for the best texture and flavor.
Freezer Storage
Cake pops can be frozen for up to six weeks.
Wrap them carefully and store them in an airtight freezer-safe container.
Thaw gradually in the refrigerator before bringing them to room temperature.
Frequently Asked Questions
Why Are My Cake Pops Falling Off the Sticks?
This usually happens when the cake balls are too heavy, too warm, or not properly attached to the stick. Dipping the stick into melted coating before inserting it into the cake ball creates a stronger bond.
Why Is My Chocolate Coating Cracking?
Cracking often occurs when very cold cake pops are dipped into warm coating. Allow chilled cake pops to sit for a few minutes before dipping to reduce temperature shock.
Can I Use Store-Bought Cake?
Yes. While homemade red velvet cake offers the best flavor and texture, a store-bought cake can save time when preparing for a classroom event.
Can I Make These Without Cream Cheese Frosting?
Absolutely. Vanilla frosting, buttercream, or even chocolate frosting can be used instead. The texture may vary slightly, but the cake pops will still be delicious.
How Far in Advance Can I Make Cake Pops?
Finished cake pops can typically be prepared up to three days before serving. For longer storage, freezing is an excellent option.
Can Children Help Make Cake Pops?
Yes. Children can help roll the cake balls, add sprinkles, and assist with decorating. Adult supervision is recommended during the melting and dipping stages.
Do Cake Pops Need Refrigeration?
If consumed within a few days and stored in a cool environment, refrigeration may not be necessary. However, refrigeration extends freshness and is recommended when making them ahead.
What Is the Best Coating for Beginners?
Candy melts are generally the easiest option because they melt smoothly, set quickly, and are available in many colors.
Red Velvet Cake Pops for Moms Planning Kids’ Classroom Parties
Ingredients
Equipment
Method
- Preheat oven to 350°F (175°C).
- Grease and line a 9x13-inch baking pan.
- In a large bowl, whisk together flour, sugar, baking soda, salt, and cocoa powder.
- In another bowl, combine buttermilk, eggs, vegetable oil, vanilla extract, red food coloring, and vinegar.
- Mix wet ingredients into dry ingredients until smooth.
- Pour batter into prepared pan.
- Bake for 30–35 minutes or until a toothpick inserted into the center comes out clean.
- Allow cake to cool completely.
- Beat cream cheese and butter until smooth.
- Add powdered sugar gradually.
- Mix in vanilla extract.
- Continue beating until creamy and fluffy.
- Crumble the cooled cake into fine crumbs.
- Add frosting gradually while mixing.
- Continue until the mixture holds together when pressed.
- Scoop equal portions of the mixture.
- Roll into smooth balls.
- Place on a parchment-lined baking sheet.
- Refrigerate for 1 hour.
- Melt a small amount of candy melts.
- Dip the tip of each cake pop stick into the melted coating.
- Insert halfway into each cake ball.
- Chill for an additional 15–20 minutes.
- Melt remaining candy melts according to package instructions.
- Dip each cake pop into the coating until fully covered.
- Gently tap off excess coating.
- Immediately add sprinkles and decorations.
- Place upright in a cake pop stand or foam block.
- Allow coating to set completely before serving.
Notes
Do not overmix the cake batter to maintain a tender crumb.
Ensure the cake is completely cooled before crumbling.
Add frosting gradually to avoid an overly soft mixture.
Chill cake balls thoroughly before dipping for best results.
If candy melts become too thick, stir in a small amount of vegetable shortening.
Decorate immediately after dipping, before the coating hardens.
Finished cake pops can be prepared up to 3 days in advance.
Store in an airtight container in the refrigerator for up to 1 week.
Freeze for up to 6 weeks if needed.