Ingredients
Equipment
Method
Step 1: Bake the Cake
- Preheat oven to 350°F (175°C).
- Grease and line a 9x13-inch baking pan.
- In a large bowl, whisk together flour, sugar, baking soda, salt, and cocoa powder.
- In another bowl, combine buttermilk, eggs, vegetable oil, vanilla extract, red food coloring, and vinegar.
- Mix wet ingredients into dry ingredients until smooth.
- Pour batter into prepared pan.
- Bake for 30–35 minutes or until a toothpick inserted into the center comes out clean.
- Allow cake to cool completely.
Step 2: Make the Frosting
- Beat cream cheese and butter until smooth.
- Add powdered sugar gradually.
- Mix in vanilla extract.
- Continue beating until creamy and fluffy.
Step 3: Create the Cake Pop Mixture
- Crumble the cooled cake into fine crumbs.
- Add frosting gradually while mixing.
- Continue until the mixture holds together when pressed.
Step 4: Shape the Cake Pops
- Scoop equal portions of the mixture.
- Roll into smooth balls.
- Place on a parchment-lined baking sheet.
- Refrigerate for 1 hour.
Step 5: Insert Sticks
- Melt a small amount of candy melts.
- Dip the tip of each cake pop stick into the melted coating.
- Insert halfway into each cake ball.
- Chill for an additional 15–20 minutes.
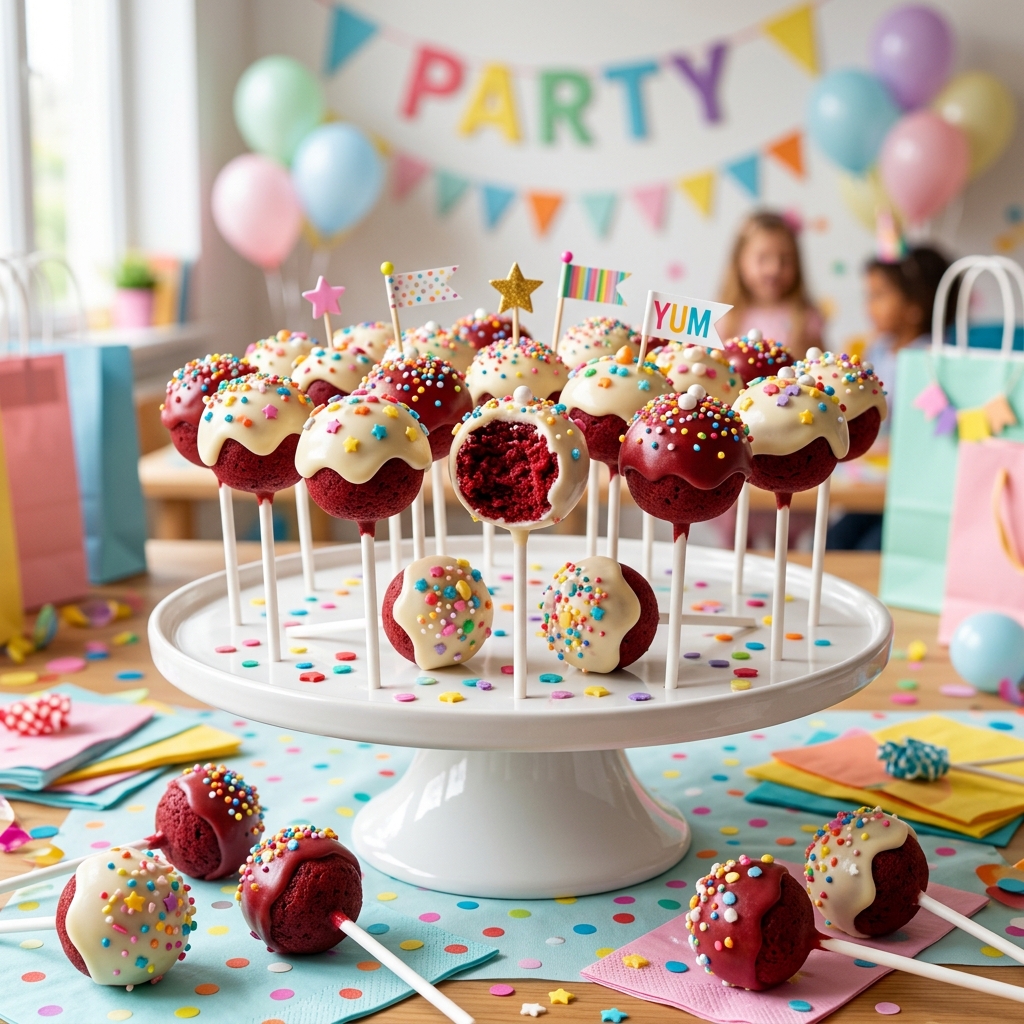
Step 6: Coat and Decorate
- Melt remaining candy melts according to package instructions.
- Dip each cake pop into the coating until fully covered.
- Gently tap off excess coating.
- Immediately add sprinkles and decorations.
- Place upright in a cake pop stand or foam block.
- Allow coating to set completely before serving.
Notes
Use gel food coloring for a deeper and more vibrant red color.
Do not overmix the cake batter to maintain a tender crumb.
Ensure the cake is completely cooled before crumbling.
Add frosting gradually to avoid an overly soft mixture.
Chill cake balls thoroughly before dipping for best results.
If candy melts become too thick, stir in a small amount of vegetable shortening.
Decorate immediately after dipping, before the coating hardens.
Finished cake pops can be prepared up to 3 days in advance.
Store in an airtight container in the refrigerator for up to 1 week.
Freeze for up to 6 weeks if needed.