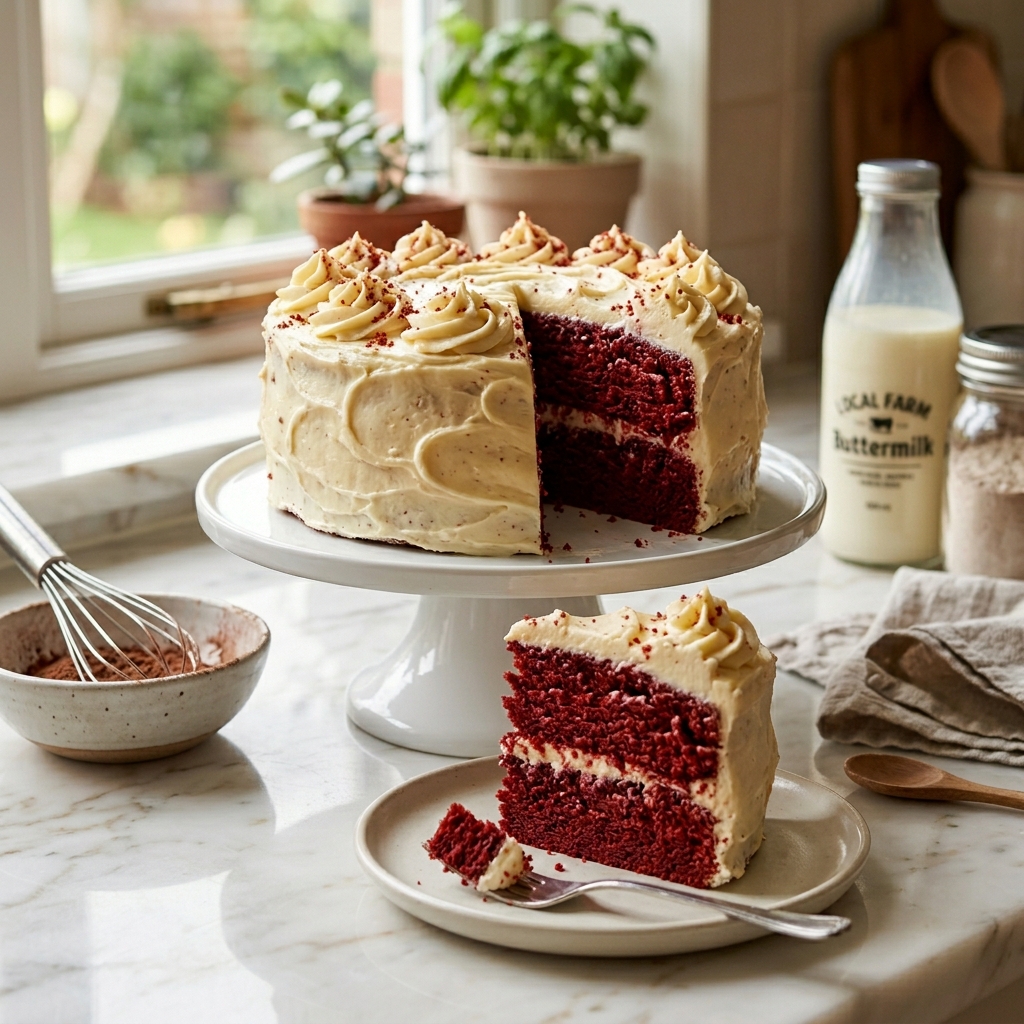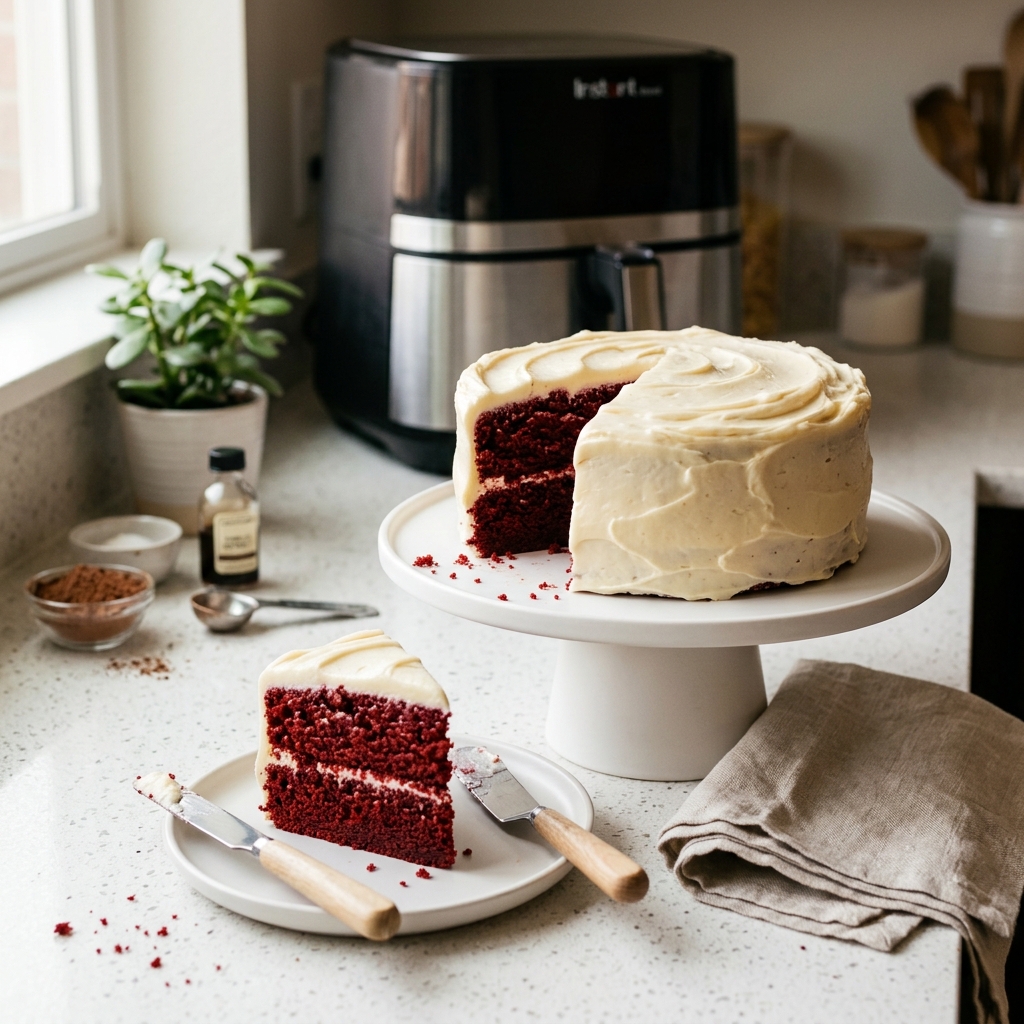
There is something truly special about slicing into a beautiful red velvet cake. Its rich crimson color, soft and tender crumb, and creamy frosting have made it one of the world’s most beloved desserts. But for many people who have recently been diagnosed with celiac disease, that simple pleasure can suddenly feel out of reach.
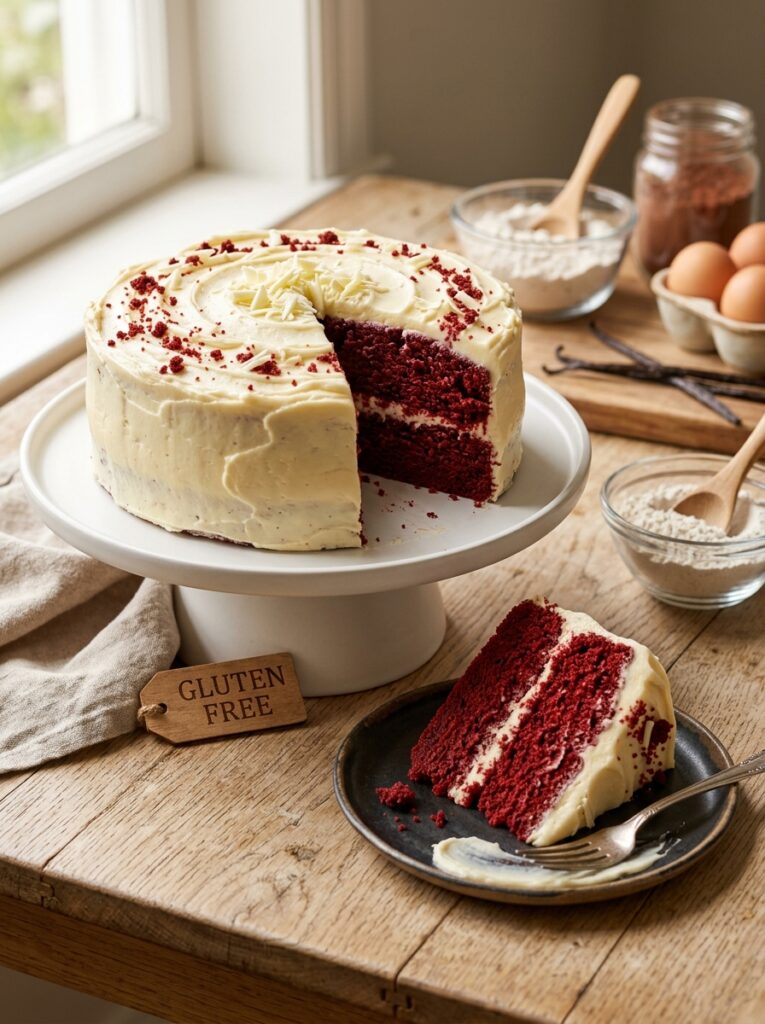
Receiving a celiac diagnosis often comes with a long list of foods to avoid, and traditional cakes usually end up near the top of that list because they rely heavily on wheat flour. Many newly diagnosed adults worry that birthdays, holidays, family gatherings, and simple weekend treats will never taste the same again. The good news is that gluten-free baking has come a long way, and a properly made gluten free red velvet cake can be every bit as moist, fluffy, and satisfying as the original.
This recipe was designed specifically with beginners in mind. Whether you have never baked gluten free before or you’ve already experienced a few disappointing, crumbly cakes, this guide will walk you through every detail. By understanding not just what ingredients to use, but why they matter, you’ll be able to create a bakery-quality dessert that everyone at the table can enjoy—whether they eat gluten free or not.
Why This Gluten Free Red Velvet Cake Is Different
One of the biggest mistakes people make after switching to a gluten-free lifestyle is assuming they can simply replace regular flour with a gluten-free alternative and expect identical results. Unfortunately, gluten plays an important role in baking. It creates structure, traps air bubbles, and helps cakes maintain their shape while staying soft.
Without gluten, cakes can become dry, dense, or fall apart after baking. That’s why this recipe relies on a carefully balanced combination of ingredients that work together to mimic gluten’s natural properties. The gluten-free flour blend provides the foundation, while eggs, buttermilk, and the right mixing method help build a stable yet delicate crumb.
Another reason this recipe stands out is that it doesn’t sacrifice flavor for dietary needs. Some gluten-free cakes taste bland or overly sweet to compensate for texture issues. A proper red velvet cake should have subtle cocoa notes, a slight tang from buttermilk, and the unmistakable richness of cream cheese frosting. This version delivers all of those classic characteristics while remaining completely safe for people with celiac disease.
The Secret Behind a Perfect Gluten Free Red Velvet Cake
Many people assume that the red color is what defines red velvet cake, but experienced bakers know that’s only part of the story. True red velvet is all about balance. It combines mild chocolate flavor with a slight acidity that creates an incredibly smooth and tender texture.
Traditionally, vinegar reacts with baking soda to create extra lift, while buttermilk contributes moisture and a gentle tang. When these ingredients are paired with a high-quality gluten-free flour blend, they help create a cake that rises beautifully without becoming dry.
Another often overlooked factor is patience. Gluten-free batters actually benefit from resting for a few minutes before baking. This allows the flour blend to absorb moisture evenly, reducing any grainy texture and producing a much softer crumb.
Finally, using room-temperature ingredients makes a noticeable difference. Cold eggs or butter can prevent the batter from mixing properly, leading to uneven baking. Allowing everything to come to room temperature helps create a silky batter that bakes into a light and fluffy cake.
Ingredients
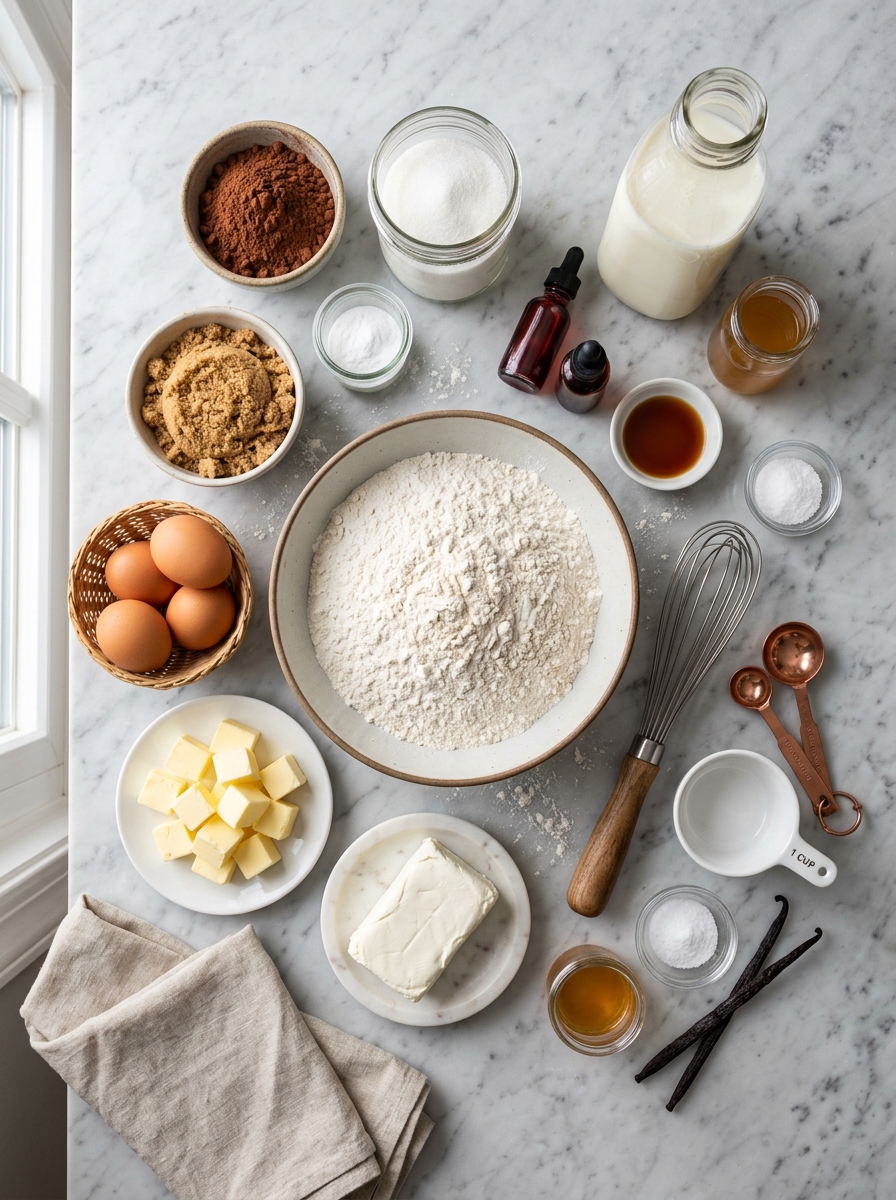
A successful gluten free red velvet cake starts with quality ingredients. Every item on this list serves an important purpose, so try not to make unnecessary substitutions if you’re making this recipe for the first time.
For the Cake
- 2½ cups gluten-free all-purpose flour blend (with xanthan gum included)
- 1½ cups granulated sugar
- 2 tablespoons unsweetened cocoa powder
- 1 teaspoon baking soda
- ½ teaspoon fine sea salt
- 2 large eggs, room temperature
- 1 cup buttermilk, room temperature
- 1 cup unsalted butter, softened
- 2 teaspoons pure vanilla extract
- 1 teaspoon apple cider vinegar
- 1 tablespoon natural red food coloring
- ¼ cup neutral vegetable oil
For the Cream Cheese Frosting
- 16 ounces cream cheese, softened
- 1 cup unsalted butter, softened
- 4 cups powdered sugar, sifted
- 2 teaspoons vanilla extract
- Pinch of salt
Why Each Ingredient Matters
Gluten-Free Flour Blend
Using a high-quality gluten-free flour blend simplifies the baking process because it already contains a balanced mixture of rice flour, potato starch, and tapioca starch. Many modern blends also include xanthan gum, which helps replace the elasticity normally provided by gluten.
Cocoa Powder
Red velvet cake isn’t meant to taste strongly of chocolate. A small amount of cocoa adds depth and richness while allowing the tangy flavors to shine.
Buttermilk
Buttermilk provides moisture while reacting with the baking soda to create a lighter texture. If you don’t have buttermilk, you can make your own by adding one tablespoon of lemon juice or vinegar to one cup of milk and letting it sit for 10 minutes.
Apple Cider Vinegar
This ingredient may seem unusual, but it works together with the baking soda to create tiny air bubbles that help the cake rise beautifully.
Butter and Oil
Many recipes use only butter or only oil, but combining both creates the ideal balance. Butter adds flavor, while oil helps the cake stay moist for several days.
Cream Cheese
The signature frosting simply wouldn’t be the same without it. Its slight tang perfectly complements the subtle cocoa flavor of the cake.
Step-by-Step Preparation Guide
Step 1: Prepare Your Equipment
Preheat your oven to 350°F (175°C). Grease two 8-inch round cake pans and line the bottoms with parchment paper. This simple step helps prevent sticking and ensures your cakes release cleanly.
Gather all of your ingredients before you begin. Having everything measured and ready will make the process much smoother.
Step 2: Combine the Dry Ingredients
In a large mixing bowl, whisk together the gluten-free flour blend, cocoa powder, baking soda, and salt.
Whisking instead of simply stirring helps distribute the ingredients evenly and prevents pockets of cocoa or baking soda from forming in the finished cake.
Step 3: Cream the Butter and Sugar
In a separate large bowl, beat the softened butter and granulated sugar until the mixture becomes light and fluffy. This usually takes about three to four minutes with an electric mixer.
Don’t rush this step. Proper creaming incorporates air into the batter, helping create a lighter texture.
Step 4: Add the Wet Ingredients
Add the eggs one at a time, mixing well after each addition.
Next, pour in the vegetable oil, vanilla extract, apple cider vinegar, and red food coloring. Continue mixing until the batter becomes smooth and evenly colored.
Step 5: Alternate Dry Ingredients and Buttermilk
Reduce the mixer speed to low.
Add one-third of the flour mixture, followed by half of the buttermilk. Repeat the process, ending with the remaining flour mixture.
Mix only until everything is combined. Overmixing can make gluten-free cakes dense.
Step 6: Let the Batter Rest
Allow the finished batter to sit for about 10 minutes before pouring it into the prepared pans.
This resting period gives the gluten-free flour time to fully hydrate, resulting in a smoother, softer cake.
Step 7: Bake
Divide the batter evenly between the two cake pans.
Bake for approximately 30 to 35 minutes, or until a toothpick inserted into the center comes out with only a few moist crumbs attached.
Avoid opening the oven door during the first 25 minutes, as sudden temperature changes can affect the rise.
Step 8: Cool Completely
Allow the cakes to cool in their pans for 15 minutes before transferring them to a wire rack.
Never frost a warm cake. Even slight warmth can cause cream cheese frosting to melt and slide off.
Step 9: Prepare the Cream Cheese Frosting
Beat the softened cream cheese and butter together until smooth and creamy.
Gradually add the powdered sugar, mixing slowly at first to avoid creating a cloud of sugar. Add the vanilla extract and a pinch of salt, then beat until the frosting becomes light and fluffy.
If the frosting feels too soft, refrigerate it for 15 to 20 minutes before using.
Step 10: Assemble the Cake
Place one cake layer onto your serving plate or cake stand.
Spread an even layer of cream cheese frosting over the top. Add the second cake layer and cover the entire cake with the remaining frosting.
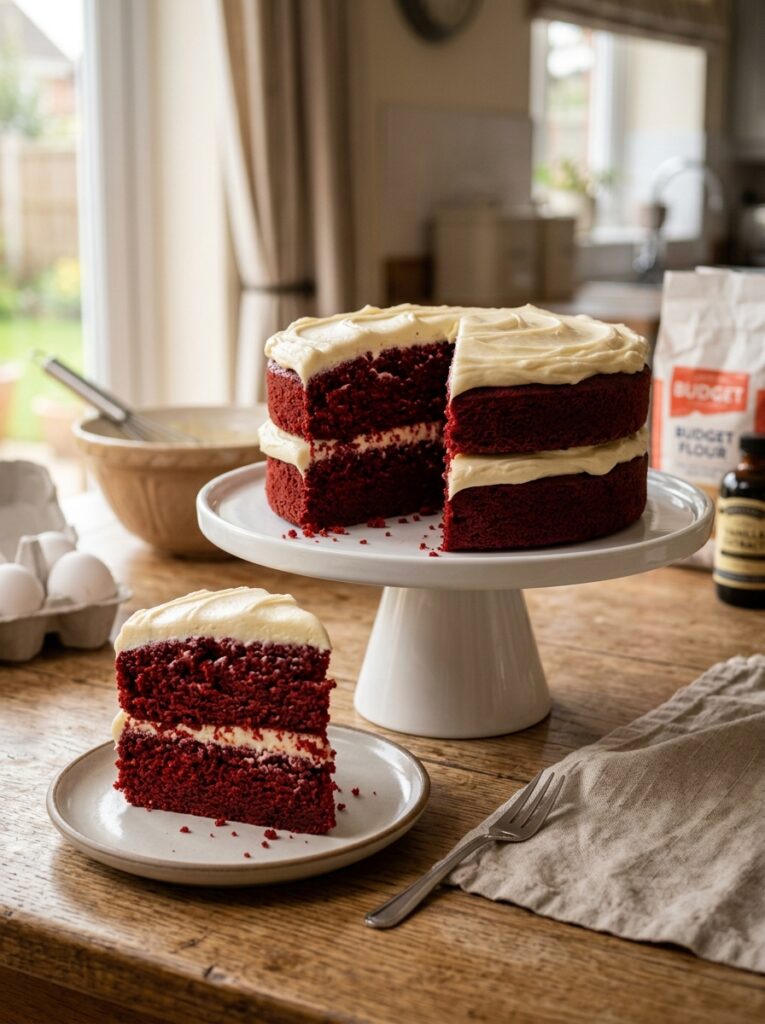
For a classic bakery-style finish, smooth the sides with an offset spatula and decorate with a few red velvet crumbs scattered over the top.
The result is a stunning gluten free red velvet cake with a soft, velvety interior and a creamy frosting that no one will believe is completely gluten free.
Variations of This Gluten Free Red Velvet Cake
One of the best things about this recipe is its flexibility. Once you master the basic version, you can easily customize it to suit different occasions, dietary preferences, or personal tastes.
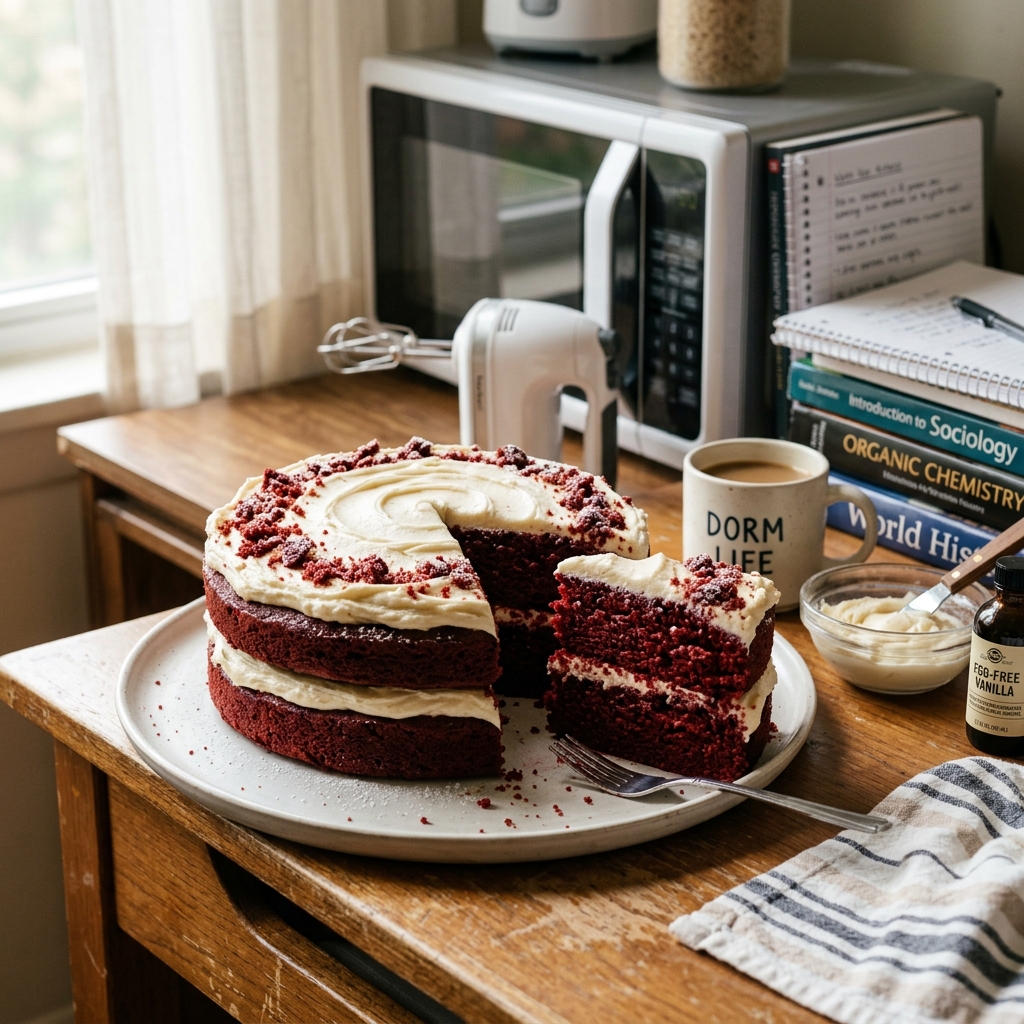
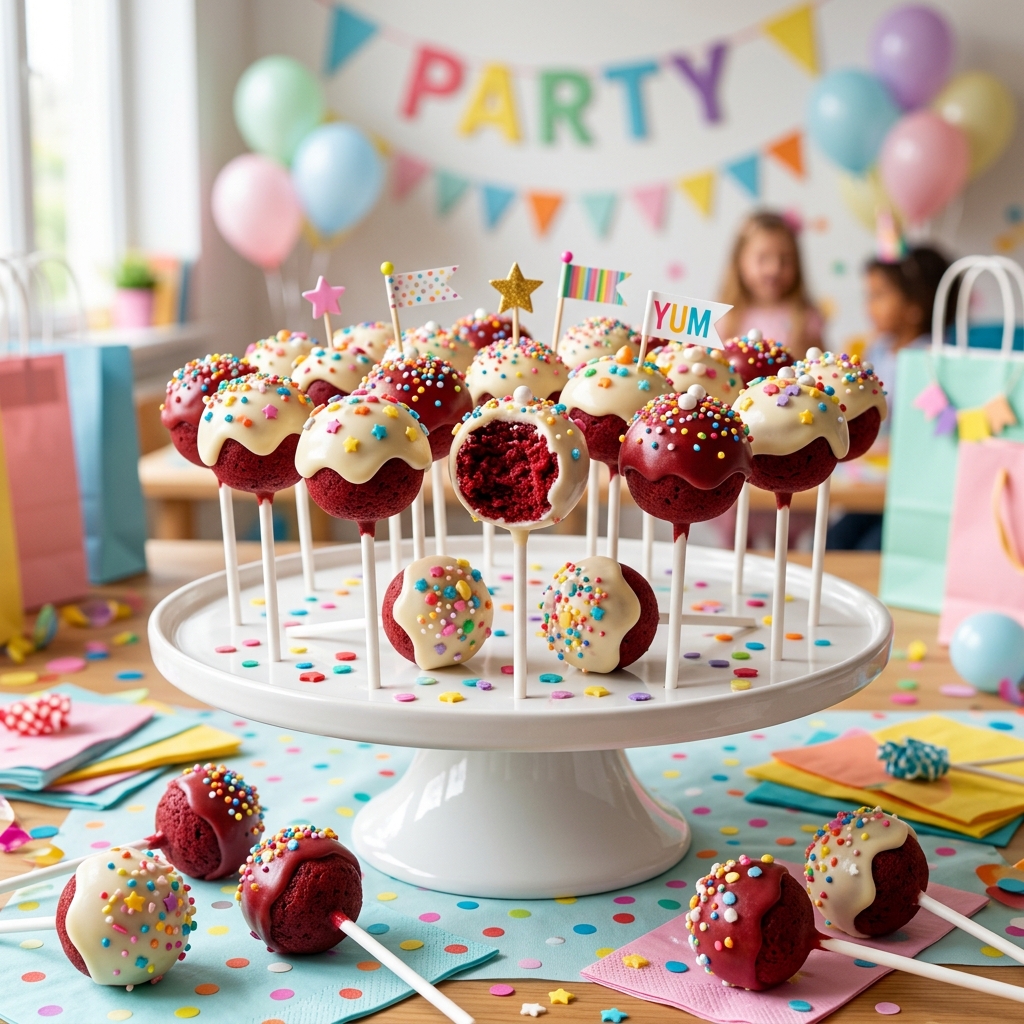
Gluten Free Red Velvet Cupcakes
Turn this recipe into cupcakes for birthdays, bake sales, or easy portion control. Simply divide the batter among lined muffin tins, filling each about two-thirds full. Bake at 350°F (175°C) for approximately 18 to 22 minutes.
Cupcakes are especially helpful for newly diagnosed celiac adults because they eliminate the need for slicing, reducing the risk of cross-contact during serving.
Dairy-Free Option
If you need a dairy-free dessert in addition to being gluten free, substitute the butter with a high-quality plant-based baking butter and replace the cream cheese with a dairy-free cream cheese alternative.
For the buttermilk, combine one cup of unsweetened almond milk or oat milk with one tablespoon of apple cider vinegar and allow it to sit for 10 minutes before using.
Naturally Colored Red Velvet Cake
Some people prefer to avoid artificial food coloring. Beetroot powder or concentrated beet juice can provide a beautiful natural red hue while adding subtle earthiness to the cake.
The final color may be slightly darker than traditional red velvet, but the result is equally beautiful.
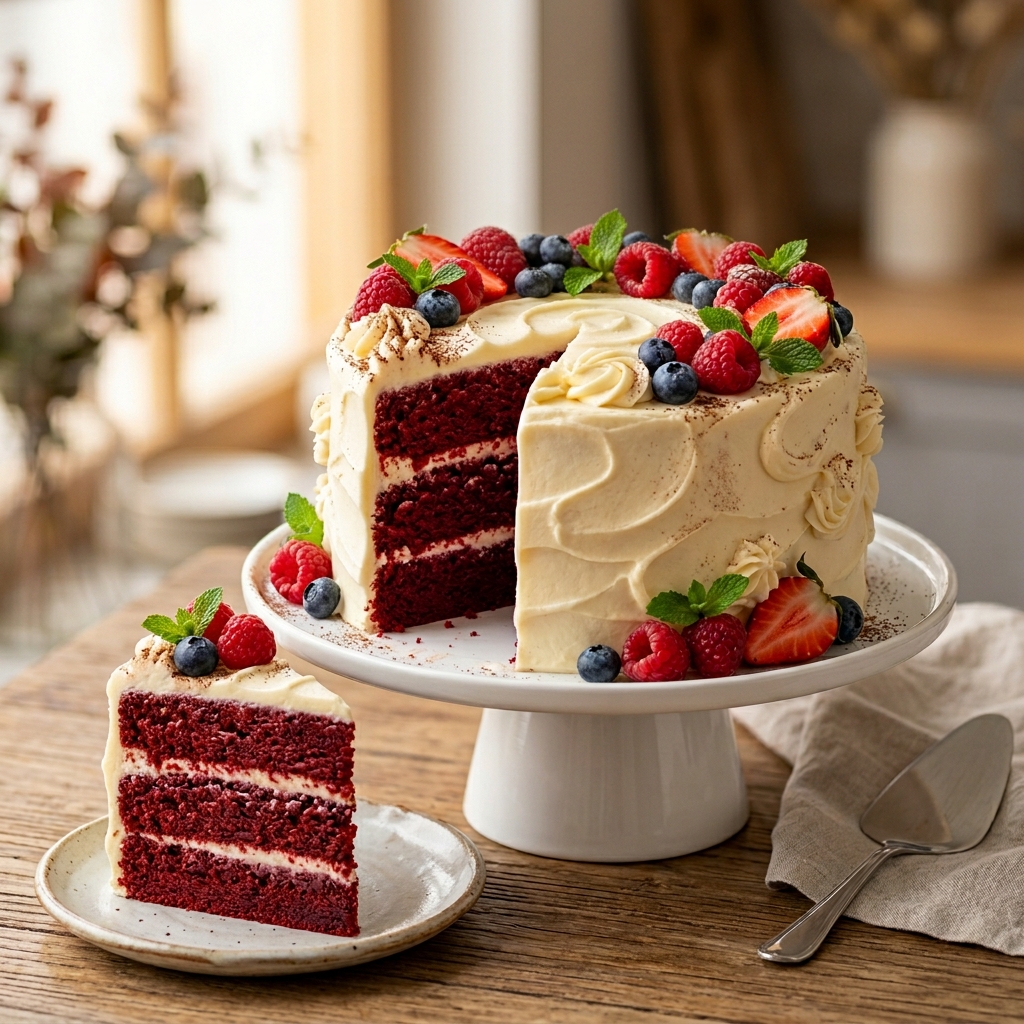
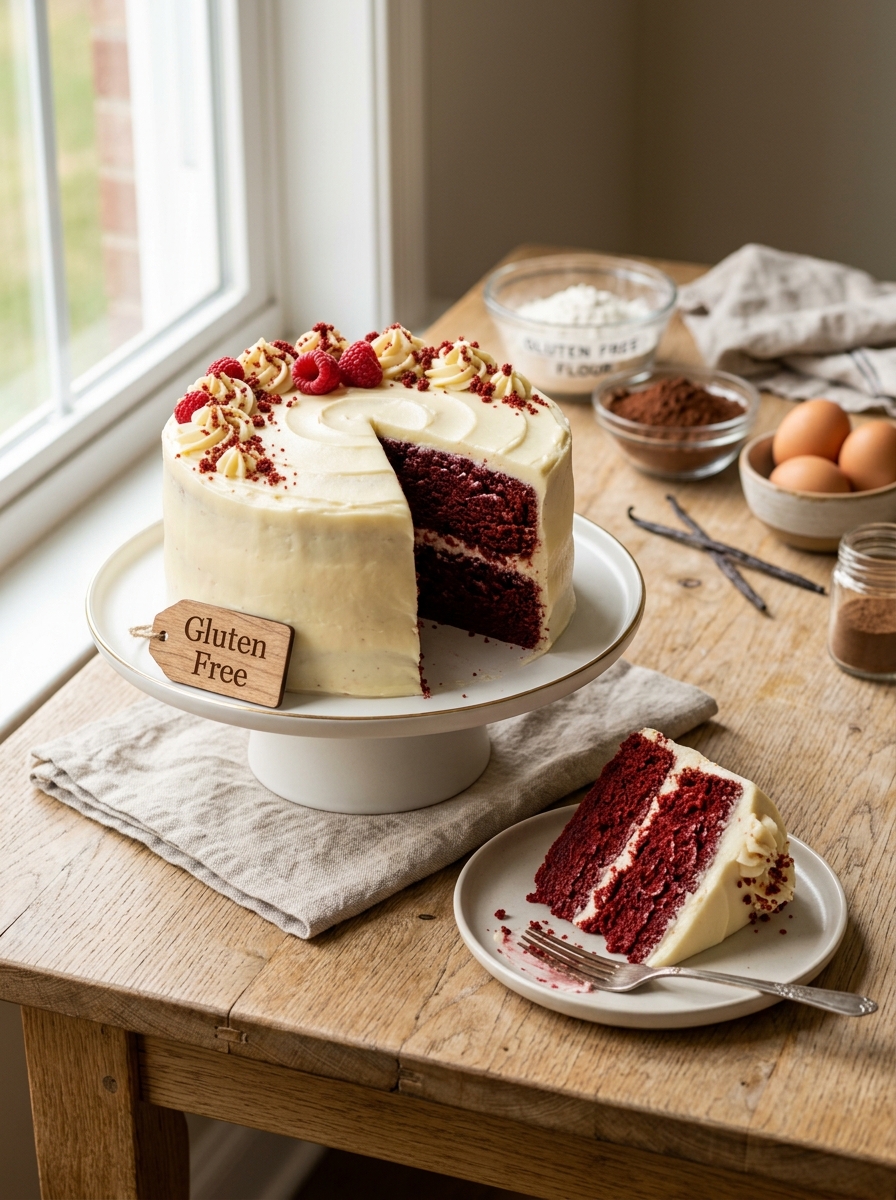
Layer Cake with Fresh Berries
For spring and summer gatherings, add a layer of fresh strawberries or raspberries between the cake layers. Their natural tartness pairs wonderfully with the cream cheese frosting.
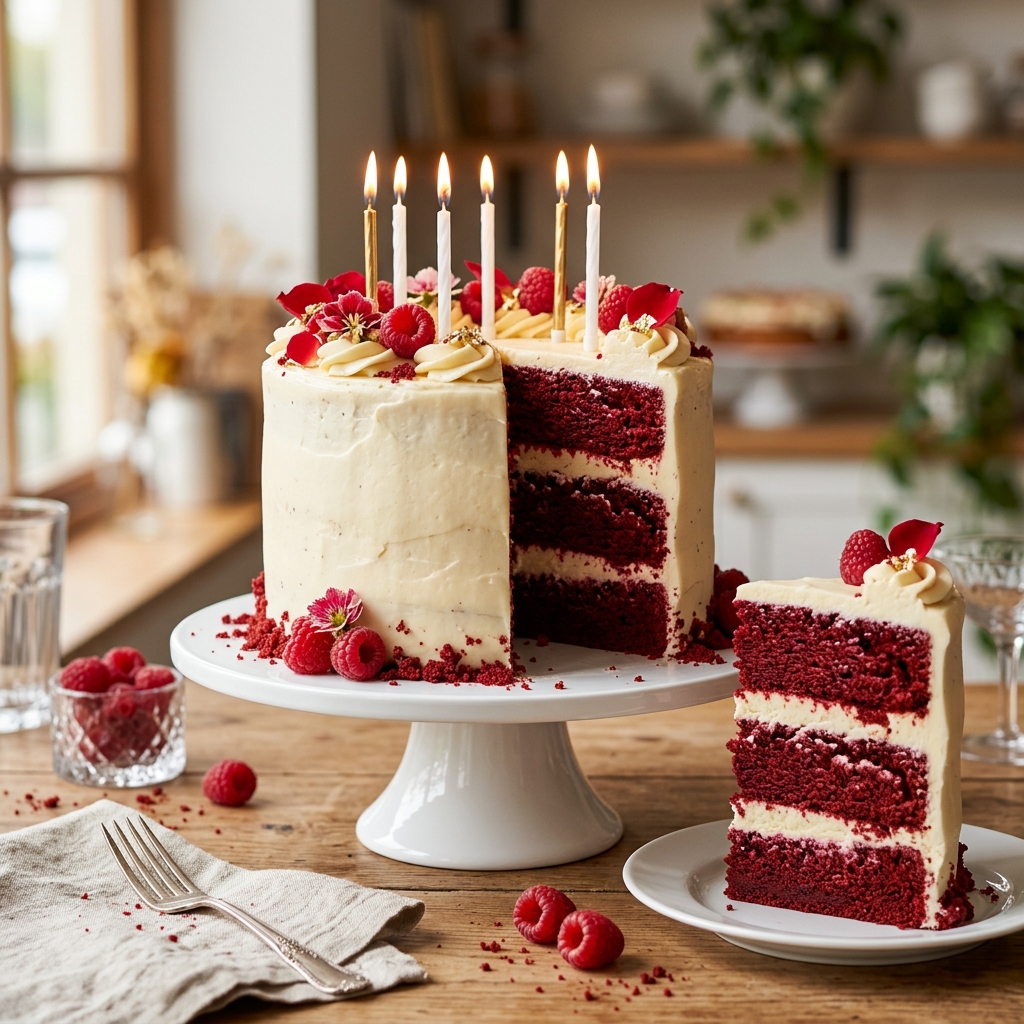
Mini Celebration Cake
Divide the batter into three smaller pans to create a taller, elegant cake that looks perfect for anniversaries or intimate celebrations.
Expert Tips for the Best Gluten Free Red Velvet Cake
Professional bakers know that great desserts are often the result of small details rather than complicated techniques. These tips can make a noticeable difference in your final cake.
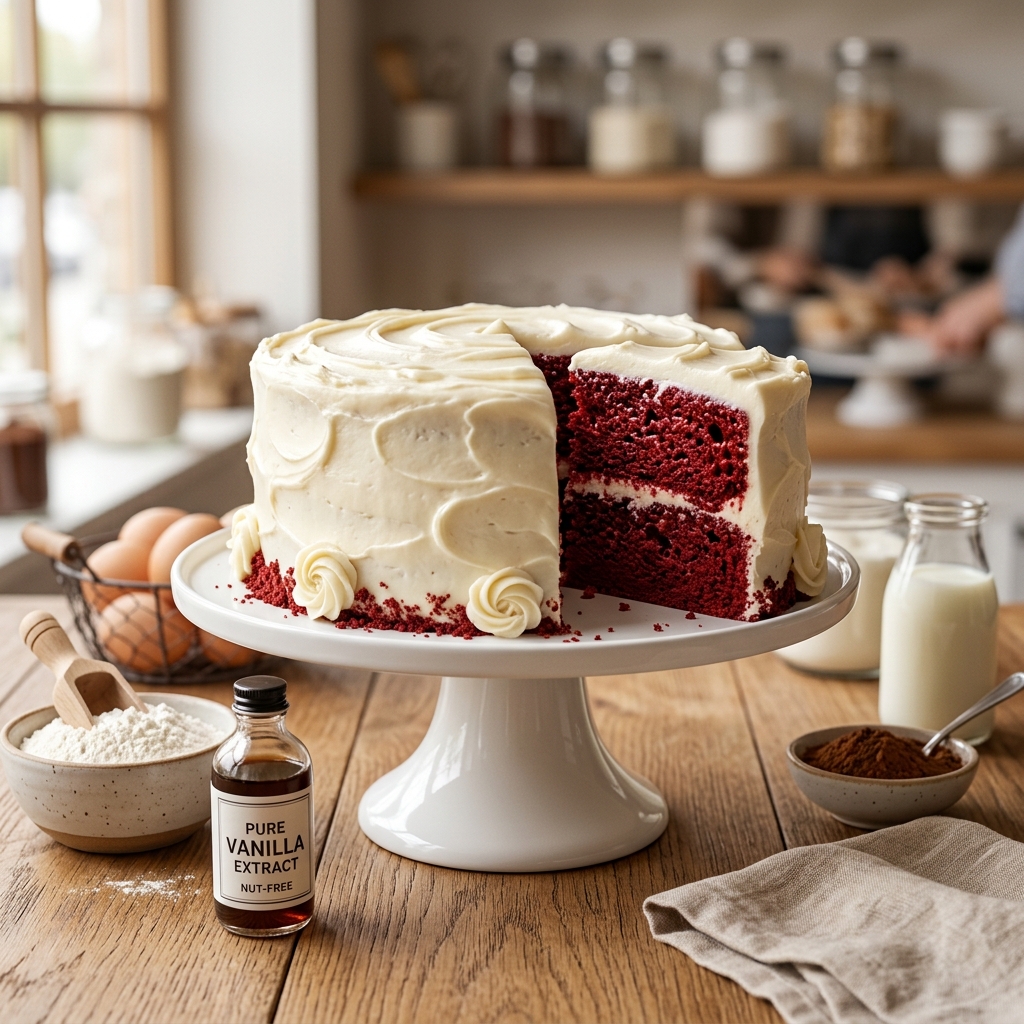
Always Check Ingredient Labels
For people with celiac disease, gluten can hide in unexpected places. Double-check that your baking powder, vanilla extract, cocoa powder, and food coloring are labeled gluten free.
Even ingredients that are naturally gluten free can become contaminated during manufacturing.
Measure Flour Correctly
Scooping flour directly with the measuring cup often packs it too tightly, resulting in a dry cake.
Instead, fluff the flour with a spoon, gently scoop it into the measuring cup, and level it off with a straight edge.
Use Room Temperature Ingredients
Cold ingredients do not blend as smoothly, which can lead to uneven mixing and inconsistent texture.
Take your butter, eggs, cream cheese, and buttermilk out of the refrigerator about 30 to 45 minutes before baking.
Don’t Skip the Resting Time
Many gluten-free bakers overlook this simple trick.
Allowing the batter to rest before baking gives the starches time to absorb moisture, producing a softer and less crumbly cake.
Avoid Overbaking
Gluten-free cakes can dry out quickly if left in the oven too long.
Start checking for doneness a few minutes before the suggested baking time. A few moist crumbs on the toothpick are better than a completely dry one.
Chill Before Slicing
After frosting, refrigerate the cake for about 30 minutes.
This helps the frosting firm up and makes it much easier to achieve clean, beautiful slices.
Make Ahead Options
This cake is an excellent choice for advance preparation, making it perfect for busy schedules or holiday baking.
Bake the Layers Ahead
The cake layers can be baked up to two days in advance. Once completely cool, wrap each layer tightly in plastic wrap and store them at room temperature.
Freeze for Longer Storage
Wrap the unfrosted cake layers in two layers of plastic wrap followed by aluminum foil. Freeze for up to three months.
When ready to use, thaw them overnight in the refrigerator before frosting.
Prepare the Frosting Early
The cream cheese frosting can be made one or two days ahead and stored in an airtight container in the refrigerator.
Allow it to soften at room temperature for about 20 minutes and give it a quick stir before using.
What to Serve With Gluten Free Red Velvet Cake
Although this cake is delicious on its own, pairing it with the right accompaniments can elevate the entire dessert experience.
Some wonderful serving ideas include:
- Fresh strawberries
- Raspberries
- Blueberries
- Blackberries
- Lightly sweetened whipped cream
- Vanilla bean ice cream
- Freshly brewed coffee
- Cappuccino
- Hot chocolate
- Earl Grey tea
- Chamomile tea
- Cold milk
- Sparkling berry lemonade
For holidays and celebrations, garnish each slice with a few fresh berries and a small mint leaf for an elegant presentation.
How to Store Gluten Free Red Velvet Cake
Proper storage helps maintain both texture and flavor.
At Room Temperature
If your kitchen is cool, the unfrosted cake layers can remain covered at room temperature for up to two days.
In the Refrigerator
Once frosted with cream cheese frosting, the cake should be refrigerated.
Store it in an airtight cake container or cover it loosely with plastic wrap. It will stay fresh for up to five days.
Allow slices to sit at room temperature for about 20 minutes before serving for the best flavor and texture.
In the Freezer
Individual slices freeze exceptionally well.
Wrap each slice tightly in plastic wrap and place them in a freezer-safe container. They can be frozen for up to three months.
Simply thaw a slice in the refrigerator overnight whenever you’re craving a homemade treat.
Frequently Asked Questions
1. Can people without celiac disease enjoy this cake?
Absolutely. Most people cannot even tell that this cake is gluten free. Its soft texture and classic flavor make it enjoyable for everyone.
2. Why did my gluten free cake turn out dry?
The most common causes are too much flour, overbaking, or using a low-quality gluten-free flour blend. Accurate measuring and careful baking time are essential.
3. Can I make this recipe without xanthan gum?
If your gluten-free flour blend does not contain xanthan gum, adding about one teaspoon separately will help improve the structure of the cake.
4. Can I use liquid food coloring instead of gel?
Yes, but gel food coloring generally provides a richer red color without adding excess liquid to the batter.
5. Is this recipe safe for someone with celiac disease?
Yes, provided that every ingredient used is certified gluten free and your kitchen practices avoid cross-contamination from wheat-based products.
6. Can I bake this cake in a 9-inch pan instead?
Yes. Using 9-inch pans will produce slightly thinner layers and may reduce the baking time by a few minutes.
7. How can I tell when the cake is fully baked?
Insert a toothpick into the center. If it comes out with a few moist crumbs attached, the cake is ready. A completely clean toothpick often means the cake has baked slightly too long.

Gluten Free Red Velvet Cake for Newly Diagnosed Celiac Adults
Ingredients
Equipment
Method
- Preheat the oven to 350°F (175°C). Grease and line two 8-inch cake pans with parchment paper.
- In a medium bowl, whisk together the gluten-free flour, cocoa powder, baking soda, and salt.
- In a large mixing bowl, beat the softened butter and granulated sugar until light and fluffy, about 3 to 4 minutes.
- Add the eggs one at a time, mixing well after each addition.
- Mix in the vegetable oil, vanilla extract, apple cider vinegar, and red food coloring until fully combined.
- Gradually add the dry ingredients and buttermilk, alternating between the two, beginning and ending with the flour mixture. Mix just until combined.
- Let the batter rest for 10 minutes to allow the gluten-free flour to fully hydrate.
- Divide the batter evenly between the prepared cake pans.
- Bake for 30 to 35 minutes, or until a toothpick inserted into the center comes out with a few moist crumbs.
- Allow the cakes to cool in the pans for 15 minutes before transferring them to a wire rack to cool completely.
- To prepare the frosting, beat the cream cheese and butter until smooth. Gradually add the powdered sugar, then mix in the vanilla extract and salt until fluffy.
- Place one cake layer on a serving plate and spread a generous layer of frosting over the top. Add the second layer and frost the top and sides of the cake.
- Chill the finished cake for about 1 hour before slicing for the cleanest presentation.
Notes
Room temperature ingredients create a smoother batter and a lighter cake texture.
If your flour blend does not contain xanthan gum, add 1 teaspoon separately.
For a deeper red color, use gel food coloring instead of liquid.
The unfrosted cake layers can be frozen for up to 3 months when wrapped tightly.
For best flavor, allow refrigerated cake slices to sit at room temperature for 15 to 20 minutes before serving.
Fresh berries or a cup of coffee pair wonderfully with this cake for an elegant dessert experience.