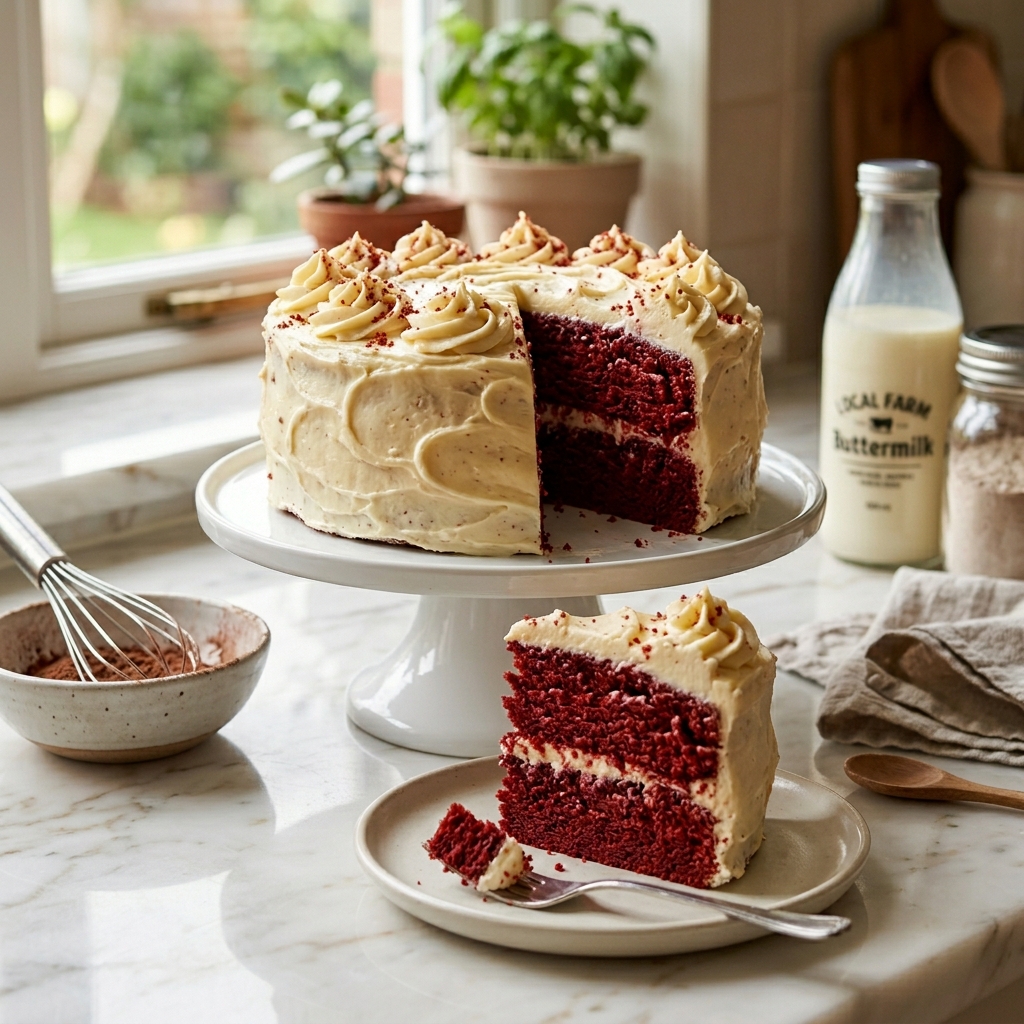
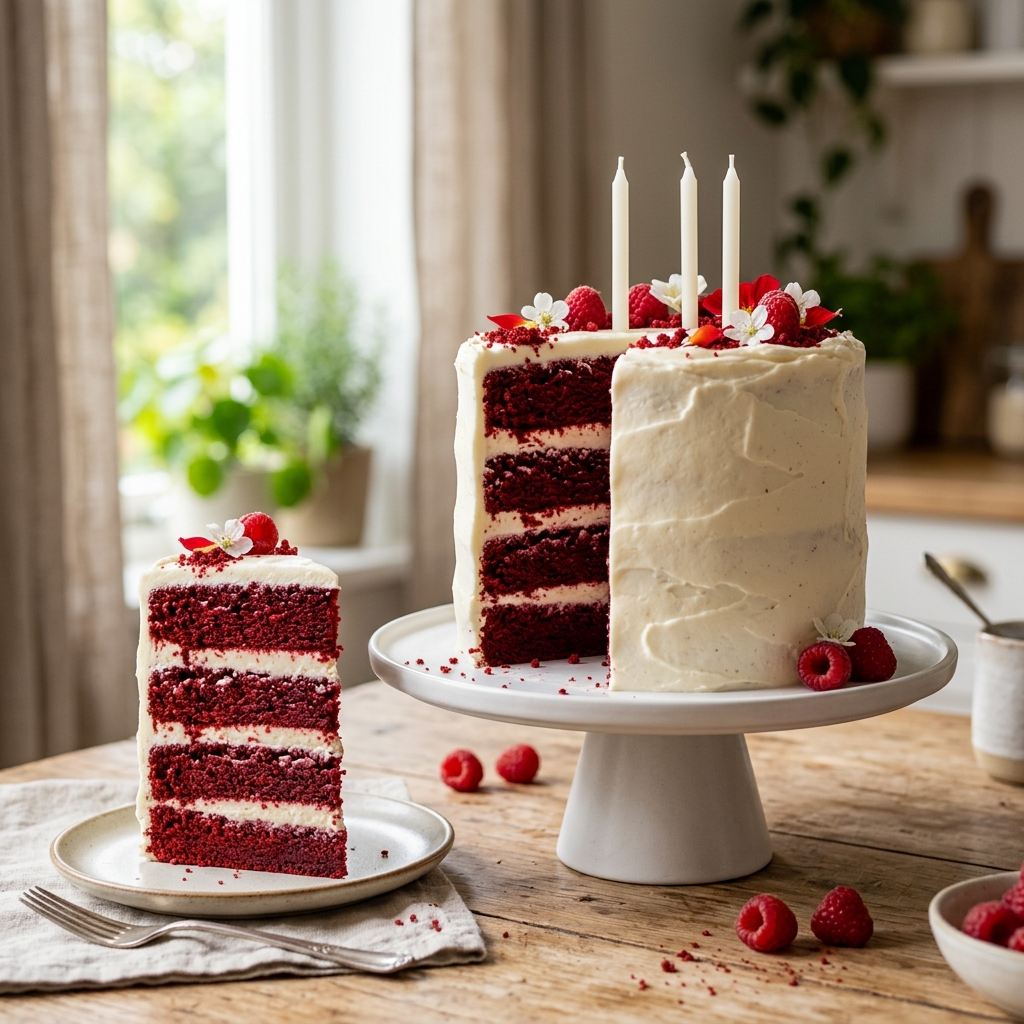
There is something undeniably magical about a red velvet cake. Its deep crimson layers, velvety crumb, and luxurious cream cheese frosting have made it one of the world’s most beloved celebration desserts. For many people, however, traditional red velvet cake is off the menu because it relies heavily on butter, milk, and conventional cream cheese. Fortunately, creating an incredibly moist and beautiful vegan version is not only possible—it can be every bit as delicious as the classic.
This Vegan Red Velvet Cake for Dairy-Free Birthday Parties proves that you never have to sacrifice flavor, texture, or appearance when baking without dairy. Whether you are planning a birthday for a vegan family member, hosting guests with dietary restrictions, or simply exploring plant-based baking, this recipe delivers a stunning centerpiece that everyone can enjoy.
What makes this cake especially remarkable is that most people will never realize it is completely dairy-free. The sponge remains tender and fluffy, the frosting is smooth and creamy, and the signature red velvet flavor shines through in every bite. Even guests who usually prefer traditional cakes often come back for a second slice.
Beyond its incredible taste, this recipe is designed for celebration. It looks elegant enough for milestone birthdays, baby showers, anniversaries, and holiday gatherings, while remaining simple enough for home bakers to master. With a few quality ingredients and the right techniques, you can create a bakery-worthy dessert that turns any occasion into something unforgettable.
Why This Vegan Red Velvet Cake Is Different
Many dairy-free cakes suffer from one common problem: they can become dry, dense, or crumbly. Traditional recipes depend on butter and dairy products to provide moisture and richness, so removing them without careful adjustments often leads to disappointing results.
This recipe takes a different approach.
Instead of relying on dairy, it uses a thoughtful combination of plant-based ingredients that work together to produce a soft, moist crumb. The vegetable oil creates tenderness, while oat milk and apple cider vinegar react with the baking soda to create a lighter texture. The result is a cake that stays fresh longer and slices beautifully.
Another reason this recipe stands out is its authentic red velvet flavor profile. Contrary to popular belief, red velvet is not simply chocolate cake dyed red. It has a unique balance of mild cocoa, vanilla, and subtle tanginess that creates its signature taste. The vegan cream cheese frosting complements these flavors perfectly, adding richness without overwhelming the delicate cake layers.
The Secret Behind a Perfect Dairy-Free Birthday Cake
If you’ve ever wondered why bakery cakes have such an irresistible texture, the answer often comes down to understanding the role each ingredient plays.
The small amount of cocoa powder gives red velvet its subtle chocolate notes without making it overly rich. Apple cider vinegar is more than just an acidic ingredient—it activates the baking soda, helping create a soft and airy crumb. Plant-based milk provides moisture while keeping the batter smooth and easy to mix.
Equally important is avoiding overmixing. Once the dry ingredients meet the wet ingredients, the batter should only be stirred until combined. Excessive mixing develops gluten, which can make the cake tougher instead of tender.
Temperature also matters. Allowing ingredients like oat milk and vegan cream cheese to come to room temperature before using them helps create a more even batter and a smoother frosting. Professional bakers often emphasize this simple step because it can dramatically improve the final result.
One of the greatest advantages of this vegan version is that it remains moist for days, making it an ideal choice for busy hosts who want to prepare desserts ahead of a party.
Ingredients for Vegan Red Velvet Cake
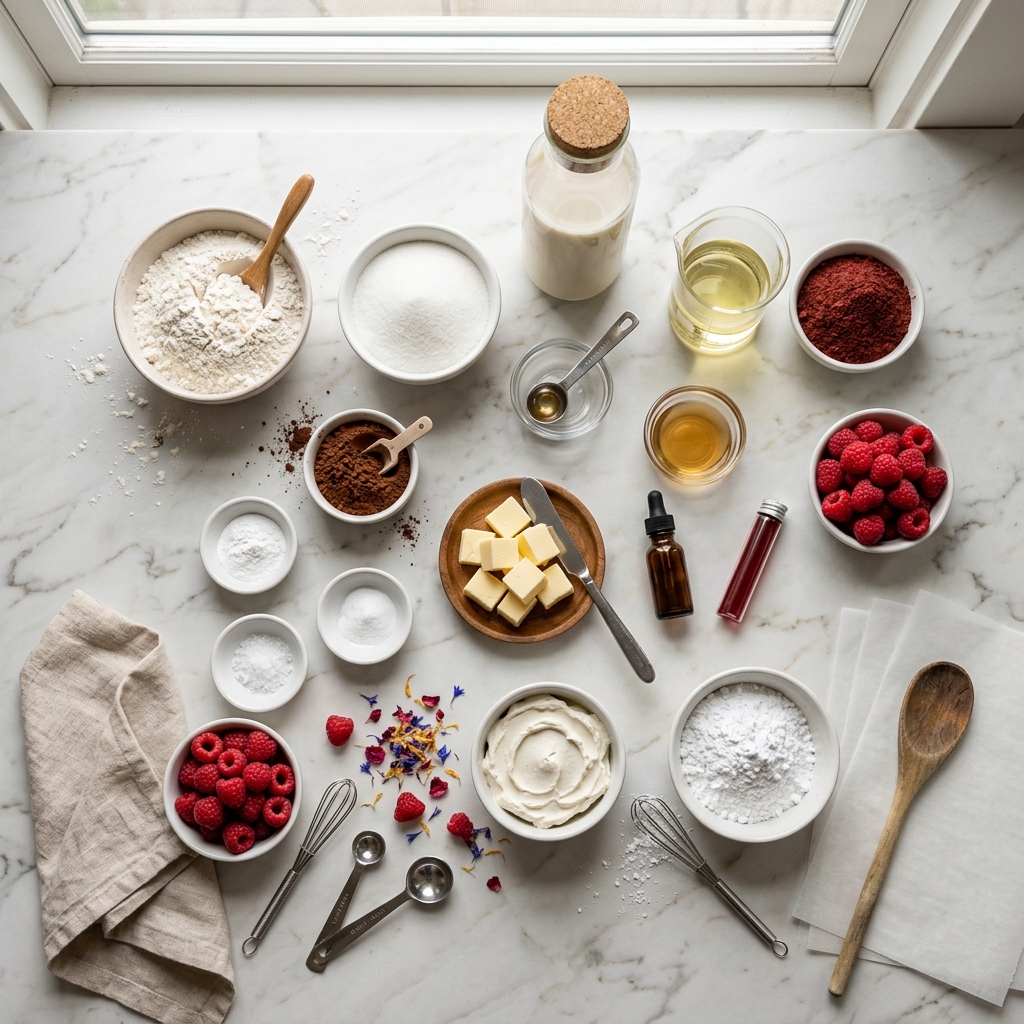
For the Cake
- 2 ½ cups all-purpose flour
- 1 ½ cups granulated sugar
- 2 tablespoons unsweetened cocoa powder
- 1 teaspoon baking soda
- 1 teaspoon baking powder
- ½ teaspoon fine sea salt
- 1 cup unsweetened oat milk (or almond milk)
- 1 tablespoon apple cider vinegar
- ¾ cup neutral vegetable oil
- 2 teaspoons pure vanilla extract
- 1 tablespoon natural red food coloring
- ½ cup dairy-free plain yogurt or unsweetened applesauce (optional for extra moisture)
For the Vegan Cream Cheese Frosting
- 16 ounces vegan cream cheese, softened
- ½ cup vegan butter, softened
- 4 cups powdered sugar, sifted
- 2 teaspoons vanilla extract
- Pinch of salt
Optional Garnishes
- Fresh raspberries
- Red velvet cake crumbs
- Edible flowers
- White chocolate-style vegan shavings
- Birthday candles
Understanding the Ingredients
All-Purpose Flour
This provides the cake’s structure while still allowing for a soft crumb. Measuring accurately is essential. Too much flour can make the cake dry.
Cocoa Powder
Only a small amount is used because red velvet is not meant to taste like chocolate cake. Choose high-quality unsweetened cocoa for the best flavor.
Oat Milk
Oat milk is an excellent choice because it adds creaminess without overpowering the cake. Almond milk or soy milk can also be substituted.
Apple Cider Vinegar
This ingredient works with the baking soda to create lift and contributes to the subtle tanginess that defines authentic red velvet cake.
Vegetable Oil
Oil creates a softer, moister cake than butter and helps maintain freshness for several days.
Vegan Cream Cheese
A quality vegan cream cheese is the foundation of a delicious dairy-free frosting. It provides the classic tang that balances the sweetness of the cake.
Step-by-Step Preparation Guide
Step 1: Prepare Your Baking Equipment
Preheat your oven to 350°F (175°C). Grease and line two 8-inch or 9-inch round cake pans with parchment paper. This helps ensure the cakes release cleanly after baking.
Gather and measure all ingredients before you begin. Professional bakers call this “mise en place,” and it makes the baking process smoother and more enjoyable.
Step 2: Create the Vegan Buttermilk
In a medium bowl, combine the oat milk and apple cider vinegar.
Let the mixture sit for 5 to 10 minutes. It will slightly thicken and curdle, creating a plant-based buttermilk substitute that adds tenderness to the cake.
Step 3: Mix the Dry Ingredients
In a large mixing bowl, whisk together:
- All-purpose flour
- Granulated sugar
- Cocoa powder
- Baking soda
- Baking powder
- Salt
Whisk thoroughly to distribute the leavening agents evenly throughout the flour mixture.
Step 4: Combine the Wet Ingredients
To the vegan buttermilk, add:
- Vegetable oil
- Vanilla extract
- Red food coloring
- Dairy-free yogurt or applesauce (if using)
Whisk until completely smooth and evenly colored.
Step 5: Make the Cake Batter
Pour the wet ingredients into the bowl of dry ingredients.
Using a spatula or wooden spoon, gently fold everything together until no dry streaks remain. Avoid overmixing. A few tiny lumps are perfectly acceptable.
The batter should be smooth, thick, and beautifully red.
Step 6: Fill the Cake Pans
Divide the batter evenly between the prepared pans.
Gently tap each pan on the counter a few times to remove any large air bubbles and level the surface.
Step 7: Bake
Place the pans into the preheated oven.
Bake for approximately 30 to 35 minutes, or until a toothpick inserted into the center comes out with only a few moist crumbs attached.
Avoid opening the oven door during the first 25 minutes, as sudden temperature changes may affect the rise.
Step 8: Cool Completely
Allow the cakes to cool in their pans for 10 to 15 minutes.
Carefully transfer them to a wire rack and let them cool completely before frosting. Attempting to frost warm cakes can cause the frosting to melt and slide.
Step 9: Prepare the Vegan Cream Cheese Frosting
In a large mixing bowl, beat the softened vegan butter and vegan cream cheese until smooth and creamy.
Gradually add the powdered sugar, one cup at a time, mixing well after each addition.
Add the vanilla extract and a pinch of salt, then continue beating until the frosting becomes light, fluffy, and spreadable.
If needed, chill the frosting for 15 minutes before assembling the cake.
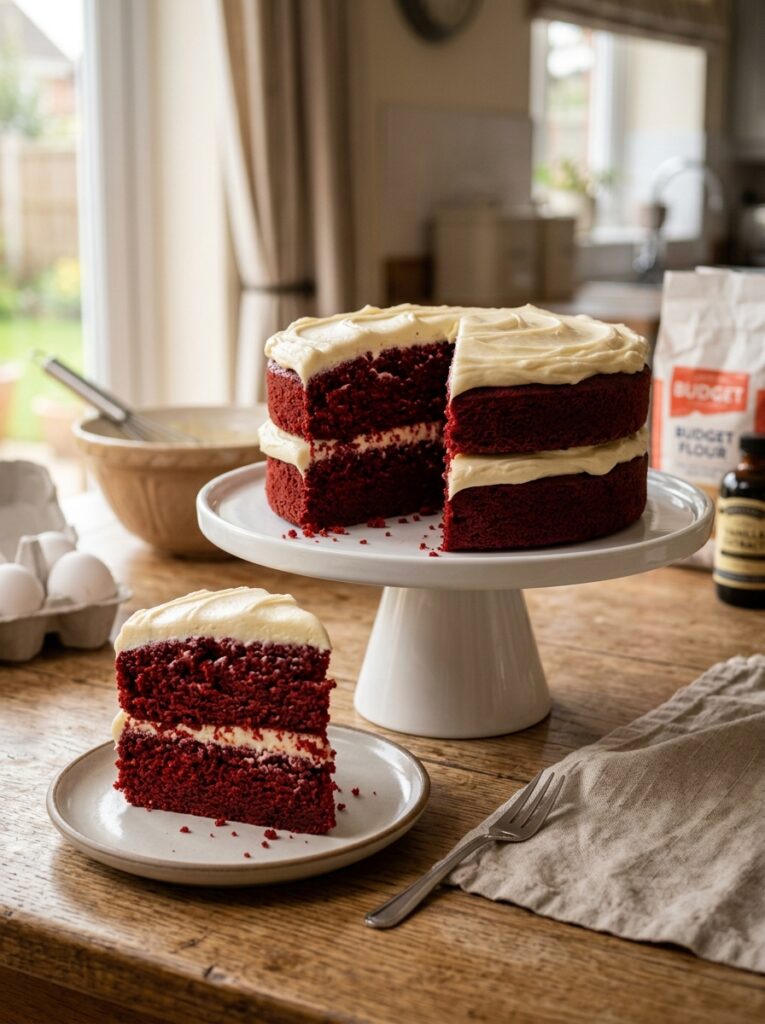
Step 10: Assemble the Birthday Cake
Place the first cake layer onto a serving plate or modern white cake stand.
Spread a generous layer of vegan cream cheese frosting over the top.
Add the second cake layer and frost the top and sides evenly. For a professional bakery look, smooth the frosting with an offset spatula while leaving a few subtle swirls and natural textures.
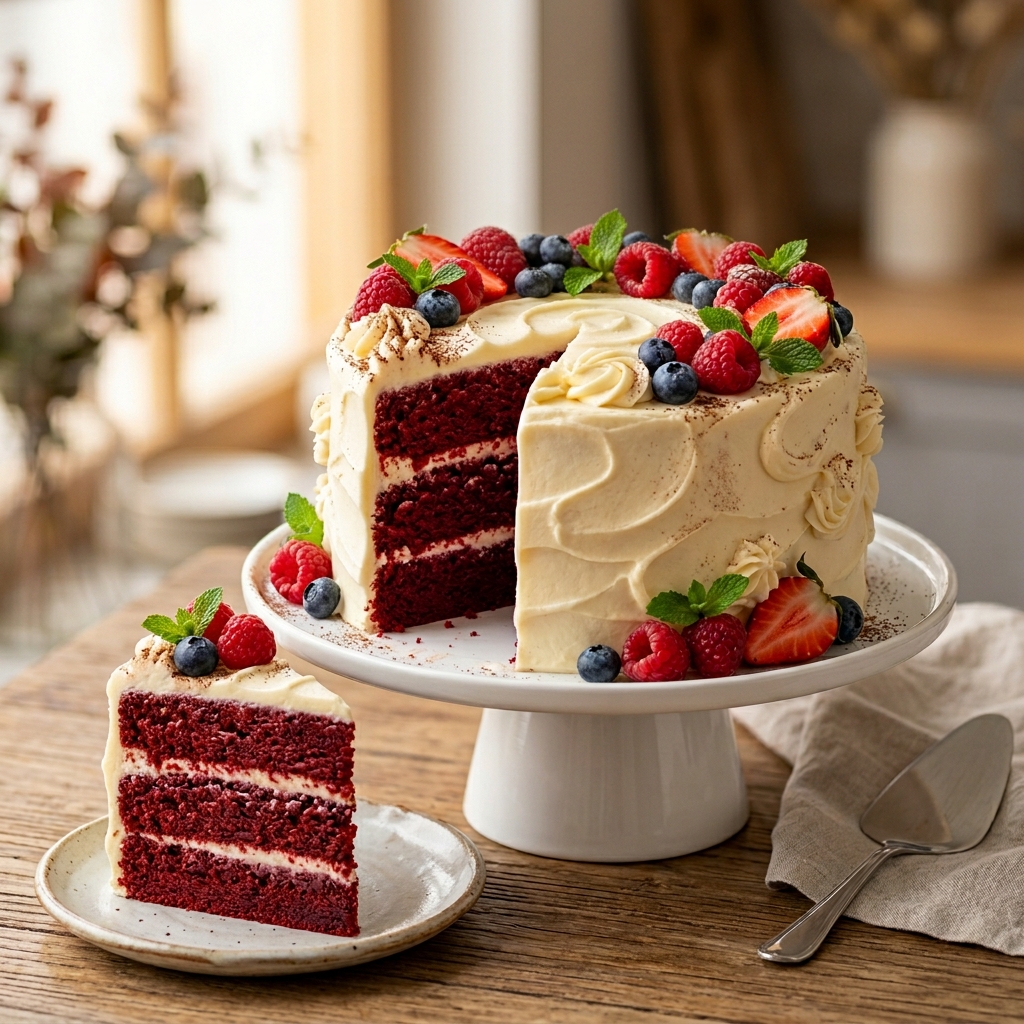
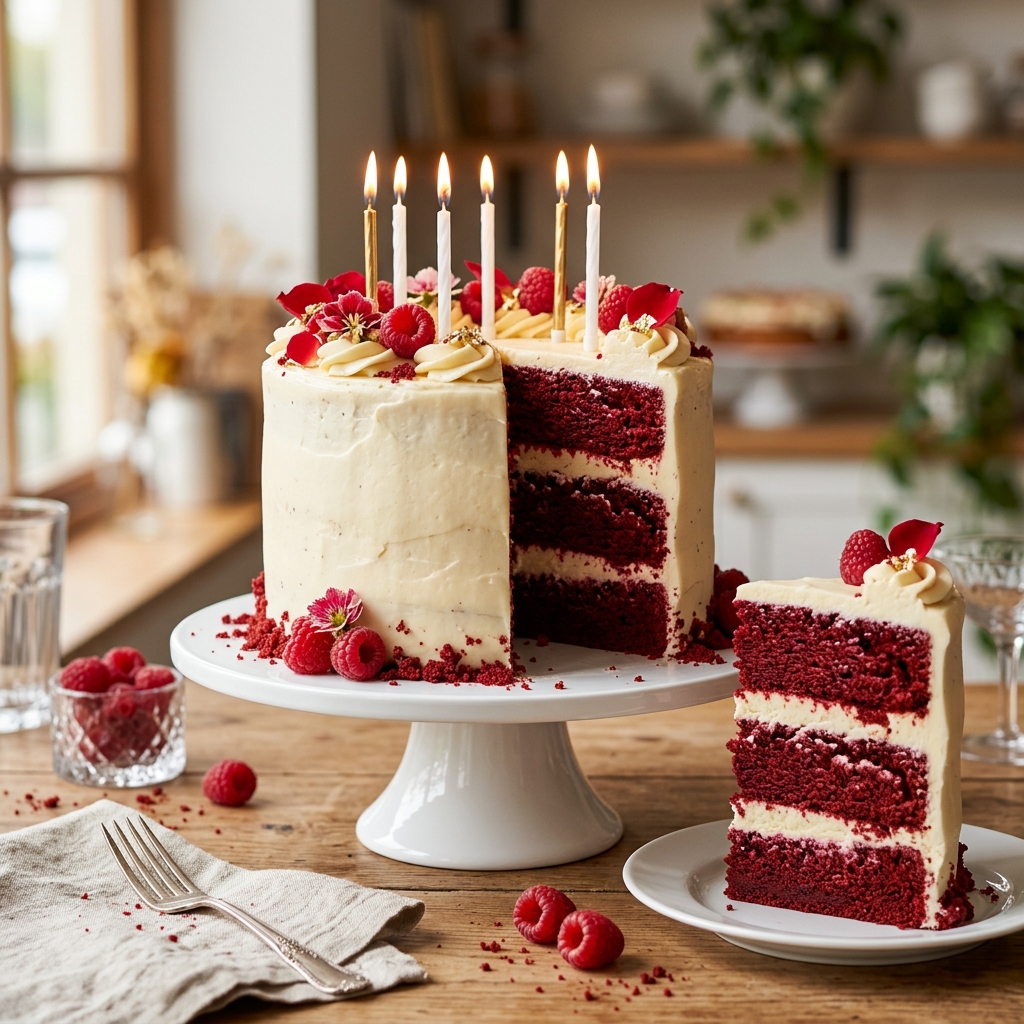
Decorate with fresh raspberries, red velvet crumbs, edible flowers, or simple white birthday candles for an elegant dairy-free celebration cake that looks every bit as impressive as it tastes.
Variations of This Vegan Red Velvet Cake
One of the best things about this recipe is how versatile it is. Once you’ve mastered the basic version, you can easily customize it for different occasions and preferences.
Vegan Red Velvet Cupcakes
Turn this recipe into beautiful cupcakes by dividing the batter among lined muffin tins. Fill each liner about two-thirds full and bake for 18 to 22 minutes. Top each cupcake with a generous swirl of vegan cream cheese frosting and a sprinkle of red velvet crumbs for an elegant presentation.
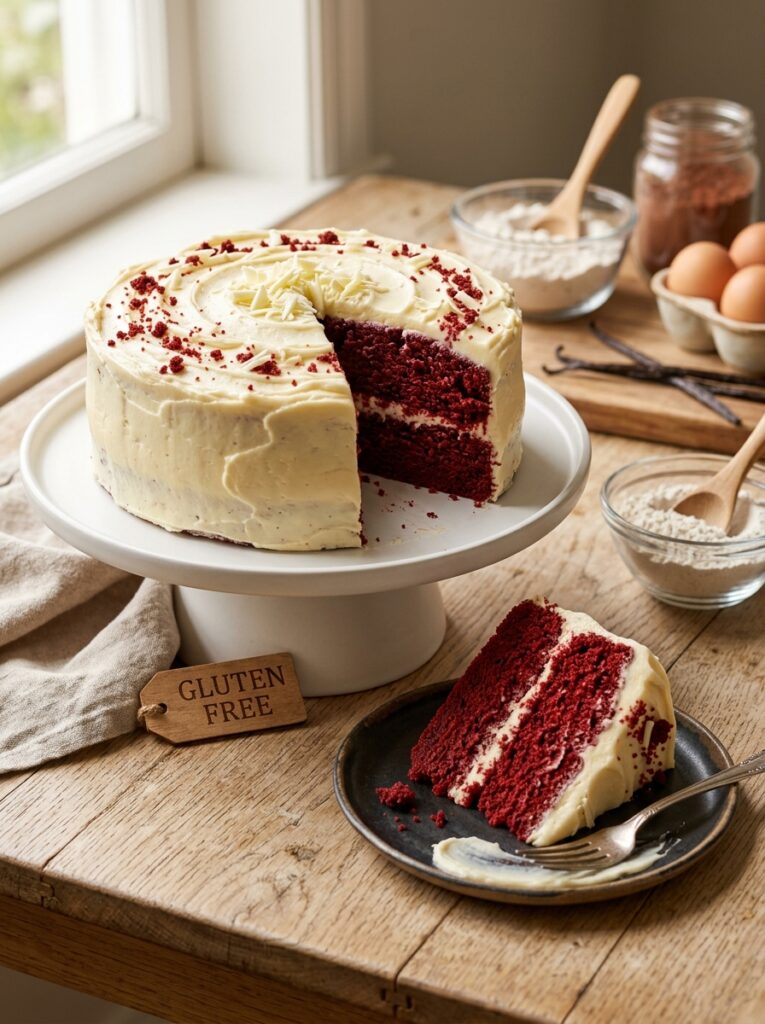
Gluten-Free Version
If you need a gluten-free dessert, simply substitute the all-purpose flour with a high-quality 1:1 gluten-free baking blend that contains xanthan gum. The texture may be slightly different, but the cake will still be soft and delicious.
Naked Cake Style
For a rustic and modern birthday centerpiece, apply only a thin layer of frosting around the sides so that some of the beautiful red cake layers remain visible. Decorate with fresh berries and edible flowers for a stunning finish.
Chocolate Lover’s Red Velvet Cake
Increase the cocoa powder slightly and add a handful of dairy-free chocolate chips to the batter for a richer chocolate flavor while still preserving the classic red velvet character.
Berry-Filled Celebration Cake
Add a layer of raspberry or strawberry preserves between the cake layers before frosting. The fruity filling pairs beautifully with the tangy vegan cream cheese frosting.
Expert Tips for Bakery-Quality Results
Even simple recipes can become extraordinary with a few professional baking techniques.
Use Room Temperature Ingredients
Cold ingredients do not combine as evenly as room-temperature ones. Let your oat milk, vegan cream cheese, and vegan butter sit out for about 30 minutes before baking.
Measure Flour Correctly
Never scoop flour directly with the measuring cup. Instead, fluff the flour with a spoon, gently fill the measuring cup, and level it off with a knife. This prevents adding too much flour, which can make the cake dry.
Don’t Skip the Vinegar
Some bakers wonder whether the apple cider vinegar is necessary. The answer is absolutely yes. It reacts with the baking soda to create a lighter crumb while adding the slight tanginess that authentic red velvet cakes are known for.
Avoid Overbaking
A few extra minutes in the oven can make a significant difference. Start checking the cake around the 30-minute mark. A toothpick should come out with a few moist crumbs rather than completely dry.
Chill Before Slicing
Once assembled, refrigerate the cake for 20 to 30 minutes before serving. This allows the frosting to firm up slightly and helps create cleaner, more beautiful slices.
Create Perfect Frosting Layers
Using an offset spatula and a rotating cake stand can help achieve a smooth professional finish. If perfection isn’t your goal, embrace a few rustic swirls—homemade cakes often look more inviting this way.
Make Ahead Options
One of the biggest advantages of this vegan red velvet cake is that much of the work can be done in advance.
The cake layers can be baked one or two days before your event. Once completely cooled, wrap each layer tightly in plastic wrap and store at room temperature.
The vegan cream cheese frosting can also be prepared up to three days ahead and kept refrigerated in an airtight container. Before using, simply allow it to soften slightly and give it a quick stir.
If you need even more flexibility, the unfrosted cake layers freeze exceptionally well. Wrap them securely in plastic wrap followed by aluminum foil and freeze for up to two months. Thaw overnight in the refrigerator before decorating.
Many bakers actually prefer assembling the cake the day before serving because the flavors have more time to meld together, resulting in an even richer and more balanced dessert.
What to Serve With Vegan Red Velvet Cake
Although this cake is spectacular on its own, pairing it with complementary drinks and desserts can elevate the entire celebration.
Some wonderful serving ideas include:
- Fresh strawberries and raspberries
- Mixed berry compote
- Coconut whipped cream
- Dairy-free vanilla ice cream
- Vegan chocolate sauce drizzle
- Fresh mint leaves for garnish
- Hot coffee or espresso
- Oat milk latte
- Herbal tea blends such as chamomile or hibiscus
- Sparkling lemonade for birthday parties
For larger celebrations, this cake pairs wonderfully with a dessert table featuring fresh fruit platters, vegan cookies, and dairy-free chocolate truffles.
How to Store Vegan Red Velvet Cake
Proper storage helps preserve both flavor and texture.
At Room Temperature
If your kitchen is cool, the frosted cake can sit covered at room temperature for up to 8 hours during a party.
In the Refrigerator
Because of the vegan cream cheese frosting, long-term storage should be in the refrigerator. Cover the cake with a cake dome or airtight container and store for up to 5 days.
Before serving, allow slices to sit at room temperature for about 20 minutes. This softens the frosting and enhances the flavor.
Freezing
Individual slices can be wrapped tightly and frozen for up to 2 months. Simply thaw overnight in the refrigerator or for a couple of hours at room temperature before enjoying.
Frequently Asked Questions
1. Does vegan red velvet cake taste different from traditional red velvet cake?
Most people cannot tell the difference. The texture remains moist and fluffy, while the vegan cream cheese frosting provides the same signature tanginess found in classic recipes.
2. Can I use almond milk instead of oat milk?
Absolutely. Almond milk, soy milk, and even cashew milk work well in this recipe. Choose an unsweetened variety for the best results.
3. Why is vinegar added to the batter?
Apple cider vinegar reacts with the baking soda, helping the cake rise while contributing to the subtle tangy flavor that makes red velvet unique.
4. What is the best vegan cream cheese for frosting?
Most major grocery stores now carry excellent vegan cream cheese products. Choose one specifically designed for baking or frosting to achieve the smoothest consistency.
5. Can I make this recipe as cupcakes?
Yes. Divide the batter into cupcake liners and bake for approximately 18 to 22 minutes. The recipe makes about 18 to 24 cupcakes depending on size.
6. Can I reduce the sugar?
You can slightly reduce the sugar, but removing too much may affect both texture and moisture. The frosting can also be adjusted to your preferred sweetness.
7. Is natural food coloring better than artificial coloring?
Natural food coloring is a great option for those who prefer plant-based ingredients. Beet powder or natural red coloring blends work well, although the final color may be slightly less vibrant.
8. How far in advance can I decorate the cake?
For the best appearance, decorate the cake up to one day before serving. Store it covered in the refrigerator until needed.
Vegan Red Velvet Cake for Dairy-Free Birthday Parties
Ingredients
Equipment
Method
- Preheat the oven to 350°F (175°C). Grease and line two round cake pans with parchment paper.
- In a small bowl, combine the oat milk and apple cider vinegar. Let stand for 5-10 minutes to create a vegan buttermilk.
- In a large mixing bowl, whisk together the flour, sugar, cocoa powder, baking soda, baking powder, and salt.
- Add the vegetable oil, vanilla extract, red food coloring, and dairy-free yogurt (if using) to the vegan buttermilk. Mix until smooth.
- Pour the wet ingredients into the dry ingredients and gently mix until just combined. Do not overmix.
- Divide the batter evenly between the prepared cake pans and smooth the tops.
- Bake for 30-35 minutes or until a toothpick inserted into the center comes out with a few moist crumbs.
- Allow the cakes to cool in the pans for 10-15 minutes before transferring them to a cooling rack to cool completely.
- Prepare the frosting by beating together the vegan butter and vegan cream cheese until smooth. Gradually add the powdered sugar, vanilla extract, and salt. Beat until light and fluffy.
- Place one cake layer on a serving plate, spread with frosting, add the second layer, and frost the top and sides. Decorate with fresh raspberries, cake crumbs, edible flowers, or your favorite birthday decorations.
Notes
Oat milk can be replaced with unsweetened almond milk or soy milk.
Natural red food coloring gives a softer red hue, while gel food coloring produces a more vibrant finish.
For cleaner slices, refrigerate the assembled cake for 20-30 minutes before serving.
The unfrosted cake layers can be frozen for up to 2 months when wrapped tightly.
This cake often tastes even better the next day as the flavors have more time to develop.