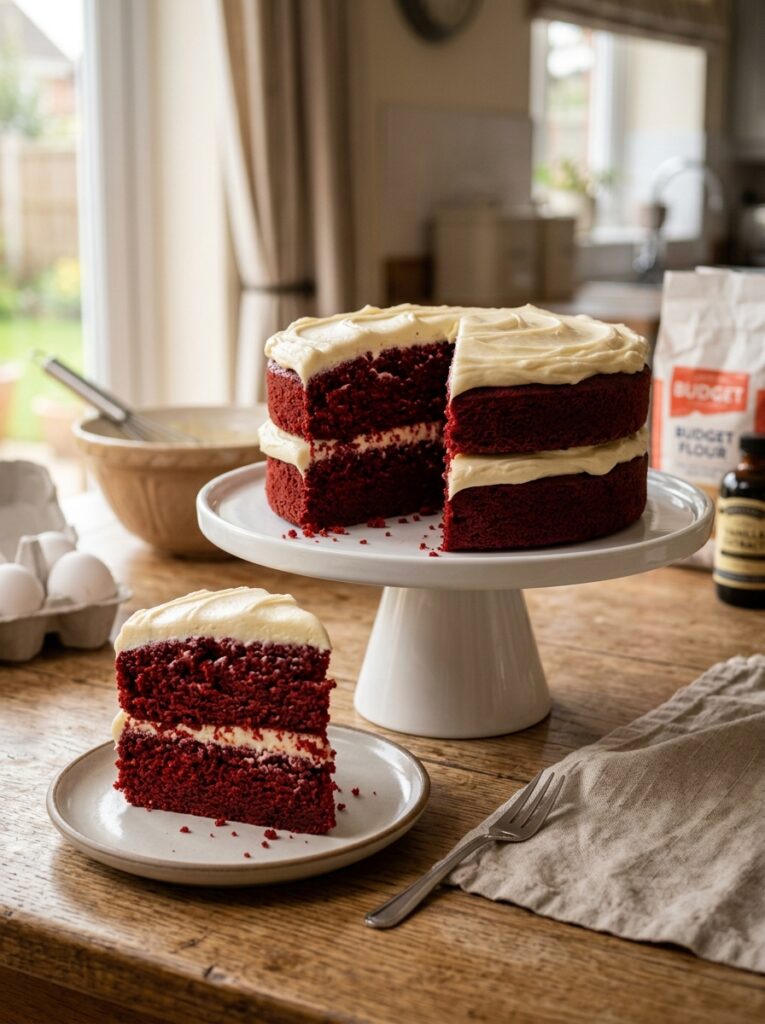
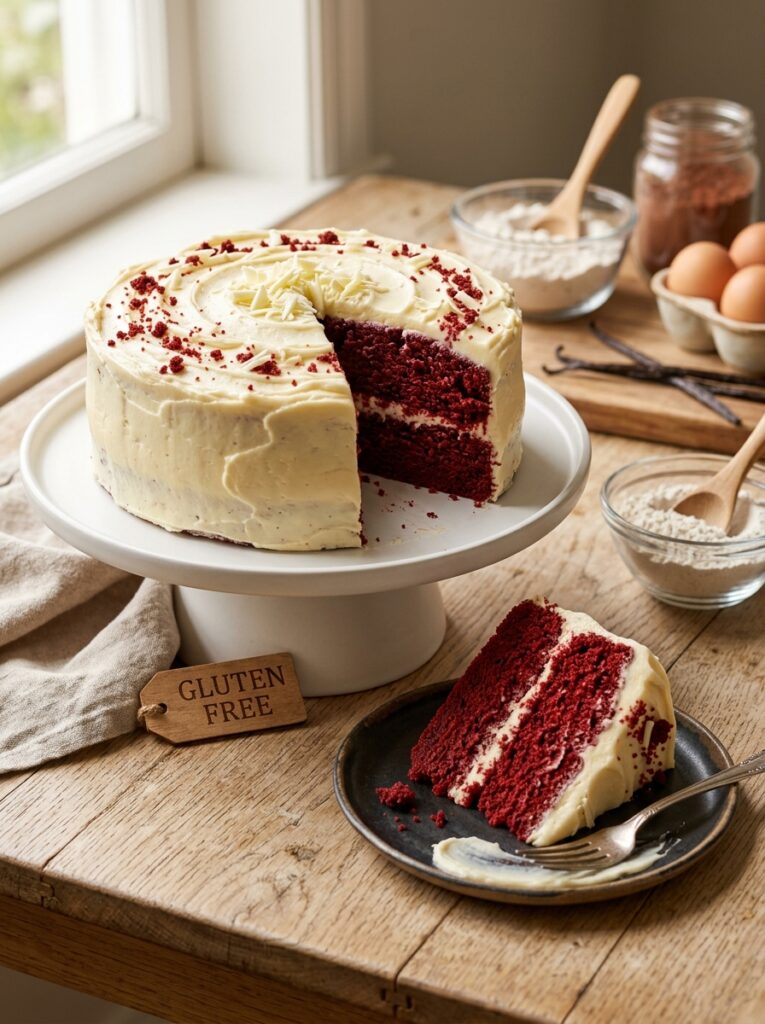
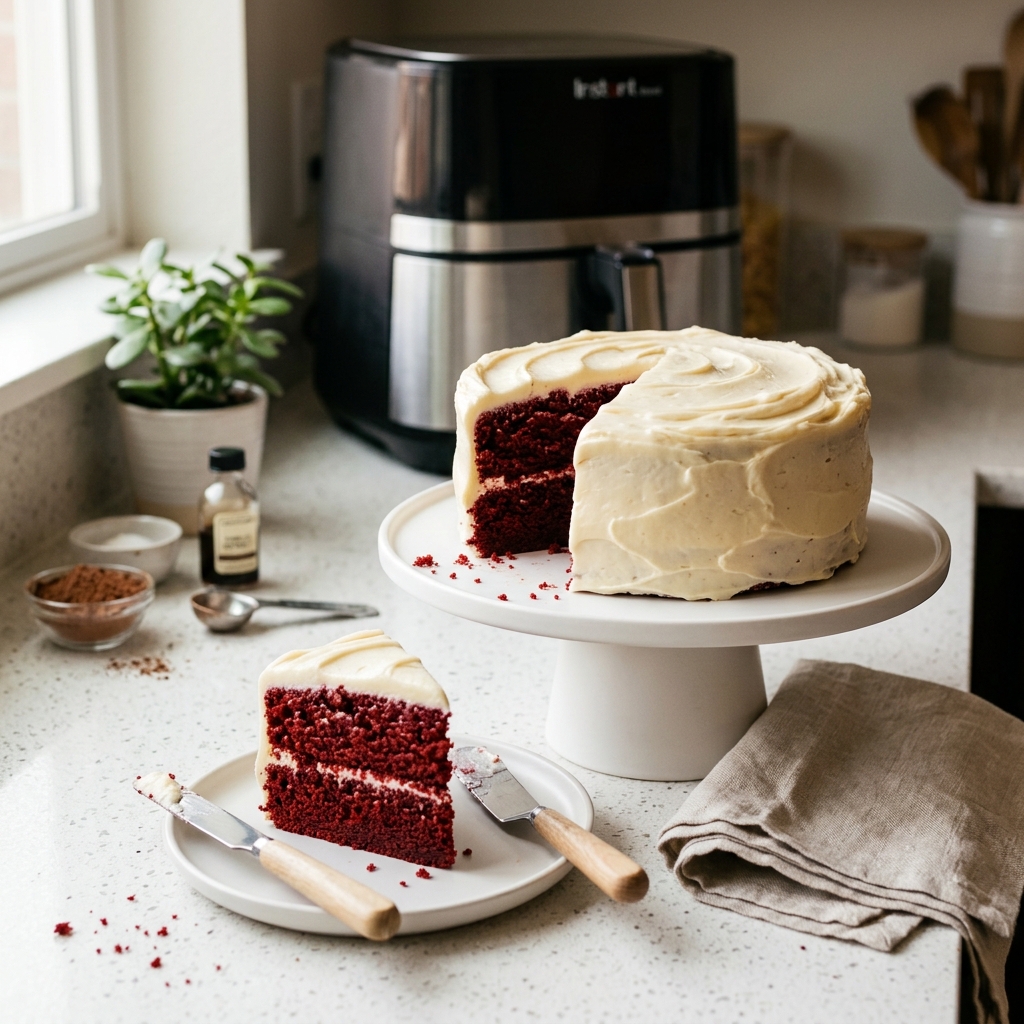
There’s something unforgettable about a perfectly baked red velvet cake. The rich crimson layers, the silky cream cheese frosting, and the soft, melt-in-your-mouth texture create the kind of dessert that instantly feels comforting and special at the same time. But for many busy working moms, baking a beautiful homemade cake can feel impossible after long work hours, school runs, endless chores, and trying to keep up with everyday life.
The good news is that making an incredibly moist and delicious red velvet cake does not have to take all day. This easy red velvet cake recipe was created specifically for busy moms who want a bakery-style dessert without spending hours in the kitchen. It combines simple ingredients, beginner-friendly steps, and time-saving techniques while still delivering that classic rich flavor everyone loves.
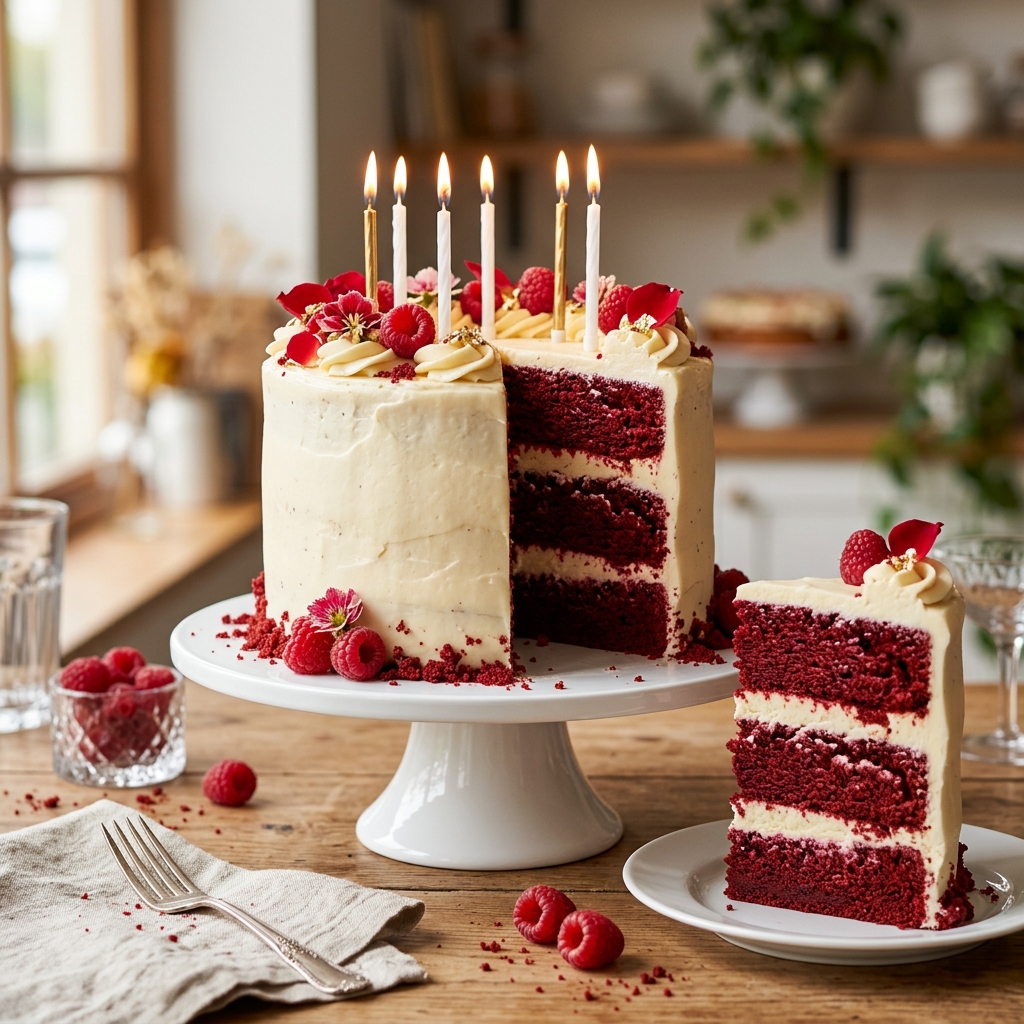
Whether you are baking for a birthday party, family gathering, holiday celebration, weekend treat, or simply craving something sweet after a hectic week, this recipe gives you a stunning homemade cake with minimal stress. Even if you are not an experienced baker, you can still create a cake that looks impressive and tastes absolutely incredible.
One of the best things about this recipe is how forgiving and flexible it is. You do not need professional baking skills or fancy equipment. With a few pantry staples and the right method, you can create soft velvet cake layers with a smooth cream cheese frosting that tastes just like it came from a high-end bakery.
Why This Easy Red Velvet Cake Recipe Works So Well
Red velvet cake is often misunderstood. Many people think it is simply chocolate cake dyed red, but true red velvet has its own unique flavor and texture. It combines a hint of cocoa with tangy buttermilk and creamy vanilla notes to create a balanced taste that feels rich without being overpowering.
This particular recipe works beautifully because it focuses on simplicity without sacrificing flavor. Busy moms need recipes that are practical, reliable, and fast enough to fit into a packed schedule. This cake delivers exactly that.
Here are some reasons why readers love this recipe:
It Uses Simple Ingredients
Most of the ingredients are common pantry and refrigerator staples. There is no need to hunt for complicated specialty items or expensive baking products.
The Cake Stays Moist for Days
Thanks to the combination of buttermilk, oil, and carefully balanced ingredients, the cake stays soft and tender even after refrigeration.
The Frosting Is Foolproof
The cream cheese frosting is creamy, smooth, and easy to spread. It perfectly complements the rich velvet cake layers without being too sweet.
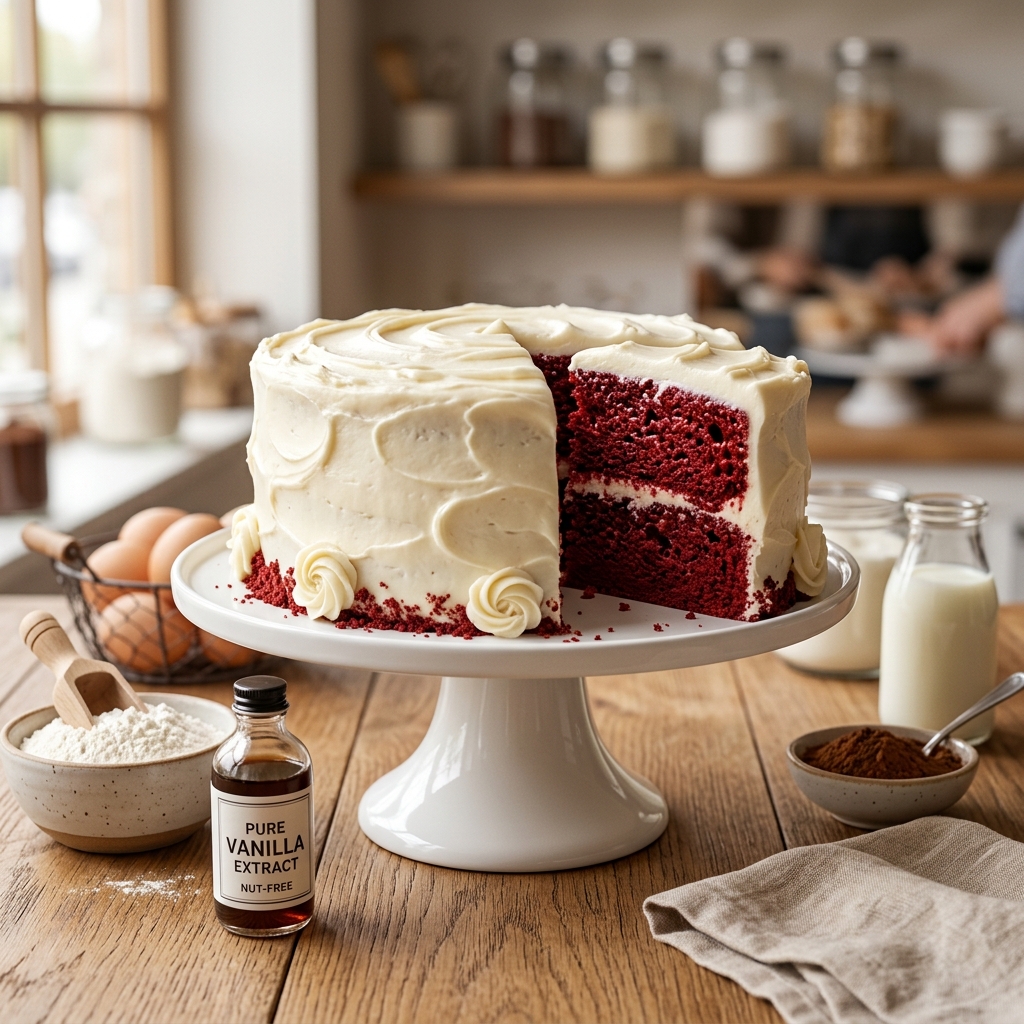
It Looks Bakery-Quality
Even though the recipe is easy enough for beginners, the final result looks elegant and professional enough for celebrations and parties.
Perfect for Make-Ahead Baking
Working moms often need recipes they can prepare ahead of time. This cake can easily be baked in advance and assembled later.
What Makes Red Velvet Cake So Special?
Unlike traditional chocolate cake, red velvet cake has a more delicate cocoa flavor. The texture is lighter, softer, and smoother, giving it its famous “velvet” feel. The slight tang from buttermilk and cream cheese frosting balances the sweetness beautifully.
Historically, red velvet cake became popular because of its luxurious appearance and unique texture. Today, it remains one of the most beloved desserts worldwide because it feels both nostalgic and elegant.
What truly makes this cake stand out is the emotional connection people have with it. Red velvet cake often appears during birthdays, Valentine’s Day, Christmas celebrations, anniversaries, and family gatherings. It is the type of dessert that instantly creates warmth and joy around the table.
For busy moms, recipes like this are especially valuable because they allow you to create memorable family moments without adding unnecessary stress to your schedule.
Ingredients for Easy Red Velvet Cake
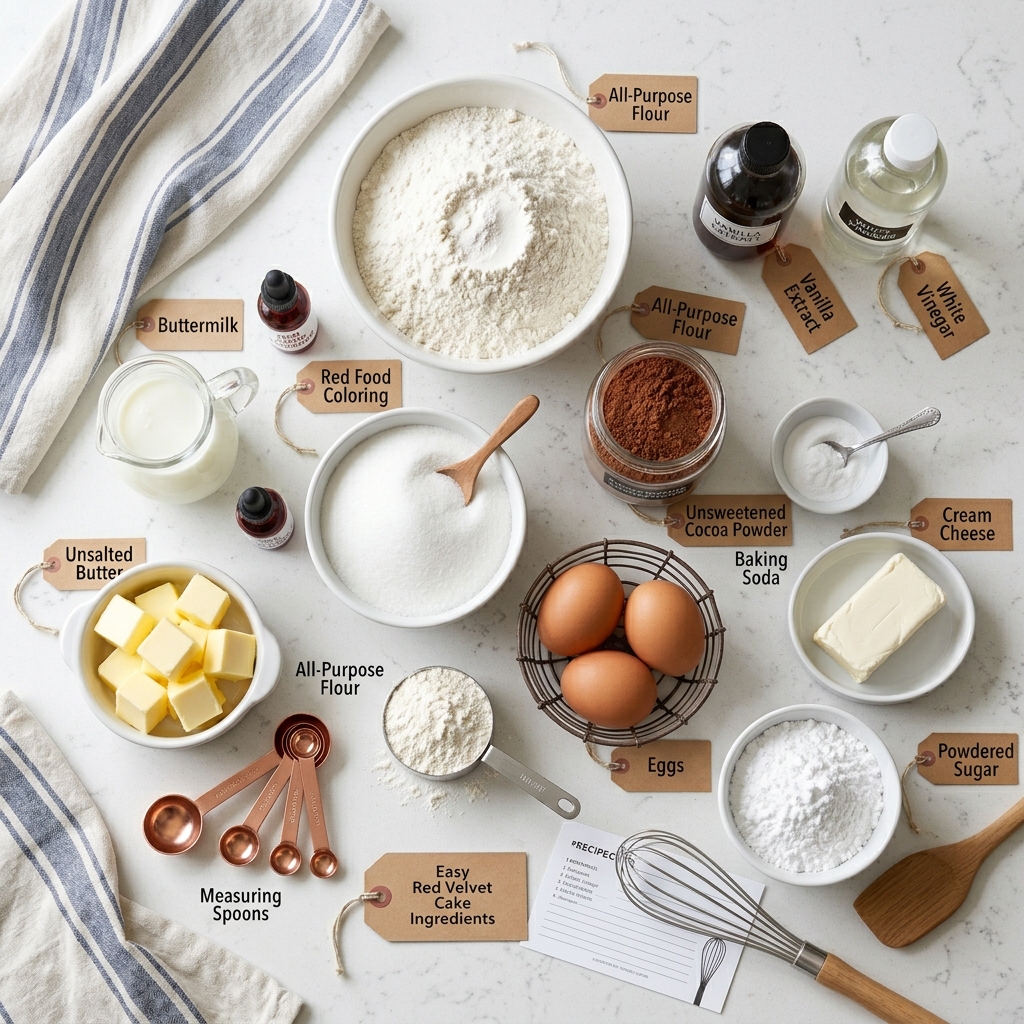
Before starting, it is important to gather and measure all ingredients properly. This makes the baking process much faster and smoother.
For the Red Velvet Cake
All-Purpose Flour
Flour forms the structure of the cake. Be careful not to overmeasure, as too much flour can make the cake dense instead of soft and fluffy.
Unsweetened Cocoa Powder
Red velvet cake only uses a small amount of cocoa powder. It adds a subtle chocolate flavor without overpowering the cake.
Baking Soda
Baking soda helps the cake rise and creates the soft, airy texture that makes red velvet cake famous.
Salt
Salt balances the sweetness and enhances the overall flavor of the cake.
Granulated Sugar
Sugar sweetens the cake while also helping create a moist texture.
Vegetable Oil
Oil helps keep the cake tender and moist for several days. It also makes the recipe easier than using butter alone.
Eggs
Eggs provide structure and richness while helping the batter come together smoothly.
Buttermilk
Buttermilk is one of the key ingredients in authentic red velvet cake. It adds moisture, tenderness, and a subtle tangy flavor.
Vanilla Extract
Vanilla gives warmth and depth to the cake’s flavor profile.
White Vinegar
Vinegar reacts with baking soda to create a softer texture and helps enhance the cake’s vibrant color.
Red Food Coloring
This gives the cake its iconic deep red appearance. Gel food coloring usually provides the best color without thinning the batter.
For the Cream Cheese Frosting
Cream Cheese
Use full-fat cream cheese for the richest and creamiest frosting texture.
Unsalted Butter
Butter adds smoothness and helps stabilize the frosting.
Powdered Sugar
Powdered sugar sweetens the frosting while keeping it silky and smooth.
Vanilla Extract
Vanilla enhances the flavor and balances the tanginess of the cream cheese.
Ingredient Tips for the Best Results
Use Room Temperature Ingredients
Cold ingredients do not blend properly and can affect the texture of the batter. Allow eggs, buttermilk, and cream cheese to sit at room temperature before baking.
Do Not Skip the Vinegar
Many people wonder why vinegar is used in red velvet cake. It reacts with the baking soda to create an extra soft crumb while enhancing the cake’s signature flavor.
Choose High-Quality Cocoa Powder
Since red velvet cake relies on subtle cocoa flavor, using a good-quality cocoa powder makes a noticeable difference.
Gel Food Coloring Works Best
Liquid food coloring can sometimes water down the batter. Gel coloring produces a deeper, richer red shade with less product.
Step-by-Step Preparation Guide
Step 1: Prepare Your Baking Pans
Preheat your oven to 350°F (175°C). Grease two round cake pans thoroughly and line the bottoms with parchment paper. This helps prevent sticking and makes cake removal much easier.
If you only have one cake pan, you can bake the layers separately. This works perfectly for busy home bakers with limited equipment.
Step 2: Mix the Dry Ingredients
In a large bowl, whisk together:
- All-purpose flour
- Cocoa powder
- Baking soda
- Salt
Whisking helps distribute the ingredients evenly and prevents lumps in the batter.
Step 3: Combine the Wet Ingredients
In another large bowl, whisk together:
- Sugar
- Vegetable oil
- Eggs
- Buttermilk
- Vanilla extract
- Vinegar
- Red food coloring
Mix until everything becomes smooth and evenly combined. The batter should already have a vibrant red color at this stage.
Step 4: Combine Wet and Dry Mixtures
Gradually add the dry ingredients into the wet ingredients. Stir gently until just combined.
Avoid overmixing the batter because this can make the cake tough instead of soft and velvety.
The final batter should look smooth, rich, and slightly thick.
Step 5: Bake the Cake Layers
Divide the batter evenly between the prepared cake pans.
Bake for approximately 28 to 32 minutes or until a toothpick inserted into the center comes out clean.
During baking, your kitchen will fill with the rich aroma of cocoa and vanilla, making the wait almost impossible.
Once baked, allow the cakes to cool in the pans for about 10 minutes before transferring them to a cooling rack.
Step 6: Prepare the Cream Cheese Frosting
While the cakes cool, make the frosting.
In a large mixing bowl, beat the cream cheese and butter together until smooth and creamy. Gradually add powdered sugar and continue mixing until fluffy.
Add vanilla extract and beat again until the frosting becomes silky and spreadable.
The frosting should be thick enough to hold its shape while remaining easy to spread across the cake layers.
Step 7: Assemble the Cake
Place the first cake layer on a serving plate or cake stand.
Spread a generous layer of cream cheese frosting on top. Add the second cake layer and frost the top and sides of the cake evenly.
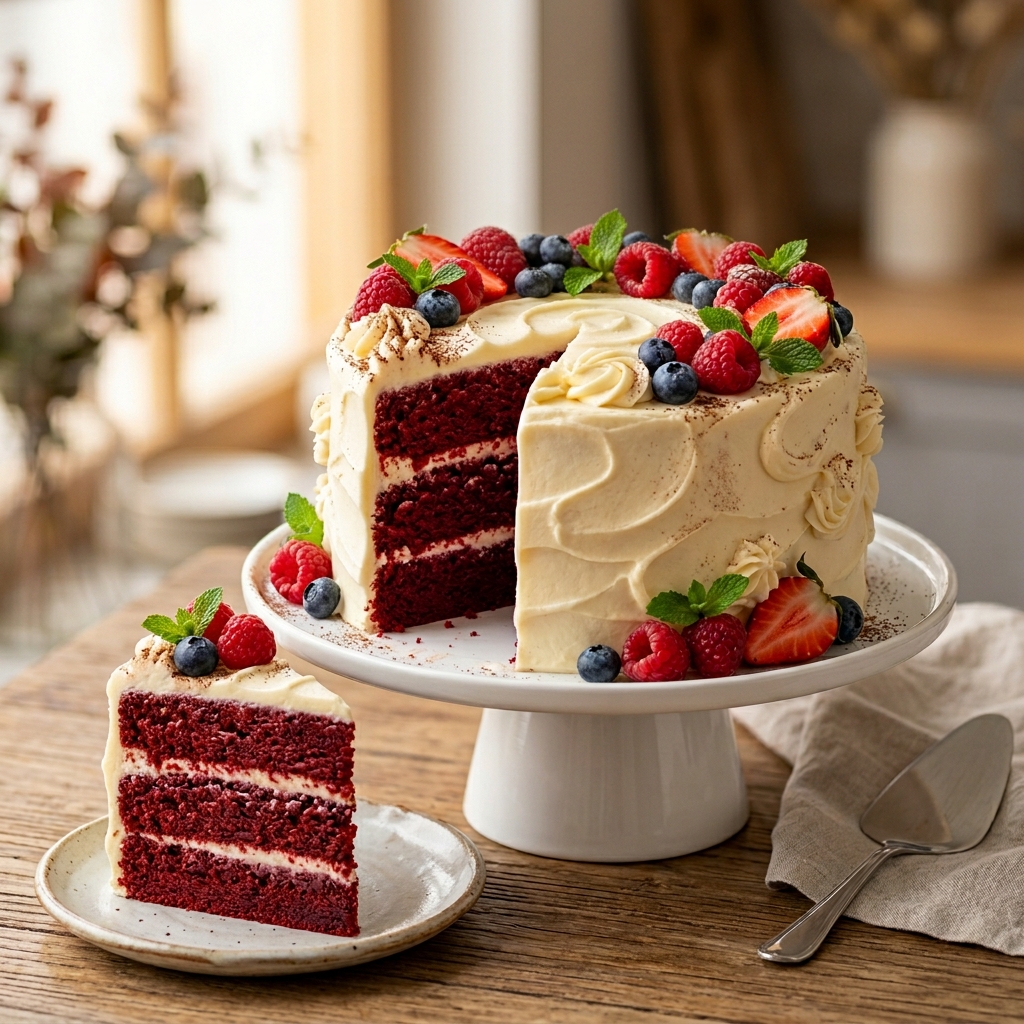
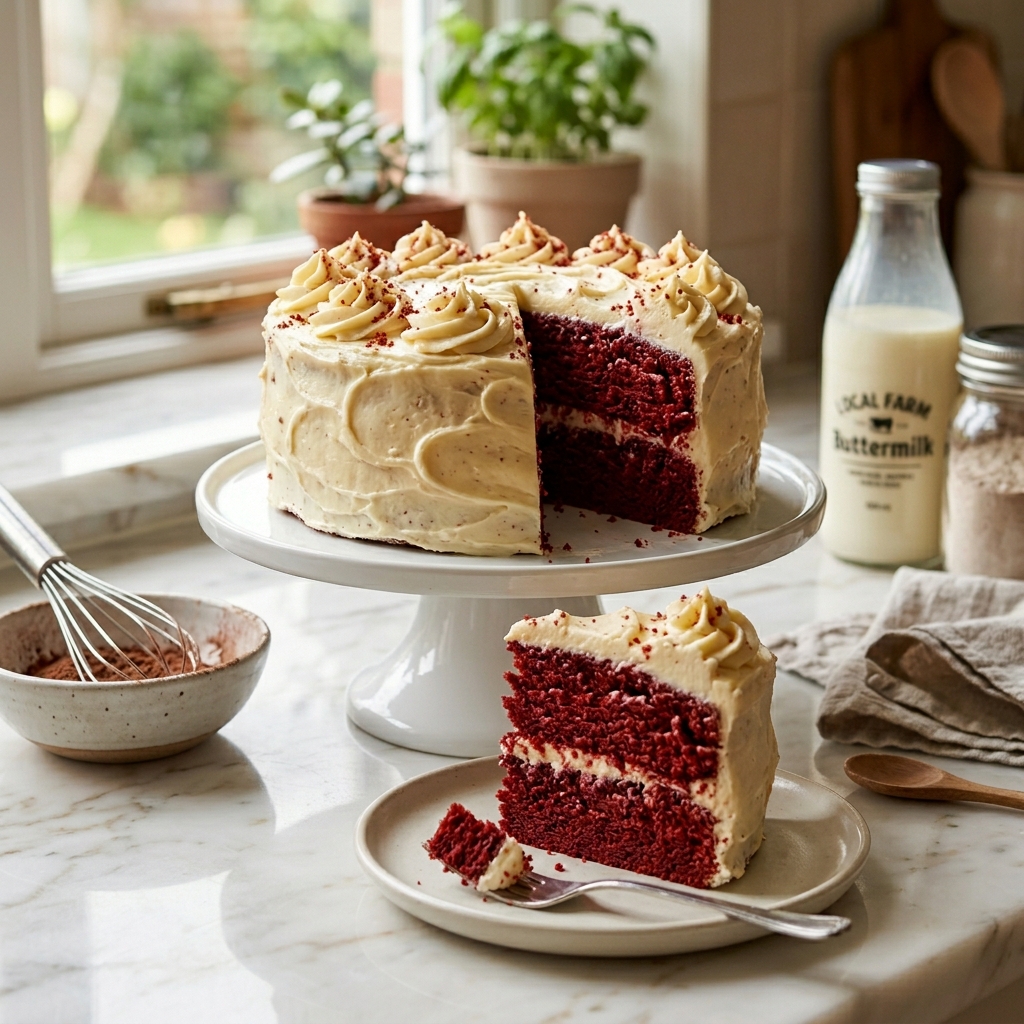
For an elegant bakery-style finish, you can decorate with extra red velvet crumbs, frosting swirls, or even fresh berries.
Common Mistakes to Avoid When Making Red Velvet Cake
Even simple recipes can go wrong if certain details are overlooked. Here are some common mistakes to avoid:
Overmixing the Batter
Overmixing develops too much gluten, leading to a dense cake instead of a soft velvet texture.
Using Cold Ingredients
Cold ingredients prevent smooth mixing and can affect the final texture.
Overbaking the Cake
Even a few extra minutes can dry out the cake. Start checking for doneness early.
Adding Too Much Food Coloring
Too much coloring can create a bitter aftertaste. Use enough to achieve a vibrant red color without overdoing it.
Frosting a Warm Cake
Always let the cake cool completely before frosting, otherwise the frosting will melt and slide off.
Delicious Variations of Red Velvet Cake
One reason red velvet cake remains so popular is because it can easily be customized in different ways.
Red Velvet Cupcakes
Turn the batter into cupcakes for parties, lunchboxes, or easy grab-and-go desserts.
Mini Red Velvet Cakes
Create small individual cakes for elegant dinner parties or celebrations.
Red Velvet Sheet Cake
For busy moms who want less decorating work, sheet cake is an excellent option.
Chocolate Chip Red Velvet Cake
Add chocolate chips for extra richness and texture.
Berry Red Velvet Cake
Fresh raspberries or strawberries pair beautifully with cream cheese frosting and add a refreshing twist.
Expert Tips for Bakery-Style Results
Professional bakers rely on small details to create stunning cakes. These expert tips can instantly improve your results.
Measure Ingredients Properly
Using too much flour is one of the biggest reasons cakes turn out dry or dense.
Use Cake Strips if Possible
Cake strips help layers bake evenly with flat tops, making decorating easier.
Chill the Cake Before Frosting
Slightly chilled cake layers are easier to frost neatly and produce cleaner slices.
Wipe Your Knife Between Slices
For beautiful presentation, clean your knife after every cut.
Add Frosting in Layers
Applying a thin crumb coat first helps create a smoother professional-looking finish.
Make Ahead Options
One of the best things about this easy red velvet cake recipe is how well it fits into a busy schedule. Working moms often do not have several uninterrupted hours to bake and decorate a cake in one day, which is why make-ahead options can be a lifesaver.
Bake the Cake Layers Ahead of Time
The cake layers can be baked one or even two days in advance. Once the layers cool completely, wrap them tightly in plastic wrap and store them at room temperature for up to 24 hours or in the refrigerator for up to 2 days.
This method actually helps improve the texture because slightly chilled cake layers are easier to frost and assemble neatly.
Freeze the Cake Layers
If you want to prepare even earlier, red velvet cake layers freeze beautifully. Wrap each cooled layer tightly in plastic wrap followed by aluminum foil to prevent freezer burn.
The layers can stay frozen for up to 2 months. When ready to use, thaw them overnight in the refrigerator before frosting.
Make the Frosting in Advance
Cream cheese frosting can also be made ahead of time and stored in an airtight container in the refrigerator for up to 5 days.
Before using, allow the frosting to sit at room temperature for about 20 minutes and then re-whip it lightly for a smooth texture.
Assemble the Cake Ahead
You can fully frost and decorate the cake a day before serving. In fact, many bakers believe red velvet cake tastes even better the next day because the flavors have more time to blend together.
What to Serve with Red Velvet Cake
Although red velvet cake is already a complete dessert on its own, pairing it with the right drinks and side treats can make the experience even more special.
Fresh Coffee
The slight bitterness of coffee balances the sweetness of cream cheese frosting beautifully. A warm cup of coffee alongside a slice of red velvet cake creates the perfect afternoon treat.
Cold Milk
Classic and comforting, milk pairs wonderfully with the rich velvet texture and creamy frosting.
Vanilla Ice Cream
A scoop of vanilla ice cream adds extra creaminess and creates a bakery-style dessert experience.
Fresh Berries
Strawberries, raspberries, and blueberries add freshness and a slight tartness that complements the cake perfectly.
Hot Chocolate
For holidays or cozy weekends, hot chocolate and red velvet cake create an indulgent dessert pairing everyone loves.
Whipped Cream
Light whipped cream can help balance the richness of cream cheese frosting while adding a soft, airy texture.
How to Store Red Velvet Cake Properly
Proper storage helps keep your cake fresh, moist, and delicious for as long as possible.
Storing at Room Temperature
If your kitchen is cool, the cake can stay at room temperature for several hours during serving. However, because cream cheese frosting contains dairy, it should not sit out for too long.
Refrigerating the Cake
Store leftover cake in an airtight container or cake carrier in the refrigerator for up to 5 days.
The cream cheese frosting holds up very well when chilled, and the cake stays moist thanks to the oil and buttermilk in the recipe.
Bringing Cake Back to Room Temperature
For the best flavor and texture, allow refrigerated cake slices to sit at room temperature for about 20 to 30 minutes before serving.
Cold cake tends to feel firmer, while room temperature cake becomes softer and more flavorful.
Freezing Leftover Cake
Individual slices can be wrapped tightly and frozen for up to 2 months. This is perfect for busy moms who want quick homemade desserts available anytime.
Simply thaw slices overnight in the refrigerator or for about an hour at room temperature before enjoying.
Frequently Asked Questions
Why Is My Red Velvet Cake Dry?
Dry red velvet cake is usually caused by overbaking or using too much flour. Always measure flour carefully and begin checking the cake a few minutes before the recommended baking time ends.
Using oil and buttermilk helps maintain moisture, but proper baking time is still essential.
Can I Make Red Velvet Cake Without Buttermilk?
Yes, although real buttermilk gives the best flavor and texture. If you do not have buttermilk, you can make a quick substitute by mixing one tablespoon of vinegar or lemon juice with one cup of milk and letting it sit for 5 minutes.
What Flavor Is Red Velvet Cake?
Red velvet cake has a mild cocoa flavor combined with vanilla and slight tanginess from buttermilk and cream cheese frosting. It is softer and less chocolate-heavy than regular chocolate cake.
Can I Use Natural Food Coloring?
Yes, natural food coloring options like beet powder can work, although the color may not appear as deep or vibrant as traditional red food coloring.
Why Does Red Velvet Cake Need Vinegar?
Vinegar reacts with baking soda to help create a soft, tender crumb. It also enhances the cake’s color and flavor balance.
Can Beginners Make This Recipe Successfully?
Absolutely. This recipe is specifically designed to be beginner-friendly while still producing professional-looking results.
Even first-time bakers can create a moist and beautiful red velvet cake by following the steps carefully.
Can I Turn This Recipe into Cupcakes?
Yes. Simply divide the batter into cupcake liners and bake for approximately 18 to 22 minutes.
Cupcakes are perfect for school events, office treats, birthdays, and parties.
How Do I Make the Frosting Less Sweet?
You can reduce the powdered sugar slightly or add a small pinch of salt to balance the sweetness without affecting texture too much.
Can I Use Butter Instead of Oil?
Yes, but oil helps keep the cake softer for longer. Butter provides more flavor, while oil provides more moisture.
Many bakers combine both for the best balance.
Why Is My Frosting Runny?
Runny frosting often happens when cream cheese or butter becomes too warm. Chilling the frosting for 15 to 20 minutes usually helps firm it up again.
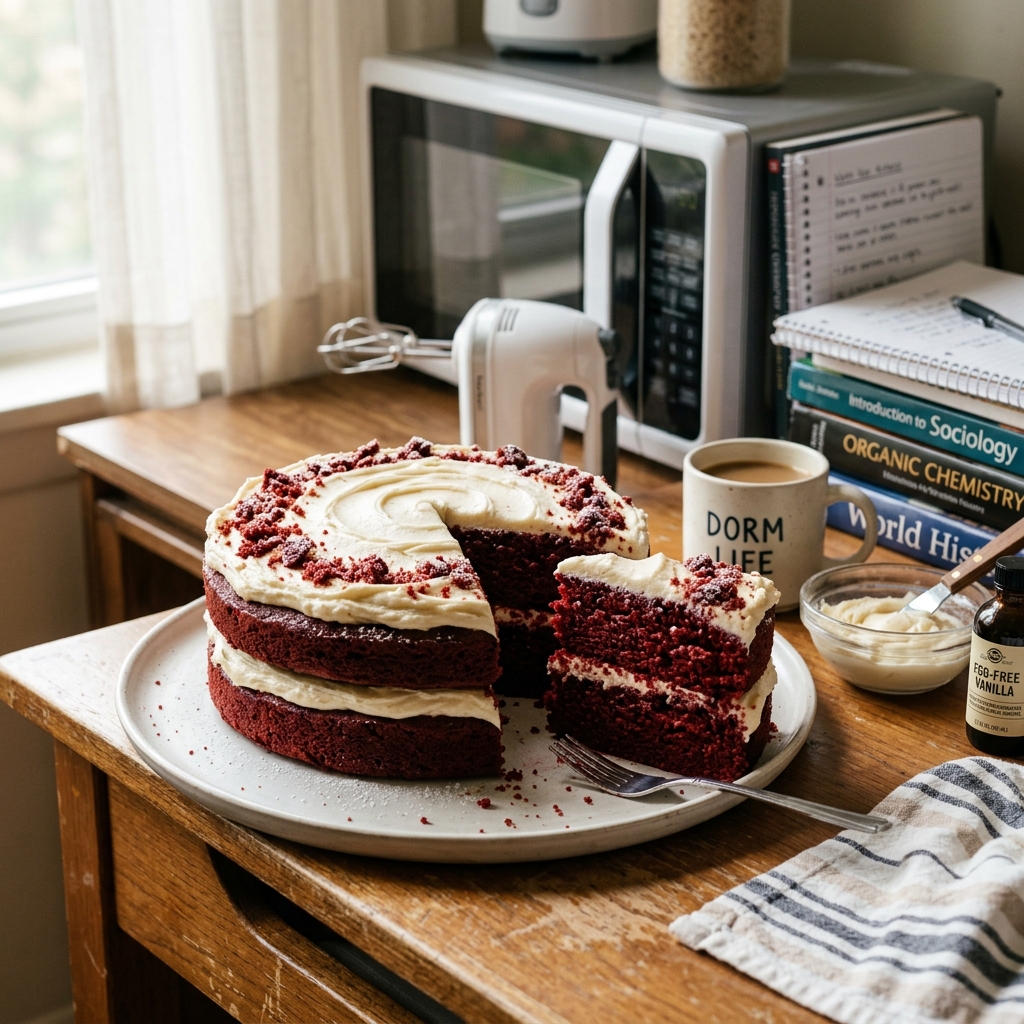
Time-Saving Tips for Busy Working Moms
This recipe was created with real-life schedules in mind. Here are some practical ways to save time while still baking an impressive homemade cake.
Measure Ingredients the Night Before
Pre-measuring ingredients makes baking much faster and less stressful the next day.
Use Store-Bought Decorations
Fresh berries, sprinkles, or chocolate shavings can instantly make your cake look elegant without extra work.
Bake During Quiet Hours
Many moms find early mornings or evenings after dinner ideal for baking uninterrupted.
Turn It into a Sheet Cake
If you do not have time for layering and decorating, bake the batter in a single pan and frost the top only.
Freeze Extra Slices
Freezing leftovers means you always have a homemade dessert ready for unexpected guests or late-night cravings.
Why Families Love This Red Velvet Cake Recipe
This recipe continues to become a favorite in many homes because it combines comfort, beauty, and practicality.
Children love the vibrant red color and sweet cream cheese frosting. Adults appreciate the rich flavor and soft texture. And busy moms appreciate how easy it is to prepare despite looking like a professional bakery dessert.
It is the kind of recipe that becomes part of family traditions. Once you make it successfully the first time, it often becomes the requested dessert for birthdays, holidays, family dinners, and celebrations year after year.
Homemade cakes also create emotional memories that store-bought desserts simply cannot replace. The smell of cocoa and vanilla filling the kitchen, the excitement of frosting the cake, and the joy of serving something made with love all make the experience meaningful.
Easy Red Velvet Cake Recipe for Busy Working Moms
Ingredients
Equipment
Method
- Preheat your oven to 350°F (175°C). Grease and line two 8-inch cake pans with parchment paper.
- In a large bowl, whisk together the flour, cocoa powder, baking soda, and salt until evenly combined.
- In another bowl, whisk together the sugar, oil, eggs, buttermilk, vanilla extract, vinegar, and red food coloring until smooth.
- Gradually add the dry ingredients into the wet mixture. Stir gently until just combined. Avoid overmixing.
- Divide the batter evenly between the prepared cake pans. Bake for 28–32 minutes or until a toothpick inserted into the center comes out clean.
- Allow cakes to cool in the pans for 10 minutes before transferring them to a cooling rack.
- Beat the cream cheese and butter together until smooth and creamy. Gradually add powdered sugar and vanilla extract. Continue beating until fluffy.
- Place one cake layer on a serving plate. Spread frosting on top, then place the second layer over it. Frost the top and sides evenly.
- Refrigerate the cake for about 30–45 minutes before slicing for cleaner cuts and better texture.
- Fresh strawberries or raspberries
- Hot coffee or cappuccino
- Vanilla ice cream
- Whipped cream
- Hot chocolate
- Cold milk
Notes
Do not overmix the batter to keep the cake soft and fluffy.
Gel food coloring gives the best vibrant red color without thinning the batter.
Chill the cake slightly before frosting for easier decorating.
Cake layers can be baked ahead and frozen for up to 2 months.
Store leftover cake in the refrigerator for up to 5 days.
For cupcakes, bake the batter for 18–22 minutes instead of 30 minutes.